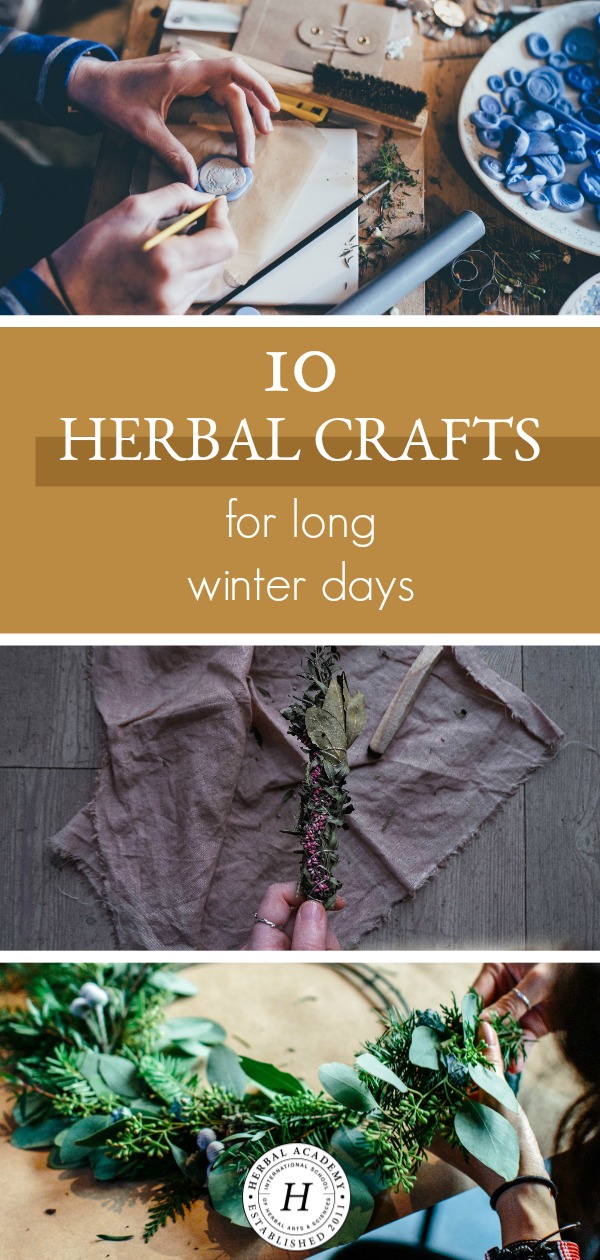
10 Herbal Crafts for Long Winter Days
There’s nothing better than a hot cup of tea and a winter herbal craft project to help brighten long, cold days in the Northern Hemisphere. These 10 herbal craft projects are inspired by plants, and a few of them even involve taking a walk to find materials in nature, which is therapeutic in and of itself.
10 Herbal Crafts for Long Winter Days
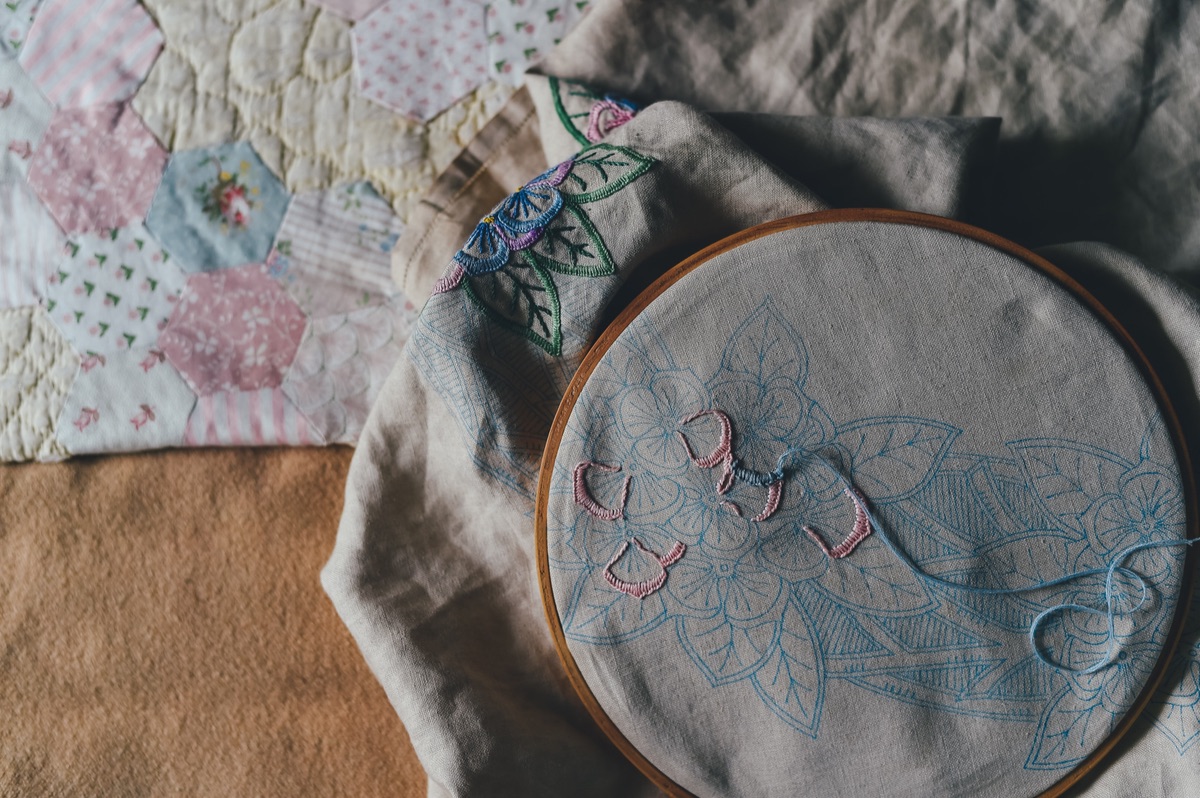
1.Botanical Embroidery
What better way to share your love for herbs than embroidering their likeness onto pillowcases, dish towels, decorative wall hangings, cloth napkins, and even clothing? With this cozy project, you can sip tea and listen to your favorite herbalism podcast while quietly embroidering your new favorite linen.
If you’re new to embroidery, then I recommend purchasing a DIY embroidery kit that comes with all the materials and instructions, including a paper pattern, a wooden embroidery hoop, an embroidery needle, the appropriate threads, and an instructional booklet.
There are hundreds of botanical embroidery kits online to choose from, but my favorites are on Etsy and include this lavender hoop for beginners and this night garden kit for more advanced crafters.
If you’re drawn to fiber projects, then you could also try your hand at lavender sachets or dream pillows.
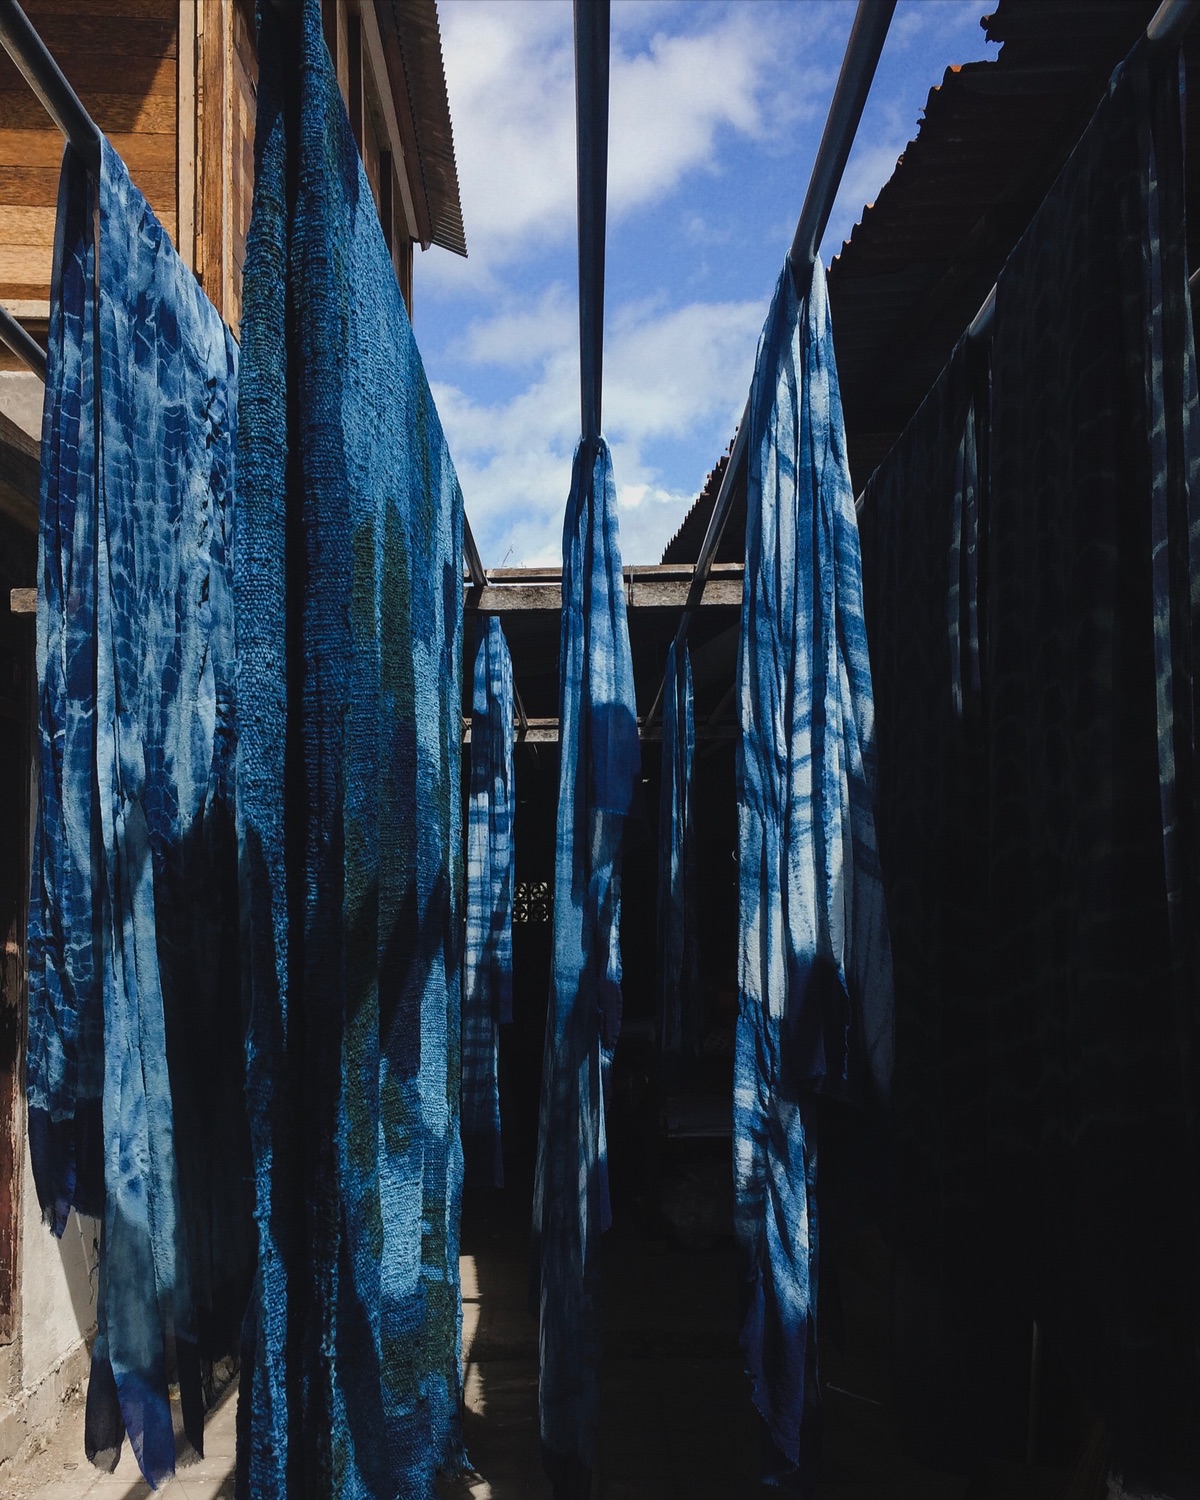
2. Natural Dye Project
If you dig through your herb cabinet or kitchen shelves, chances are you’ll find multiple plants that work splendidly as natural dyes. Hibiscus flowers, goldenrod, dandelion roots, onion skins, and avocado skins are just a few of our plant allies that imbue natural fibers with gorgeous hues. Natural dye projects are a great fit for winter because they usually involve dried plant material and a cauldron of steaming water–just the thing to keep you warm on a cold winter day.
You’ll need relatively few materials to embark on this project: organic linen or cotton muslin (pillowcases and napkins both make great starter projects), a pot of water, your dye plant, and a mordant to help intensify the color.
I’m inspired by Rebecca Desnos’ work in this realm, and her digital ebook Botanical Colour at Your Fingertips provides quick and affordable access to trusted recipes. If you end up falling in love with natural dyes (who could blame you!), then you’ll be pleased to learn that there’s an entire world of related herbal crafts out there–including using plants to dye paper and wood or making your own homemade paints from flower petals, clay, and other natural materials. This project is just a dip into natural dyeing culture.
3. Handmade Floral Paper
This is the ultimate upcycling project because it breathes new life into expired herbs and old paper products. Handmade floral paper is a beautiful foundation for cards, invitations, and gift tags. You can even give a stack of your homemade paper as a beautiful gift other creatives will love to receive tied up with a vintage ribbon.
This project is simpler than you may expect; it basically involves blending shredded paper with water, catching the pulp on a small screen, sponging away the excess water, and then letting the sheet dry. You will need to assemble the right tools before diving in, including a blender, a small screen frame, and a large plastic tub, among other things.
You can find step-by-step instructions for this project here. When you’re ready for a more advanced version, try making the paper pulp from grass stems and other fibrous plant materials rather than repurposing old paper products (instructions here).
4. DIY Flower Press
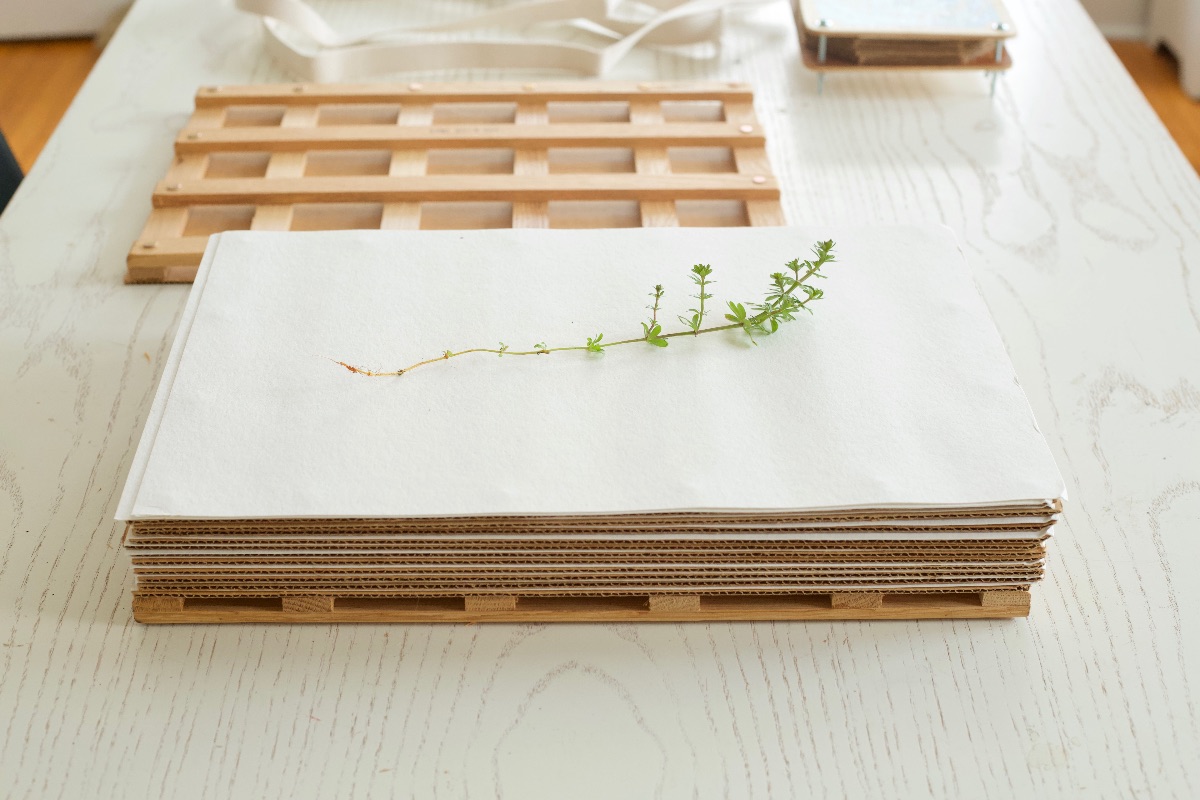
My flower press has deepened my connection to nature for many years. I previously used a heavy book and paper towels to press my flowers, but I’ve found that I get more consistently positive results with a flower press. Plus, it’s nice to have my books available to read again!
You can complete this project in one afternoon, and it will most likely involve a trip to the hardware store for one inexpensive board and a handful of tools and hardware. If you don’t own an electric saw, or you’re not comfortable using one, then ask an attendant at the hardware store to cut your wood to the right dimensions. Follow my step-by-step instructions for a DIY flower press here, and then have fun filling your new press with gorgeous specimens.
When your pressed botanicals are dry, consider adding them to your herbarium for future reference, framing them to hang on your wall, or trying one of the pressed flower projects below.
5. Paper Luminaria with Pressed Flowers
Making this paper luminaria will brighten your day in many ways! The flickering candlelight creates a comforting ambiance, and it’s quite joyful to see the pressed botanicals illuminated from within. Instead of the typical ornamental flowers, consider using pressed herbs like bergamot, poppy, and peppermint to remind yourself of your herb garden and the spring that’s sure to come. Place your finished luminaria near your bed or bath for a relaxing light source or use it as a centerpiece during your next dinner party.
This project is not complicated, and you can easily complete it within a few hours. The steps involve ironing pressed botanicals between sheets of wax paper, and then using washi tape to assemble the wax paper squares into a cube. Place a tea candle in the middle, and you’re good to go! Follow the complete step-by-step instructions here.
6. Practice Your Botanical Illustrations
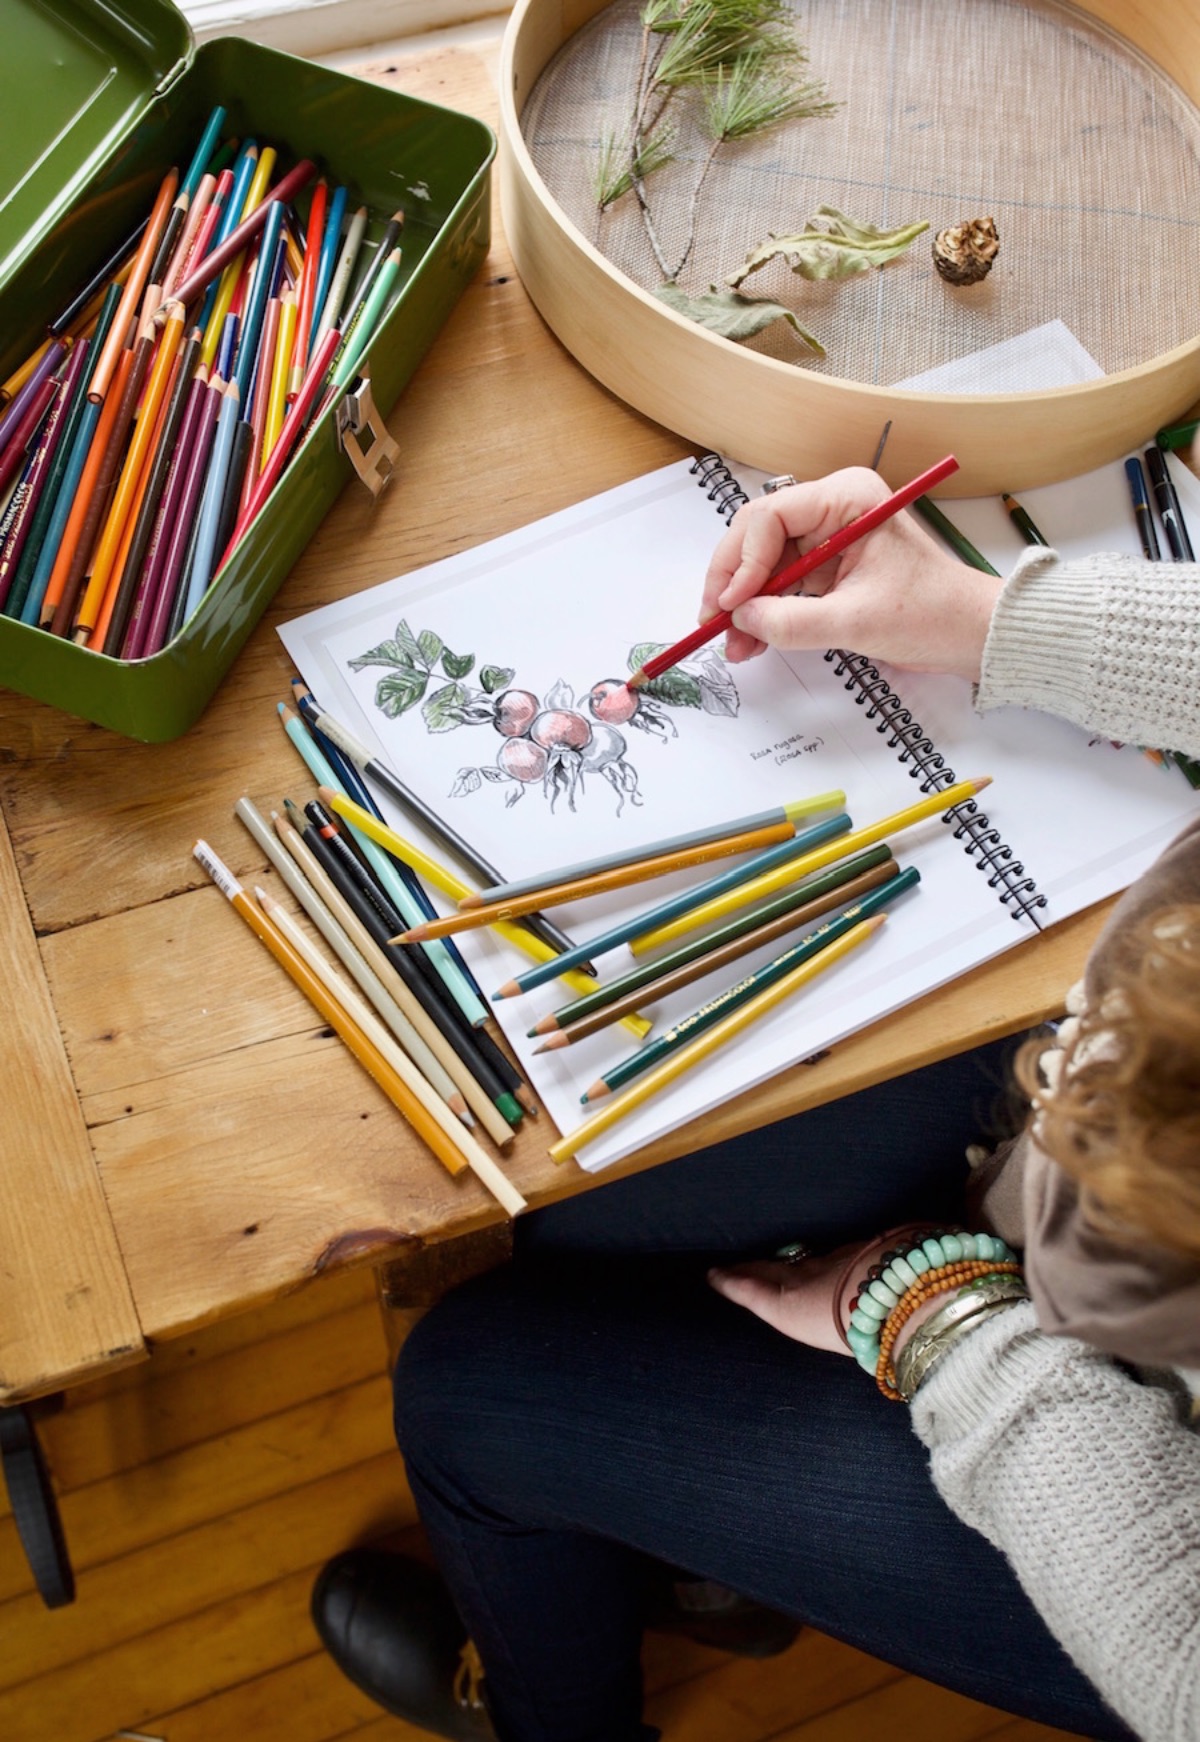
Winter provides the perfect opportunity to slow down and practice your botanical illustration skills. The big bonus behind this craft project is that it will help you study each plant on an even closer level than you might otherwise, and you can add your finished drawing to your materia medica. If you need a bit of instruction, then consider borrowing a copy of Drawing on the Right Side of the Brain from your local library. This bestseller is the classic, much-applauded reference for learning how to draw.
If you’d rather skip the drawing itself and go straight to the fun part (coloring!) then consider picking up a copy of the Herbal Academy’s own Botanical Illustrations Workbook, which includes 25 botanically accurate illustrations and each plant’s corresponding monograph.
7. Hand-Drawn Garden Plan
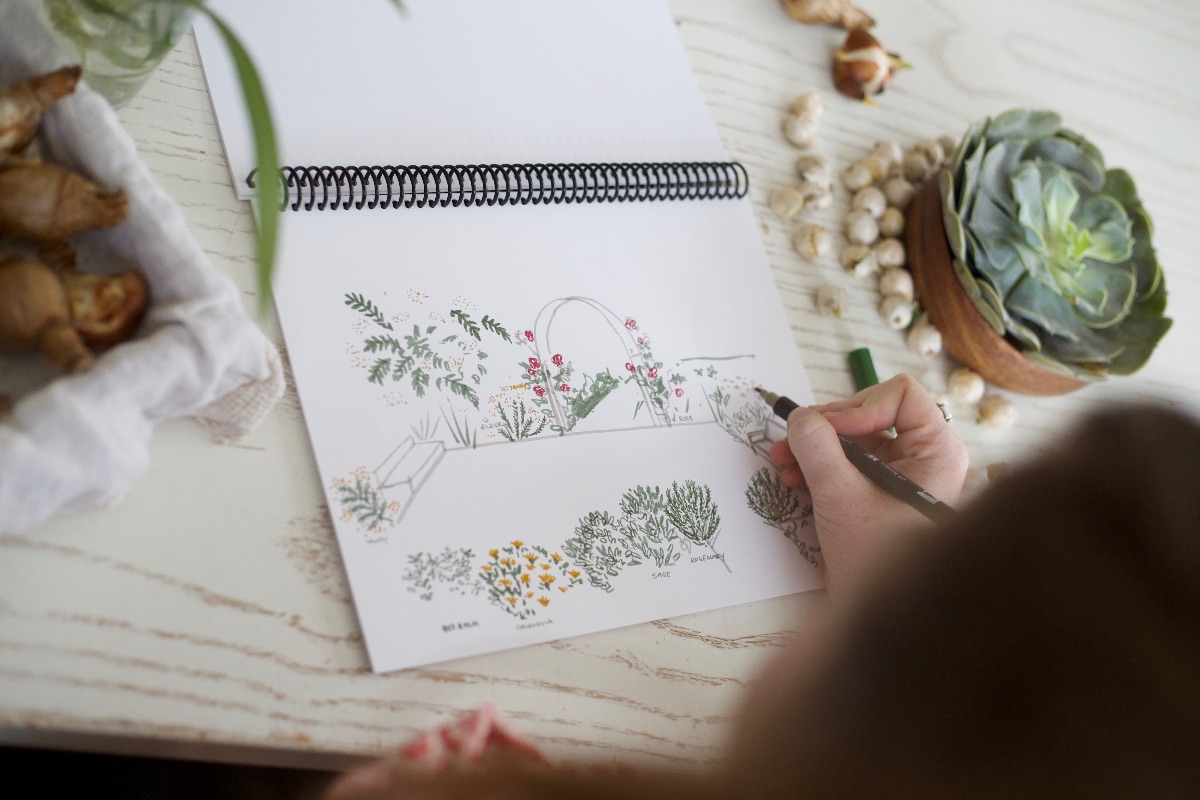
If you’re using the winter months to plan next year’s garden anyway, then why not turn your garden plan into a work of art? Use graph paper and colored pencils to draw an appropriately scaled outline of your garden. If you grow herbs in pots or containers, then include them as well. Draw any existing perennials first, then fill in with the annuals you’d like to grow.
The great thing about this craft project is that it will also help you check “garden planning” off your winter to-do list. Plus, you’ll have a beautifully illustrated map to follow in spring!
If you prefer planning your garden on your computer, then consider downloading a digital garden planning app. One thing to keep in mind, however, is that many digital garden planners are created with vegetable gardeners in mind, so they have a limited number of herbs in their databases.
8. Nature Mandala
I consider this to be the most nourishing and restorative craft project because it requires an outdoor walk (hello, vitamin D!) and a meditative headspace. It’s also the easiest project to enjoy with children.
To get started, put on your walking shoes, grab a foraging basket, and head to an outdoor path where you can freely collect clean leaves, pinecones, and other natural elements that catch your eye.
As you walk, take deep restorative breaths and pick up any items that grab your attention. I favor fallen leaves and feathers, dried flowers and seed heads, beautiful stones, and interesting pieces of driftwood. When you feel content with the items in your basket, find a flat and comfortable space (either outdoors or inside) to spread out your gathered goods. Arrange them in a traditional mandala shape, a spiral, a triangle, or any other pattern that feels right to you. As you arrange them, practice clearing your mind through active meditation, or take the time to offer gratitude to the natural world.
Leave your nature mandala in the wild as a gift to the Earth, consider starting (or adding to) a seasonal nature table in your home, or take photos of them to record a more permanent memory.
9. Homemade Wreaths
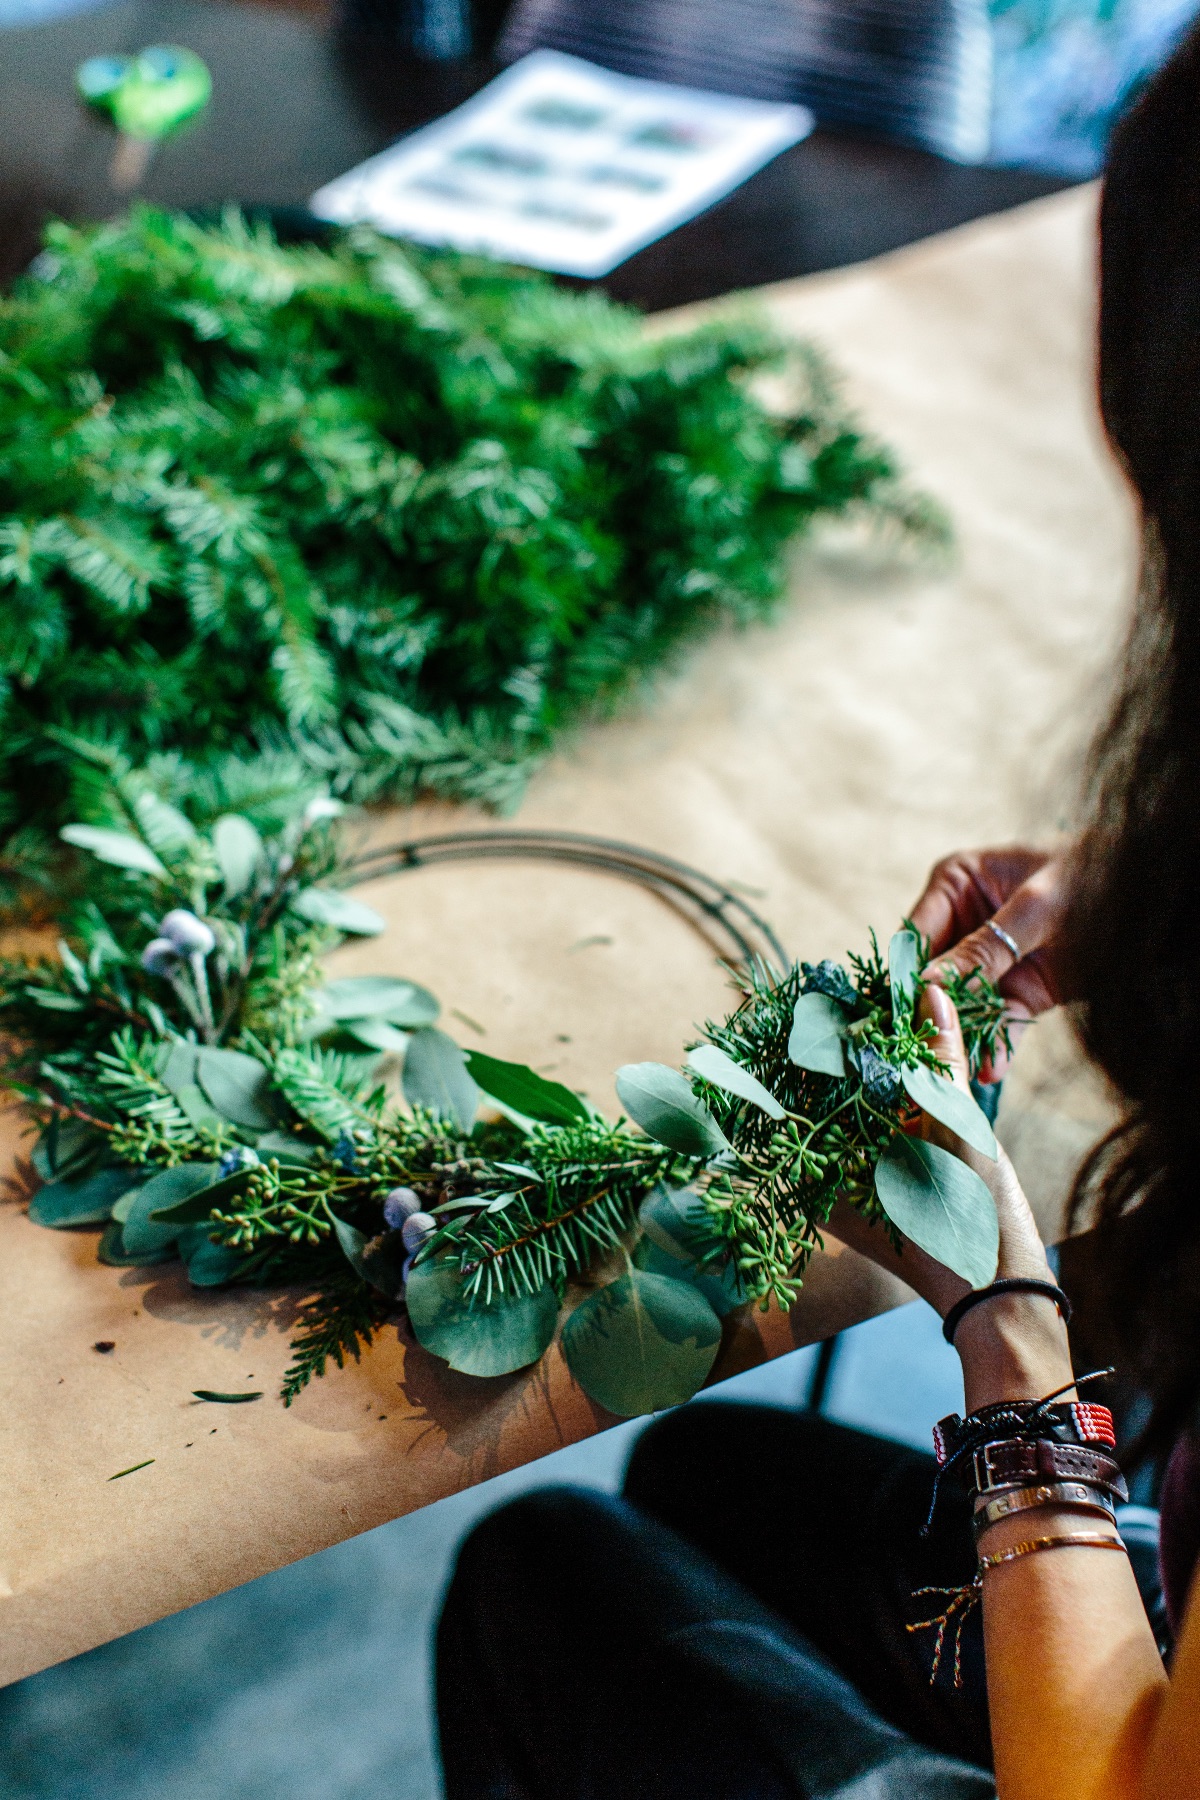
If you love the idea of winter herbal crafts that involve a brisk, outdoor walk, then consider making homemade wreaths out of foraged plant material. Many people associate wreaths with holiday decor, but you can make and display a wreath during any season! For a creative twist, incorporate sprigs of dried lavender, rosemary, and other herbs into your finished design.
This project will involve a quick run to the craft store for a metal wreath frame and floral wire. You’ll also need shears, wire cutters, your foraged botanicals, and twine or ribbon to hang the finished wreath. During winter in Northern climates, you’ll have the most success with evergreen sprigs, winter berries, pinecones, and dried seed heads. During warmer seasons, the possibilities for wreath-making botanicals are nearly endless.
Find step-by-step instructions for making an evergreen wreath here.
10. Aromatic Plant Wands
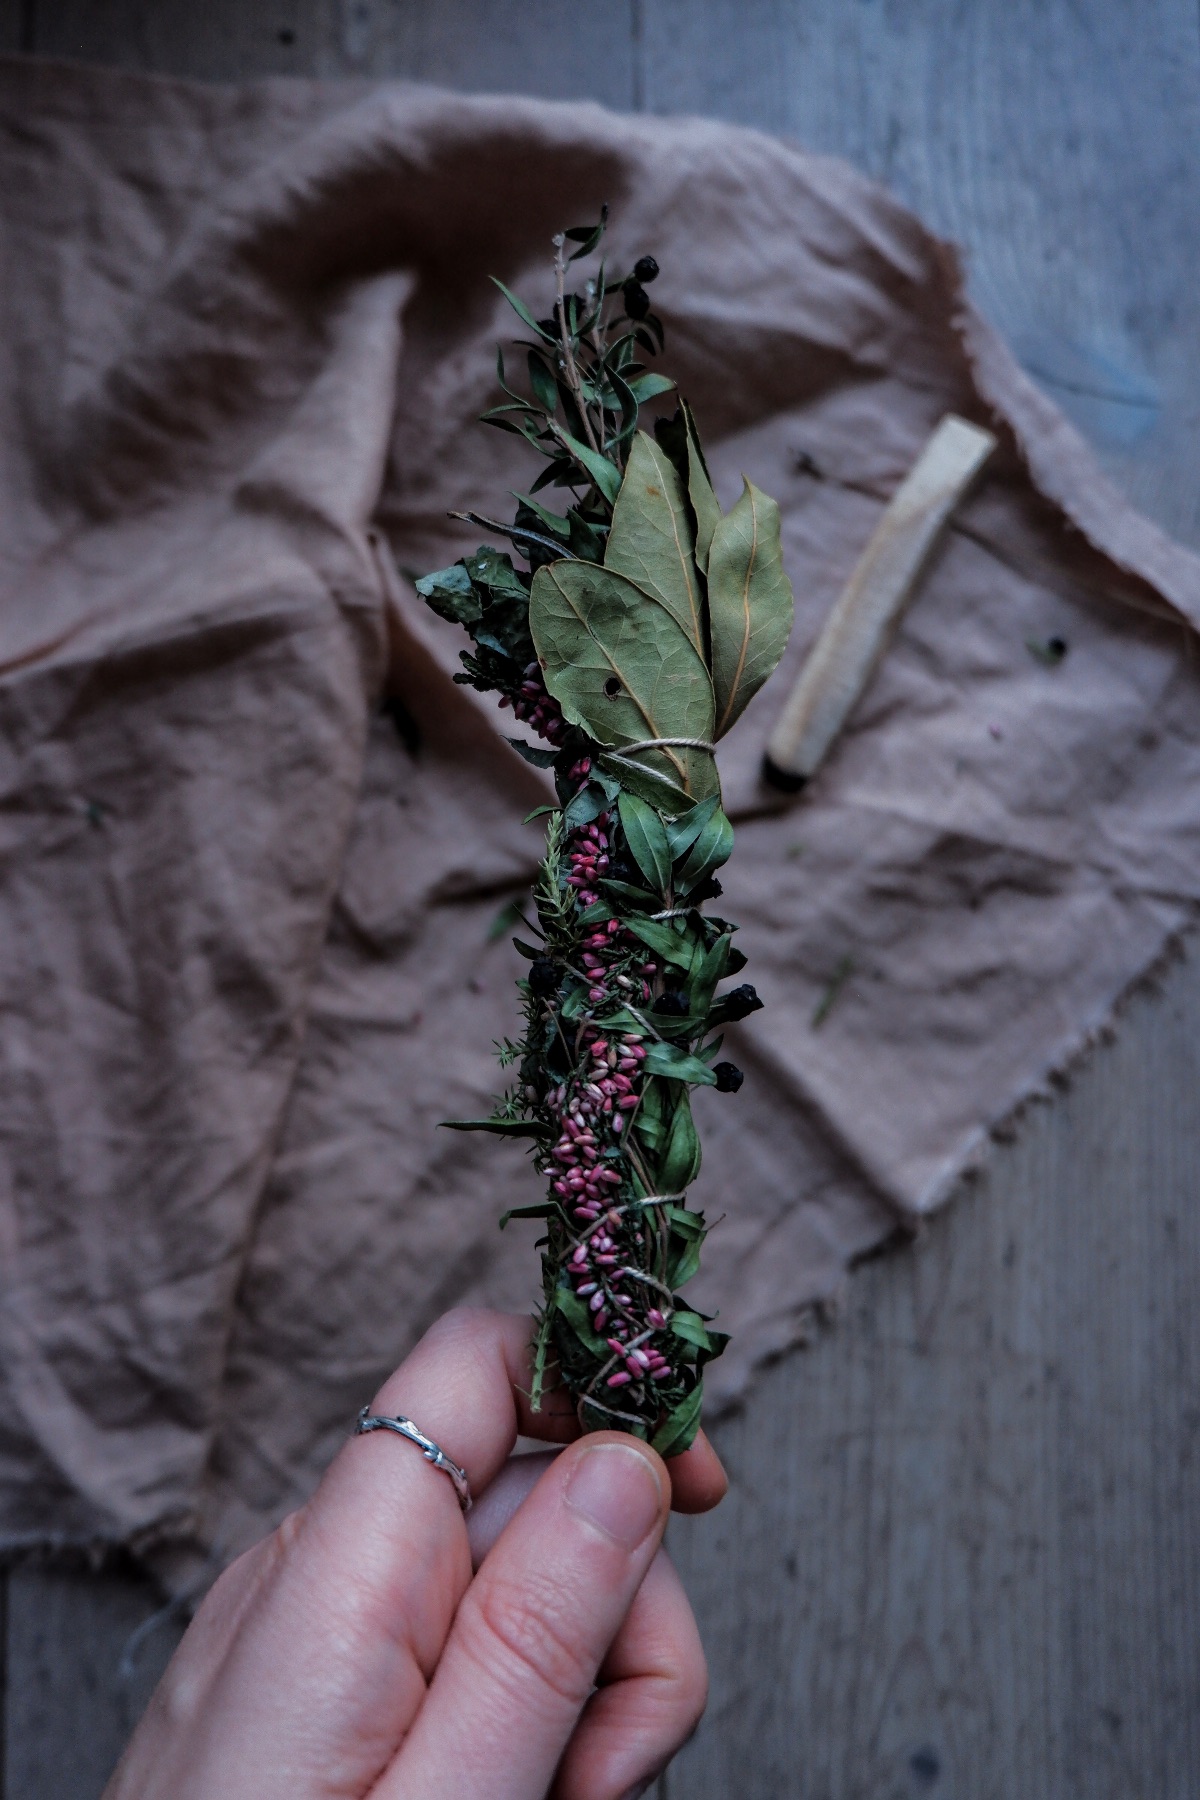
Across generations and continents, various peoples have long burned aromatic plants in the form of incense or herb bundles for both ceremonial and wellness purposes. Herbal bundles can be crafted out of locally available plants and then burned to release the purifying, aromatic smoke. A few plants I’ve used for this purpose include foraged Eastern red cedar and homegrown garden sage, rosemary, lavender, and mugwort. You can make these aromatic plant wands as simple or elaborate as you’d like and having your own will help prevent you from spending money on expensive incense or candles, most of which are made with synthetic fragrances.
First, do a bit of research to figure out which of your native, locally available plants will release a pleasing aroma and can be safely harvested without endangering wild populations. White sage, for example, has traditionally been a popular plant for aromatic smoke in the desert Southwest. However, due to over-harvesting and cultural appropriation, herbalists and wildcrafters agree that wild sage needs to be left in the wild to strengthen its populations, support the surrounding ecosystem, and remain available for the native tribes that historically use sage as a sacred plant for medicine and ceremony.
To make an aromatic smoke wand, pick 8-10 sprigs of your chosen plant(s), lay the sprigs so they’re all facing the same direction, then tie them together with natural, undyed twine. Let these dry for a few weeks before burning. Be careful when you burn a plant for the first time and consider going outdoors–some plants burn slow and steady and others burn quickly, can be hard to control, and may emit small sparks.
Learn more about the art of smoke cleansing and follow step-by-step instructions for making your own aromatic wands, here.
In Closing
I hope some of these herbal craft projects inspire you to slow down during winter and enjoy hands-on, creative time with the plants you’re studying. Who knows what you’ll be inspired to create next!
