Introduction To Herbs For Kids: Adventures In The Herb Garden
Are you dreaming of starting an herb garden and creating a special place for your new herb friends to live? In our last lesson we talked about some of the basics you need to start your very own herb garden. In this lesson we’re heading back out to the garden to learn more about starting plants from seed, how to harvest plants when the time comes, and ways to invite some special friends to help out in the garden. These are all great things to know when it comes to growing an herb garden. Add this to the gardening and herbal knowledge you have already gained during our adventure together in our series, Introduction To Herbs For Kids!
Special Herbal Terms
When learning about herbs you will encounter many interesting and sometimes strange words.
Here is a little key to help you understand these words!
Anther: The part of a flower that produces pollen.
Germinating: To begin to grow!
Humid: When there is a lot of moisture in the air.
Pollination: Moving of pollen from an anther to a stigma. This makes it possible for the flower to form seeds and even fruit.
Pollinator: An animal that helps to move pollen around so that pollination can happen.
Stigma: The part of a flower the receives pollen during pollination.
Sprout Some Seeds
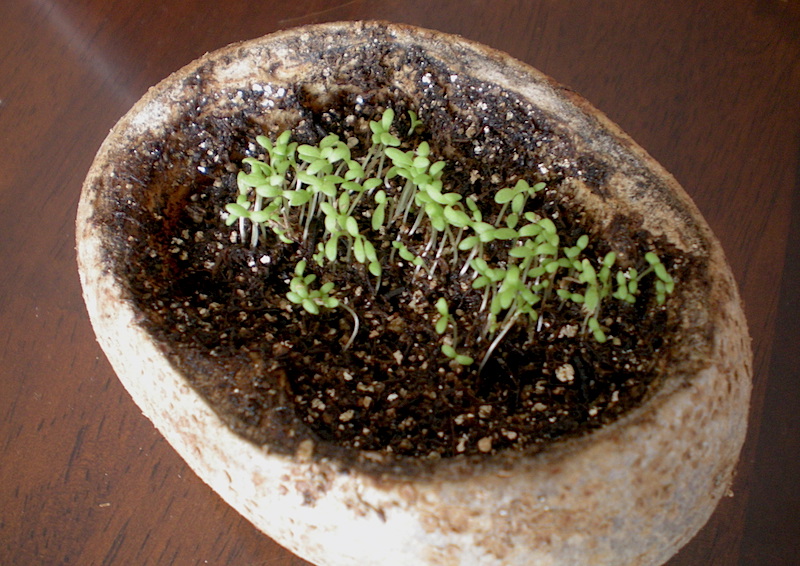
Seeds have a hidden magic inside and they are just waiting for the right time to begin growing. You can unleash this magic by starting your herb garden from seed. It is amazing to watch a tiny, sleepy seed as it wakes up, sending out roots and unfurling little green leaves. It is even more amazing if you were the one to help it begin to grow!
What You Need
You just need a few things to get your seeds growing: seed starting mix to plant your seeds in, containers for planting such as peat pots, water, light, labels, spray bottle, and seeds. You can find all of these supplies for starting your own seeds at garden nurseries. Because each seed has its own special needs, seeds come with instructions for planting right on the package.
How To Do It
Here are the basic instructions for sowing your very own seeds.
1. Fill your containers with the seedling mix and water them well to make the seedling mix moist and ready for your new baby plants to begin to grow.
2. Some seeds like to be planted all cozy under a little blanket of soil and some like to lay right on top, so you will need to read the planting instructions on your seed packet to see what works best for the seeds you are planting. Follow those directions and plant your seeds. Tip: Save your seed packet so you can look at it later if you need more information about your plants.
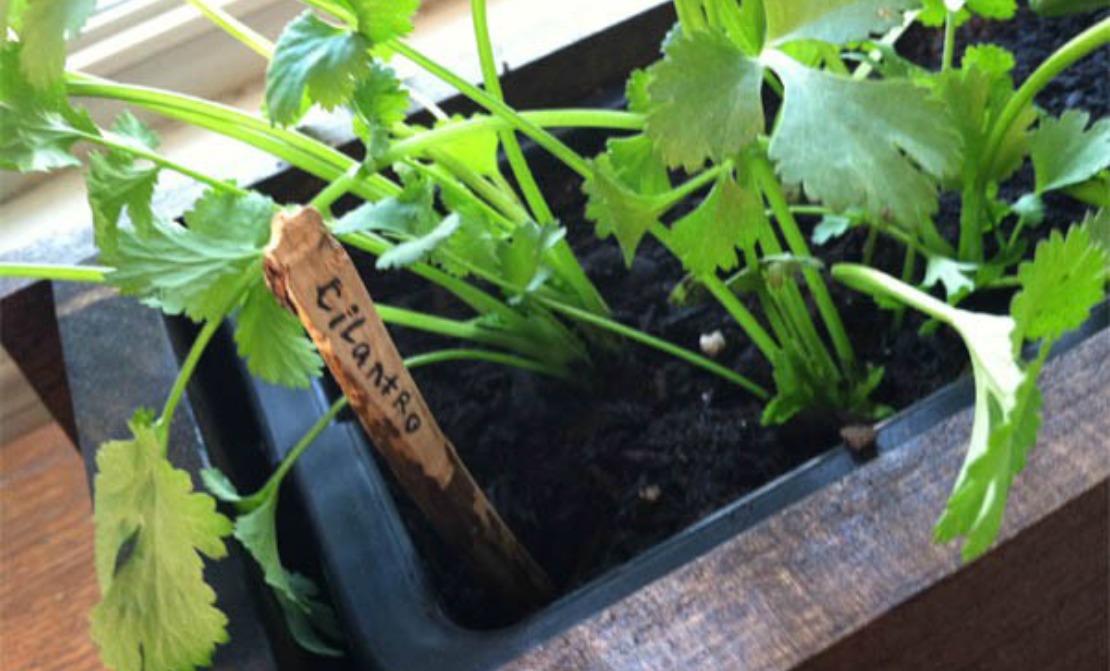
3. Label your seeds so that you know who is who when they start to grow. I like to use popsicle sticks for labels. These labels are a great choice too!
4. Place your seeds in a warm, sunny spot.
5. When sprouting seeds, it is important to keep the seeds moist or they won’t grow. Be sure to check your seeds every day and water them carefully. A spray bottle is perfect for watering seeds because it is gentle and doesn’t make the soil move around during watering.

6. You may want to add a little covering over your seeds while they are germinating and starting to grow. Gently covering the pots with plastic or a light cloth will help to keep the seeds moist and humid so they can sprout happily! Be sure to remove the cover when you see tiny green leaves pushing up through the soil so they can get the sunlight they need to grow their own food!
7. Once the seedlings have become big and strong and the growing conditions outside are right for your new plant, you can move them to your garden bed.
Special Seed Sprouting Ideas For Kids
Do you want a silly, fun way to sprout your own seeds? Here are two ideas just for you!
Plant Some Eggheads
seed starting mix
seeds
permanent markers
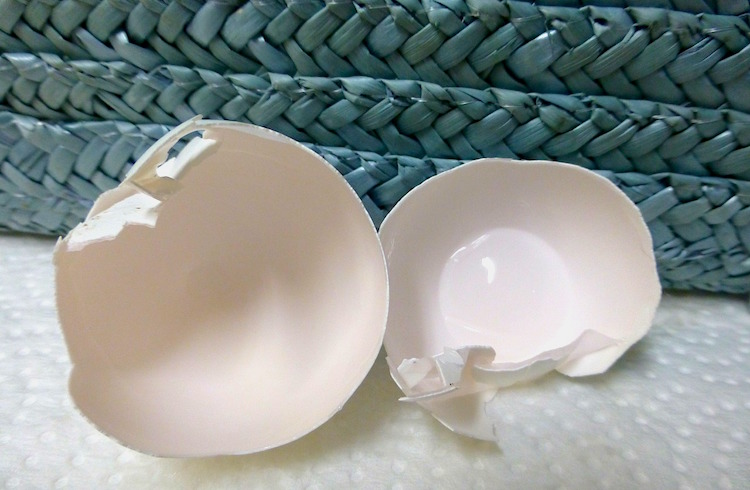
- Crack eggs open up near the pointy end and try to leave part of the shell intact to make a little cup for your seeds to grow inside. Pour out the egg and use it for your breakfast!
- Gently wash out the eggshell. Tip: You may want to collect and prepare eggshells over a couple of weeks so you have a bunch for planting seeds. You can store the eggshells right in their egg carton to keep them safe.
- When you are ready to plant your seeds, fill the eggshells with the seed starting mix and water the seed mix to moisten it and make a nice moist place for your seeds to grow.
- Plant the seeds in the eggshells according to the package instructions.
- You can then use permanent markers to add funny faces to the eggshells. The plants will sprout and grow, forming hair for your egghead!
- Remember to check everyday that your new baby seeds are moist so they can sprout.
Sprout Inside A Potato
seed starting mix
seeds
melon baller
- Prepare your potatoes for planting by scooping out the inside with a melon baller. Because potatoes are firm, this can be hard to do so your trusty adult helper might be able to give you a hand here.
- Fill the potatoes with the seed starting mix and water the seed mix to moisten it and make a nice moist place for your seeds to grow.
- Plant the seeds in the potatoes according to the package instructions. Remember to keep your new baby seeds moist so they can sprout!
Invite Some Helpful Visitors To Your Garden
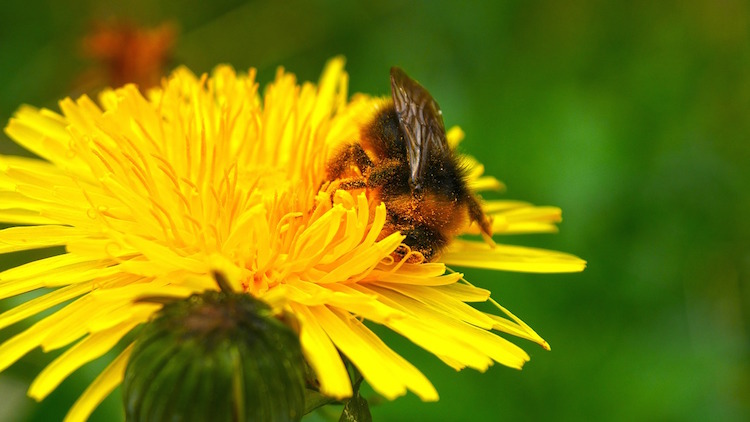
Did you know that bees, butterflies, and even hummingbirds can help you grow your garden? These lovely, amazing creatures are called pollinators because they help make something very important happen in the garden: pollination. Have you ever heard of pollination? Pollination is the movement of pollen from the anther of a flower to the stigma. (Visit our botany lesson to see a drawing of an anther and a stigma.) And pollination does something magical, it helps flowers make seeds and even grow into tasty fruits! Without pollinators, some plants would not be able to make any fruits or seeds at all. In fact, bees and other friendly pollinators pollinate 1 out of every 3 bites of food that we eat. Without pollinators, we wouldn’t have many of the tasty foods and herbs that we depend on and enjoy.
Plant A Pollinator-Friendly Garden
You can help bees, butterflies, hummingbirds, and other pollinators by planting a garden that is full of plants they love to visit! Fortunately, many herbs are favorites of these wonderful creatures. Herbs such as lemon balm, mints, hollyhocks, borage, dandelions, sage, thyme, and sunflowers (to name a few) provide delicious nectar and pollen for a wonderful meal. By planting these herbs in your garden, you are helping to take care of pollinators and make the world a better place! Other ways you can help are to provide homes such as butterfly houses and bee hotels. You can also make a watering hole for butterflies, bees, and other helpful insects to help them get a healthy drink of water because pollinators need to drink just like us. Here is a neat craft idea that you can do to make a water supply in your garden for these wonderful creatures!

Watering Hole For Pollinators
Make a pretty little watering hole to give friendly pollinators a drink!
Plant saucer
Pretty stones
- Place the plant saucer somewhere in your yard near the flowers that pollinators love. You could even add some chains to hang it in a tree!
- Next, place stones in the water to make a pretty pattern. Try stacking them up! These are stepping stones for the insects to land on when they are getting a drink.
- Add water until it reaches the top of the stones but doesn’t cover them.
- Check your watering hole and refill it when it runs dry. If you live in a place with lots of mosquitoes you may need to empty the water out few days and refill it. Mosquitoes lay their eggs in still water and so keeping your watering hole clean will help keep mosquitoes at bay.
When Harvest Time Comes
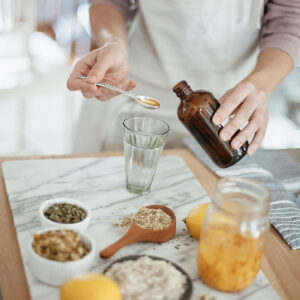
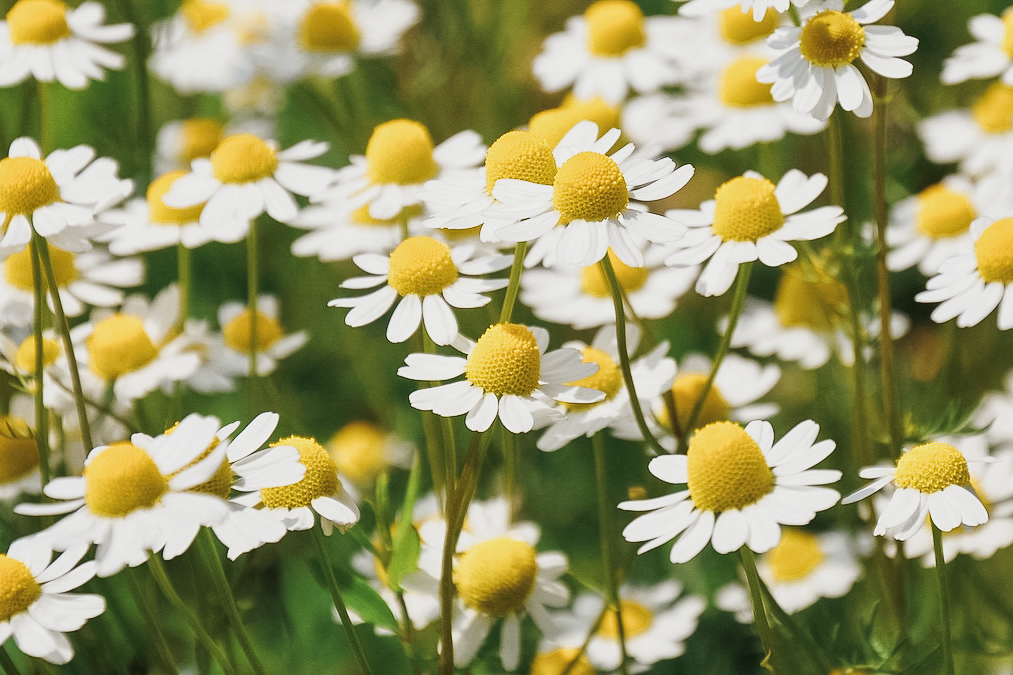
Once your garden is growing happily, you can start to think about harvesting those wonderful new plant friends and welcoming them inside for making remedies and food! Most of your plants probably won’t be ready to harvest for a while so you may have to be patient while you let them grow big and strong. But keep an eye out for pansies, chamomile, and calendula flowers that will be ready to harvest soon. Also look for luscious leaves on your mint, lemon balm, and chives plants that will be ready to pick as your plants grow big. Use your lovely fresh herbs to make wonderful remedies and add to foods. Visit the kids’ herbal pharmacy for ideas!
What You Need
You need a few trusty tools such as snips, scissors, shovel, spades, and baskets for gathering your harvest. Some of these tools are dangerous to use so be sure to get adult help! To dry your harvest, you need things such as drying baskets or screens, rubber bands, string, and paper bags.

How To Harvest Parts Of Plants
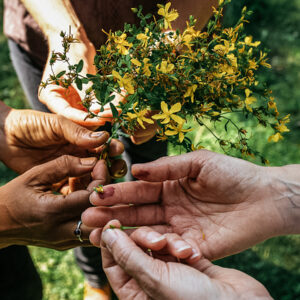
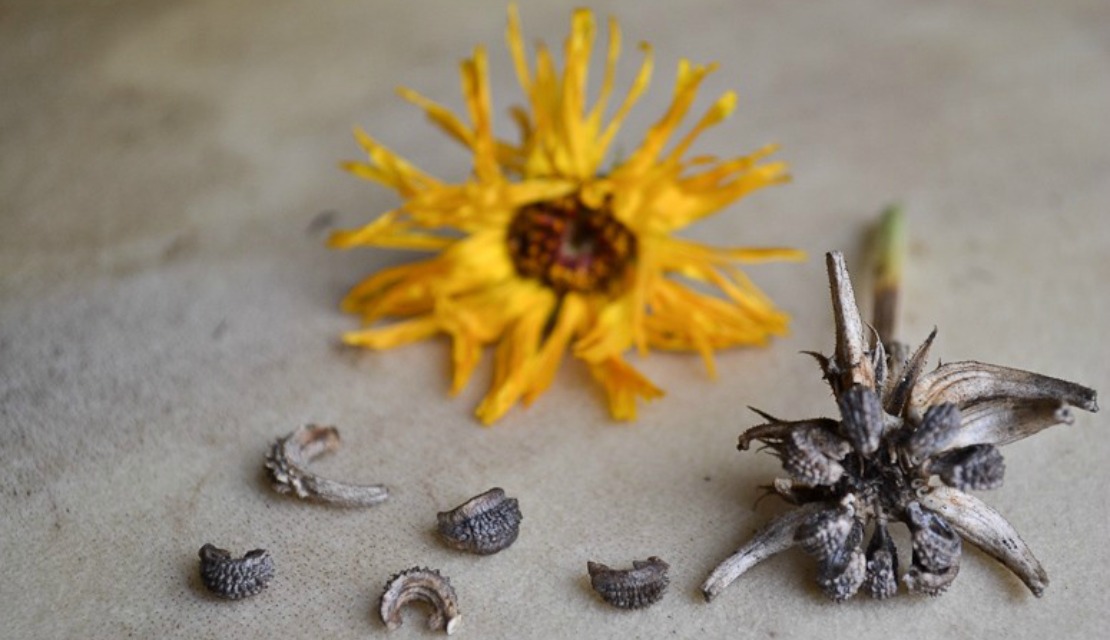
Flowers: Use your hands or scissors to gently harvest whole flowers. Try not to damage the flowers by squeezing or crushing them. Herbs for flower harvest include: chamomile, pansies and violets, calendula, borage, St. John’s wort, and mullein. When harvesting rose petals, I like to simply pull the petals off of the flower. This way the part of the flower that will eventually turn into a tasty rose hip is left behind to grow!
Leaves: Use scissors or snips to first harvest herb stems which have the leaves you want. Then pull the leaves from the harvested stem of the plant. When you cut the stems back you help the plant become bushier and stronger! Herbs for leaf harvest include: mints, anise hyssop, basil, lemon balm, catnip, rosemary, and thyme.
Roots: Harvest roots using a shovel or a spade. Dig carefully around the base of the plant to loosen it from the soil and pull the plant out along with it’s roots. Wash the roots well with a hose. Herbs for root harvest include: dandelion, marshmallow, hollyhock, and echinacea.
3 Ways To Dry Your Herbs
If you are not going to use your herbs right away, you can dry them so you can use them later. You can tell if your herbs are drying by crushing a leaf or flower in your hand. It should crumble up easily with no wet feeling. If you live in a humid place you may need to blow a fan on your herbs to help them dry.
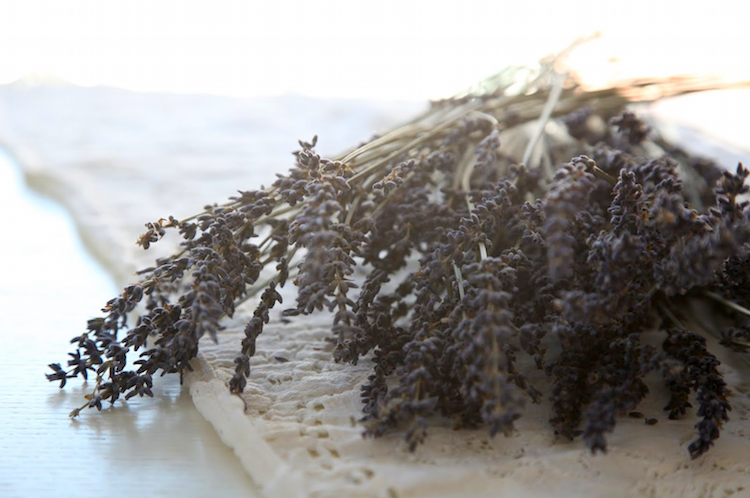
Bundle Them Up: Gather your herbs up into a small bundle, with the bunched stems being no bigger than one inch around, and tie the herbs together with a rubber band. Then hang your herb bundle upside down in a dry, warm place out of the sun. They should dry within a week or so.
Spread Them Out: You can also spread out your herbs in a single layer in a basket or on a screen to let them dry in a dry, warm place out of the sun. Your herbs should be dry in a week or so.
Bag Them Up: Another way to dry your herbs is to place them in a paper bag. Leave the top open and stir them up every day or so until your herbs are dry. Keep them in a dry, warm place out of the sun while they dry.
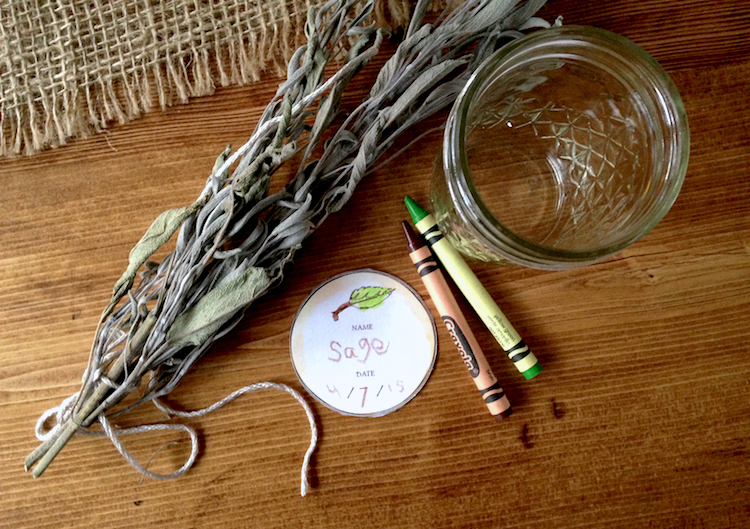
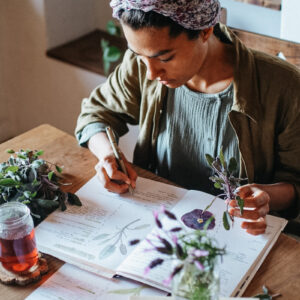
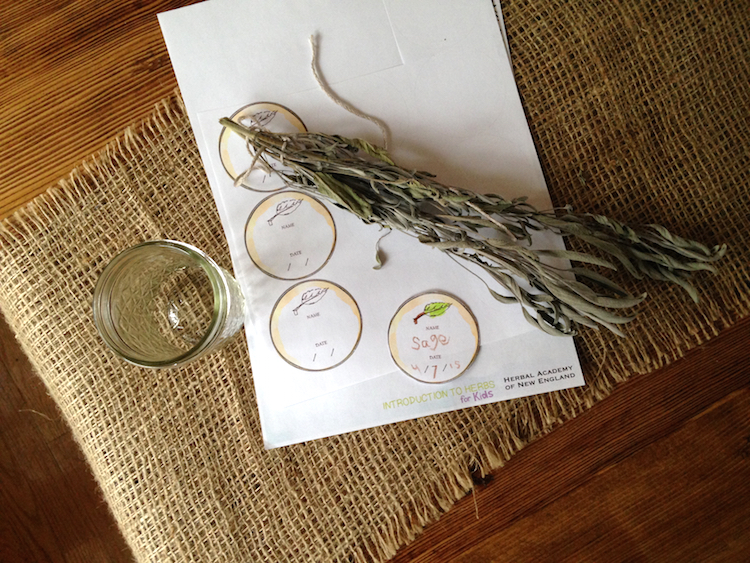
Once your herbs are completely dry it is important to store them properly. If you can, use jars with tight fitting lids for storage. Otherwise you can use whatever you have handy that will keep your herbs safe. Label your herbs with the name of the plant and the date you harvested. Then place your herbs in a dry, cool place out of direct sunshine.
You can use these pretty labels if you would like!
Download and print the free labels. You can print on regular letter paper and cut out individually OR you can print out on these Avery label stickers.
Thank you for joining us on our herbal garden adventure! As you begin to grow your own herb garden, I hope that these special activities and information will help you along the way. Enjoy watching the magic grow!
A Note To Parents
Hi Parents!
This lesson was about some of the specifics that can make herb gardening extra meaningful for kids. Growing plants from seed is something kids really enjoy! It gives them a great sense of responsibility and it simply fascinating. As stated by my 9 year old daughter, “It’s just fun to watch them grow from what used to be a tiny little thing to a big, beautiful plant.” Talking about the precious bees, butterflies, and other pollinators helps to bring in a bit of understanding about the larger world and hopefully fosters a love for all beings. And finally, the essential information about harvesting is something every herb gardener needs to know! It is empowering to know how to harvest herbs and then to know what to do with them once they have been gathered.
Keep Them Safe! Be sure to keep your little ones safe in the garden. Remind them that not all plants are safe and they should check with you before handling or eating plants. Supervise kids using scissor and snips when harvesting. I like to have my kiddos use child-friendly scissors.
We have several informational resources available for you to give you extra information for helping to support your child in their gardening endeavors.
Starting Seeds
- 5 Steps To Starting Seeds
- Easy Seed Starting Guide
- How To Harden Seedlings & Protect Your Garden
- Secrets To Transplanting Seedlings: 3 Tips To Success
Harvesting
Planting A Pollinator Friendly Garden
Here at the Herbal Academy of New England we offer so much for the aspiring herbalist! The Introductory Course is a perfect start for anyone new to herbalism. The Intermediate Course provides a wonderful continuation of learning as it dives deeper into the world of herbalism. The Herbarium offers a wealth of information for anyone looking for a great herbal resource.
REFERENCES:
Hartung, Tammi. (2000). Growing 101 Herbs That Heal. Vermont: Storey Books.
National Resources Defense Council. (2011). Why We Need Bees: Nature’s Tiny Workers Put Food On Our Table. Retrieved from https://www.nrdc.org/wildlife/animals/files/bees.pdf
About Post Author