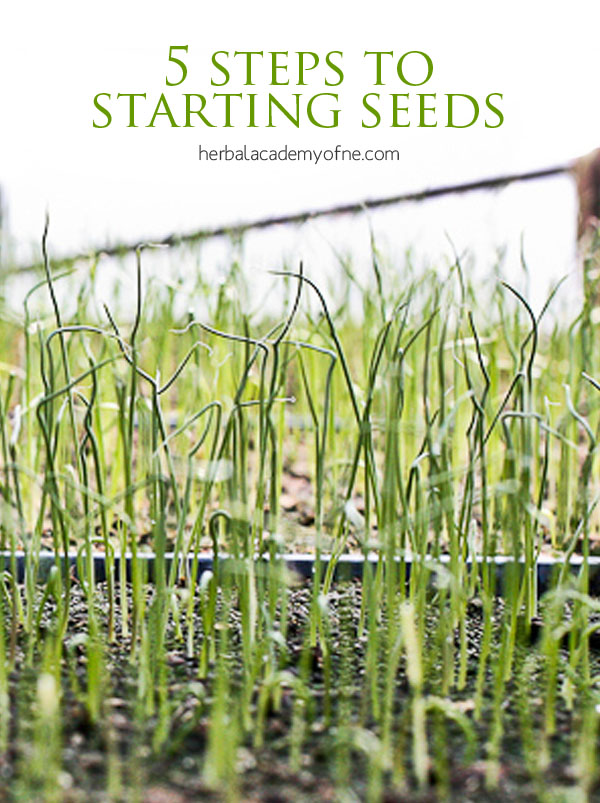
5 Steps to Starting Seeds
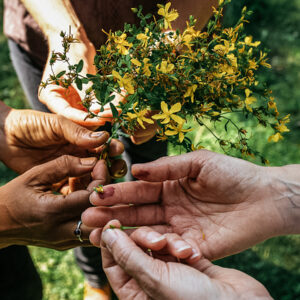
Most of us associate springtime with re-birth and growth, and never is this idea more in line with the season than when we grow our own herbs from tiny little seeds. Even the mightiest oak trees start as an acorn, and we can create a smaller scale version with anything from basil to tarragon to sage. Growing fresh basil comes with its own little idiosyncrasies, which you can read about here.
5 Steps to Starting Seeds
Starting seeds, even for the beginner gardener, is pretty easy with these five steps. This starts by simply buying some seeds at your local gardening store or nursery. The packet will have instructions of its own that will likely serve you in planting any one type of seed in a proper way. But the following steps will help you to grow your own herbs from seeds as well.

Step #1: Prepare moistened soil.
You will likely have your best success growing your own seeds in seedling soil. This can be found at your local gardening store, and a store clerk may even have insights into the best soil for you to use based on the type of herbs you’ll be planting. To get an idea of what soil to look for, check out this organic seed starter and this seedling starter mix on Amazon. Add enough water to the soil so that when you squeeze it in your hands it’s moist but no more than a couple of drops of water ooze out. You can prepare this mixture in a bucket of some kind.
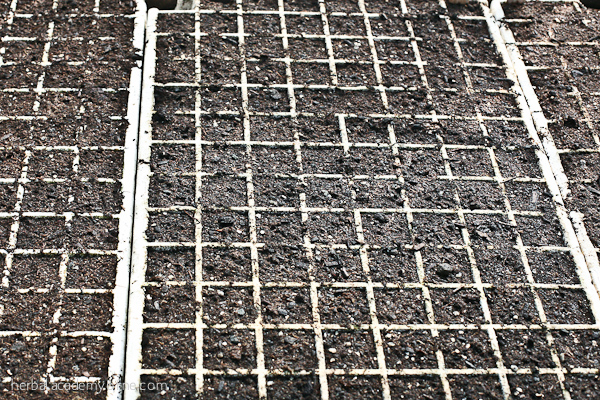
Step #2: Place soil into cells of tray.
Place about an inch of soil into each cell, allowing it to remain loose instead of packed in tightly. This will ensure that the seedling’s root system isn’t suffocated by the soil. Depress a small divet in the center of the soil for where the seeds will go. Be sure to go about twice as far down as the diameter of the seed (e.g. 1/4” deep for a seed that’s 1/8” long).
Seedling containers are available at your local gardening store or on Amazon. You can also make them them yourself using newspapers, eggshells, or toilet paper rolls. Check out this post with inspiration for creating your own repurposed seed containers.
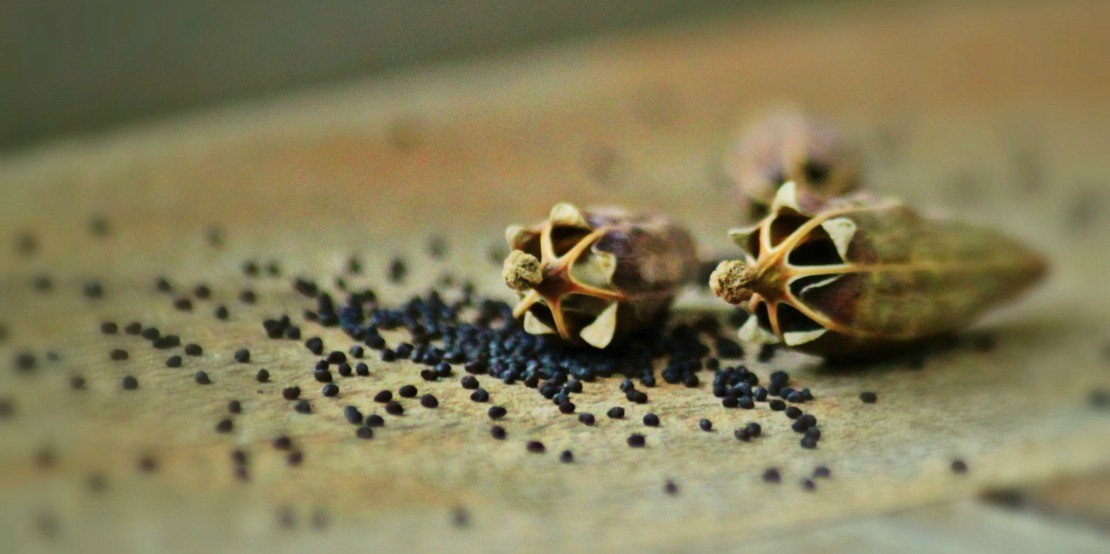
Step #3: Place 2-3 seeds into each cell.
Once you’ve placed the divet in each cell, place about 2-3 seeds into each one. Then lightly replace some of the soil over the seeds. Mist the soil with a spray bottle, as pouring water into the cells may damage the seed.
Step #4: Allow the seeds to grow.
Depending on the plant, the seed may take between 1-2 weeks to grow into a small seedling, about 1/2″ tall. Be sure to mist the seedlings daily and place a transparent cover over the tray to retain humidity. If possible, leave the tray on top of a refrigerator or other warm surface to keep the seedlings at an ideal temperature for germination. Follow the specific instructions on the packet to determine if the seeds should be kept in direct sunlight or shade.
Step #5: Remove all but one of the seedlings in each cell.
Ultimately, you will want one seedling to grow in each cell, and by planting 2-3 seeds you have the opportunity to grow the seedling that is the largest and strongest. Once the seedlings have begun to germinate, take a pair of scissors and cut all but one of the seedlings off at the base of the stem. Be sure not to pull the seedlings out by the root, as this will disrupt the root system of the seedling that is to remain.
Starting seeds has tremendous potential to be a satisfying and enjoyable experience. Please check out our article on transplanting seedlings to help your babies grow from this early, delicate stage to thriving plants that will prosper throughout the summer.
Follow our Gardens Galore board on Pinterest for more gardening tips and tutorials!