00 Days
00 Hours
00 Minutes
00 Seconds
Up to 35% OFF ALL HERBAL COURSES during our Back to School Sale, plus FREE EBOOK LIBRARY at checkout – ends September 10th!
5 Aug 2022

How to Propagate Herbs From Cuttings

When it comes to multiplying your beloved herbs, growing new plants from seeds you’ve collected is the easiest and most practical option. But there are other ways to propagate herbs using your already-established plants.

Your herb garden is in full swing, your potted botanicals an abundant source of joy, making their way into your apothecary as you further your herbal studies, and now you may find yourself thinking about how to grow more of the herbs with which you have an affinity. After all, the only thing better than one herb is two herbs!
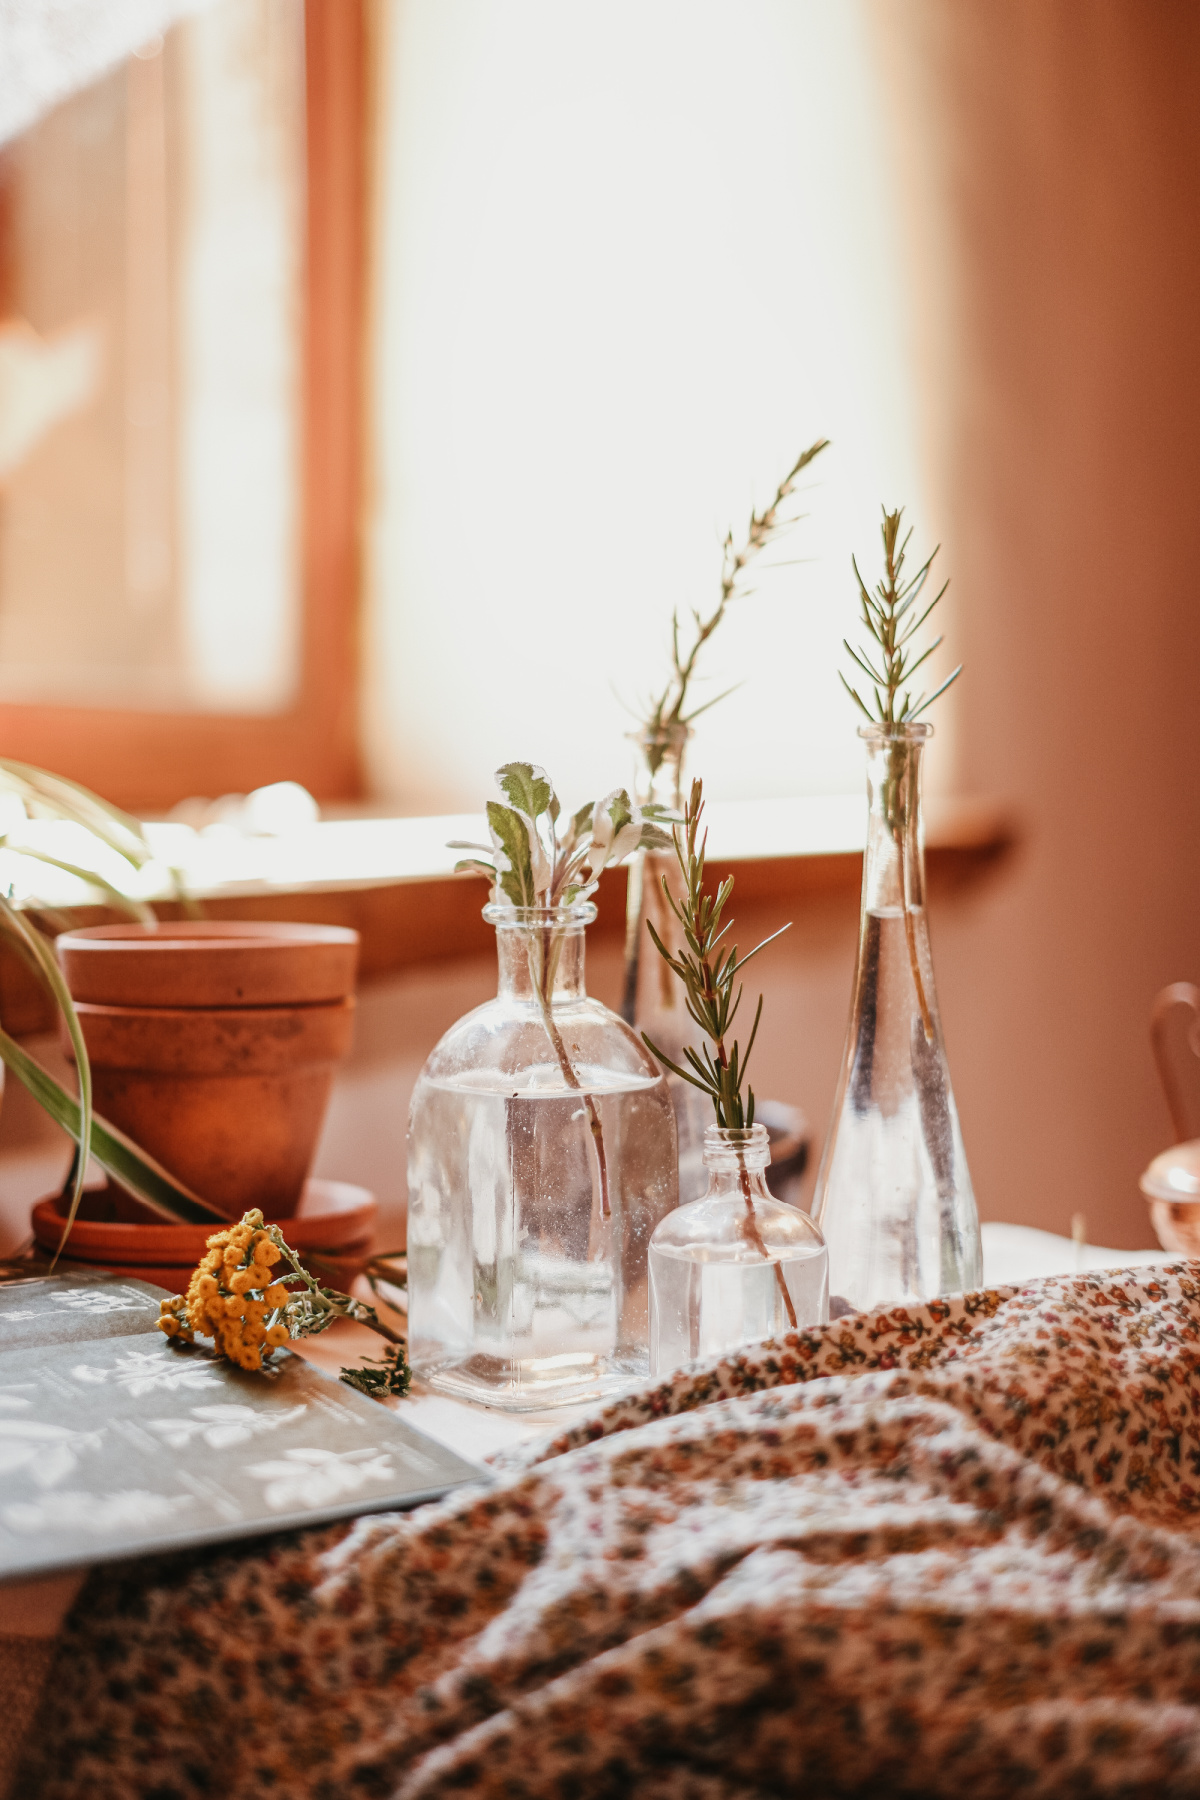
propagate herbs in glass vases

Alternative Methods of Propagating Herbs 

You may want to look into these alternative methods when you want to propagate herbs that require a long time (sometimes years) to reach the flowering period. Alternative methods are also useful for plants which have seeds that are difficult to germinate, like lavender (Lavandula spp.), or that don’t produce seeds at all, like horsetail (Equisetum arvense) (Titchmarsh, 1981).
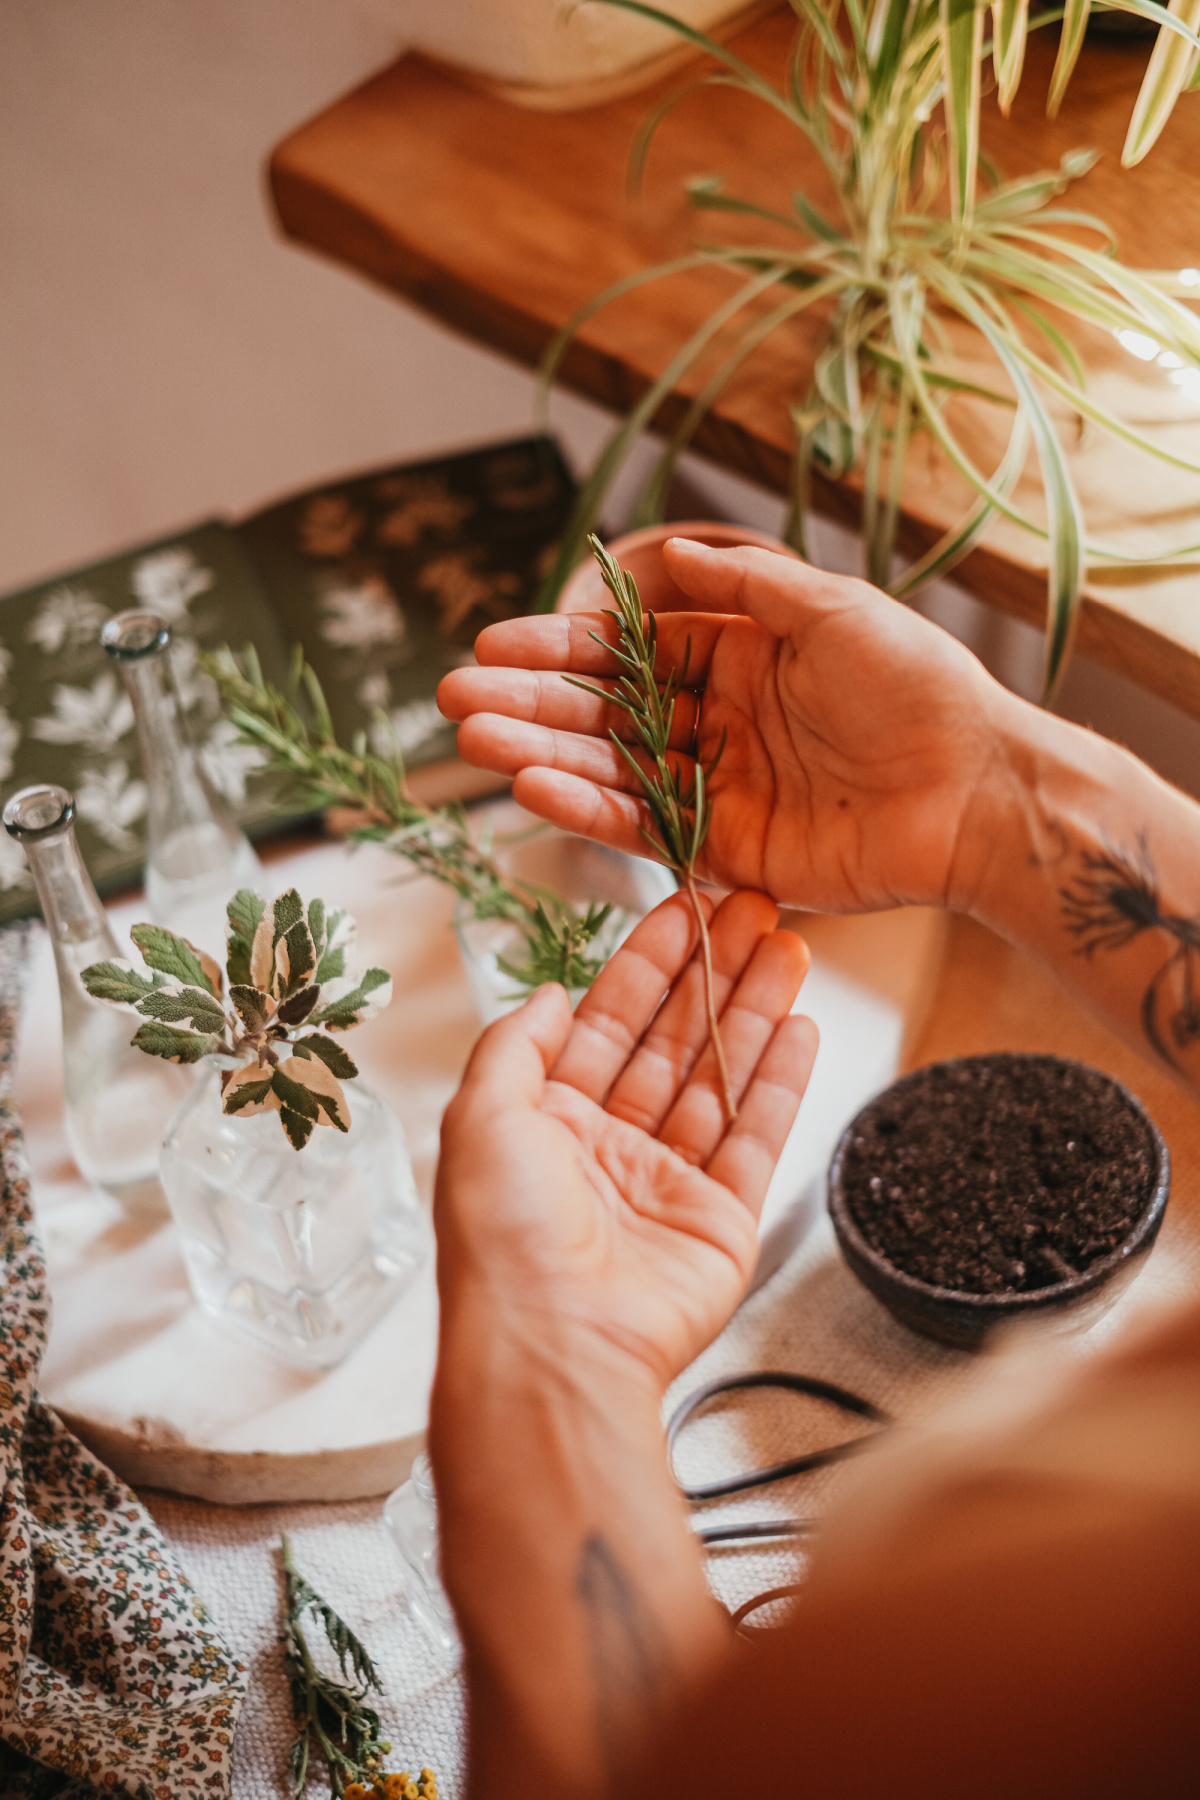
hands holding herb

Using Plant Cuttings: Additional Insights 

Different propagation methods work for different plant parts, depending on each species’ characteristics. Propagation can be done using roots, stems, or even leaves from the plant.

In this post, we’ll look into one of the most common of these methods—propagation from plant cuttings using stems. This is a very successful technique for plants with herbaceous to woody stems, including culinary herbs such as rosemary (Salvia rosmarinus), thyme (Thymus vulgaris), sage (Salvia officinalis), lavender (Lavandula spp.), and various mints (Mentha spp.), just to name a few. Propagating from cuttings creates a new plant that is genetically identical to its parent plant. Although the process is similar for herbaceous to semi-woody or woody stems, these procedures are practiced at different times of the year (McVicar, 2002).

During spring, use this method of propagation for plants with herbaceous stems, such as anise hyssop (Agastache foeniculum), tarragon (Artemisia dracunculus), Roman chamomile (Chamaemelum nobile), lemon balm (Melissa officinalis), and oregano (Origanum vulgare).

During summer and early autumn, propagate semi-woody plants from cuttings, such as lemon verbena (Aloysia triphylla), lavender (Lavandula spp.), rosemary (Salvia rosmarinus), and sage (Salvia officinalis).

During autumn, you can use this technique to propagate shrubby plants and small trees with woody stems, such as elder (Sambucus nigra), ginkgo (Ginkgo biloba), and juniper (Juniperus communis).
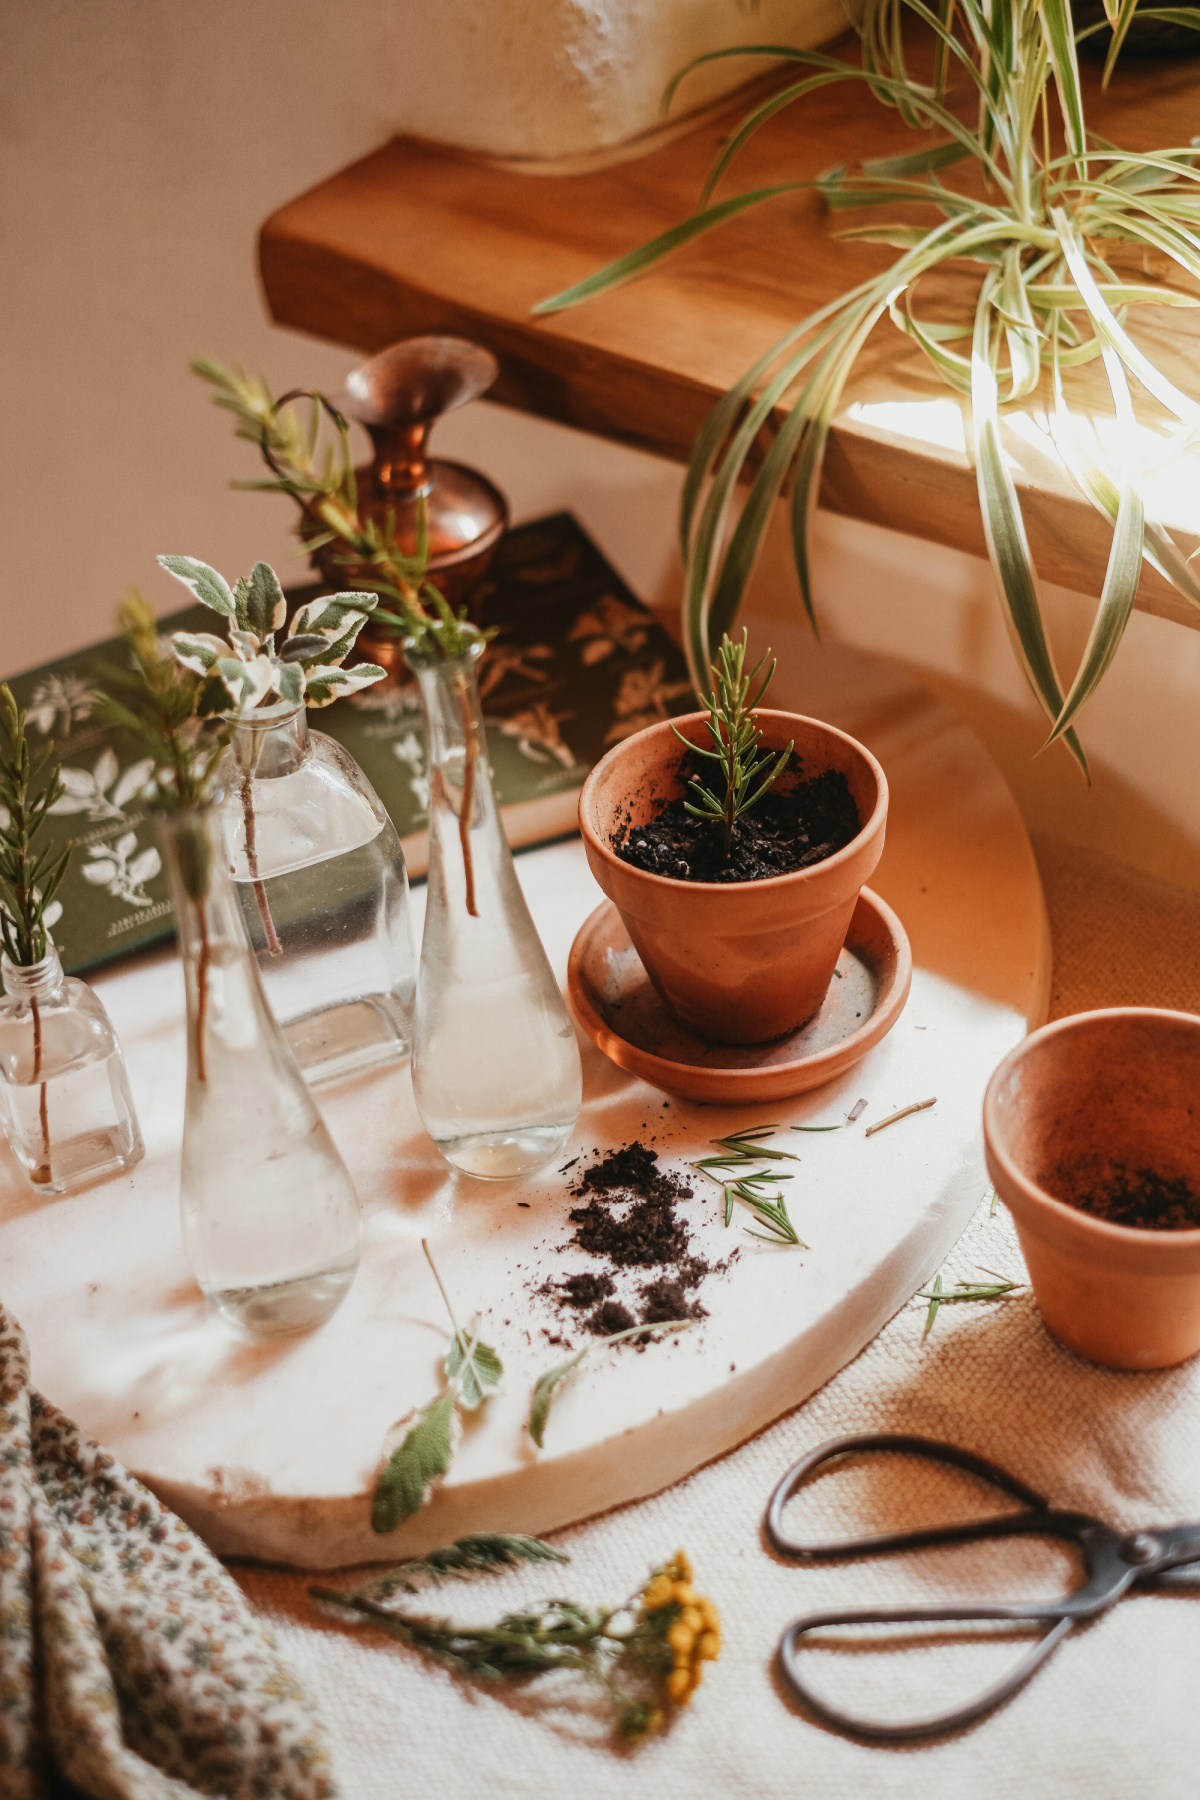
propagating herbs

How to Propagate Herbs Using Cuttings: Step-by-Step Instructions


Are you ready to start propagating your favorite herbs? Let’s do this! Here’s how to propagate herbs using plant stems. Refer to the above guidelines as to which season is best for different types of herbs, depending on their stem type. 
Ingredients

A well-established healthy herb
Sharp scissors
Sharp knife
Rooting hormone (optional)
Soil-less potting mix
A seedling tray or pots, one pot per new plant
Plant sprayer and water
Directions
  • Select a healthy, well-established herb showing new growth. During the early morning, while there is some humidity in the air, use a sharp scissor to cut some of the new side shoots growing on a strong stem. Select thin shoots that are about 4-6″ long. Keep these freshly cut stems moist until you are ready for the next step, which you should move on to as quickly as possible (you can do so by wrapping them in a wet piece of fabric or closing them in a plastic bag with some water inside).
  • Using a sharp knife, cut each stem just below the node where new leaves emerge from. Remove all leaves from the lower half of the stems. Be careful not to damage the stems, which can make them susceptible to diseases. Remove any flowers that are present along the stems, too, as you want your little cuttings to direct their energy to growing new roots, and flowers can compete for energy.
  • If you’re using a rooting hormone, dip the bottom end of each stem in water and then in a small container with the rooting hormone before moving on to the next step (always follow the package’s instructions). Rooting hormone is not necessary, but is sometimes recommended. Although plants can naturally propagate, the hormone contains compounds that can assist and stimulate new root formation and thus speed up this process, and this product can be found in most gardening stores. 

Now, you have two options:

Option 1:

  • Move ahead to place your prepared cuttings in seedlings trays or pots filled with moistened potting soil, burying them carefully until the first set of leaves is above the soil, and spraying the soil thoroughly with water. It’s important to keep a constant level of humidity as your cuttings develop new roots. To achieve this, you can place your pots in a mini greenhouse or even cover them with a plastic bag (filled with air, so it doesn’t touch the plant and also turned inside out daily to avoid waterlogging), away from direct sunlight. Spray the soil every morning and evening. In optimal conditions, your cuttings will start developing roots in 2-3 weeks!

Option 2:

  • Alternatively, option two is to place your cuttings in jars with fresh water, one cutting per jar, and leave them in an undisturbed place away from direct sunlight, changing the water every 2 days. This is a great option for the curious gardeners who want to see how roots develop! In 2-3 weeks’ time, once your cuttings have developed their root systems, you can transfer your new plants to pots filled with moistened potting soil.
  • To ensure strong plants, we recommend leaving your new plants in their seedling tray or pots, watering daily, for another month after roots have developed before planting them out in their garden home. Before planting them out, it’s a good idea to harden your plants. This simply means gradually introducing your new plants to your garden environment so they can adapt to the conditions of this new environment before the big move. To do so, take your new plants to your garden, leaving them in their pots in a sheltered location near their final home, for a few hours at a time, increasing that each day until they are out for a full 24 hours. Then, leave them undisturbed in their location for an extra week. You can now plant your new garden friends in their new homes!

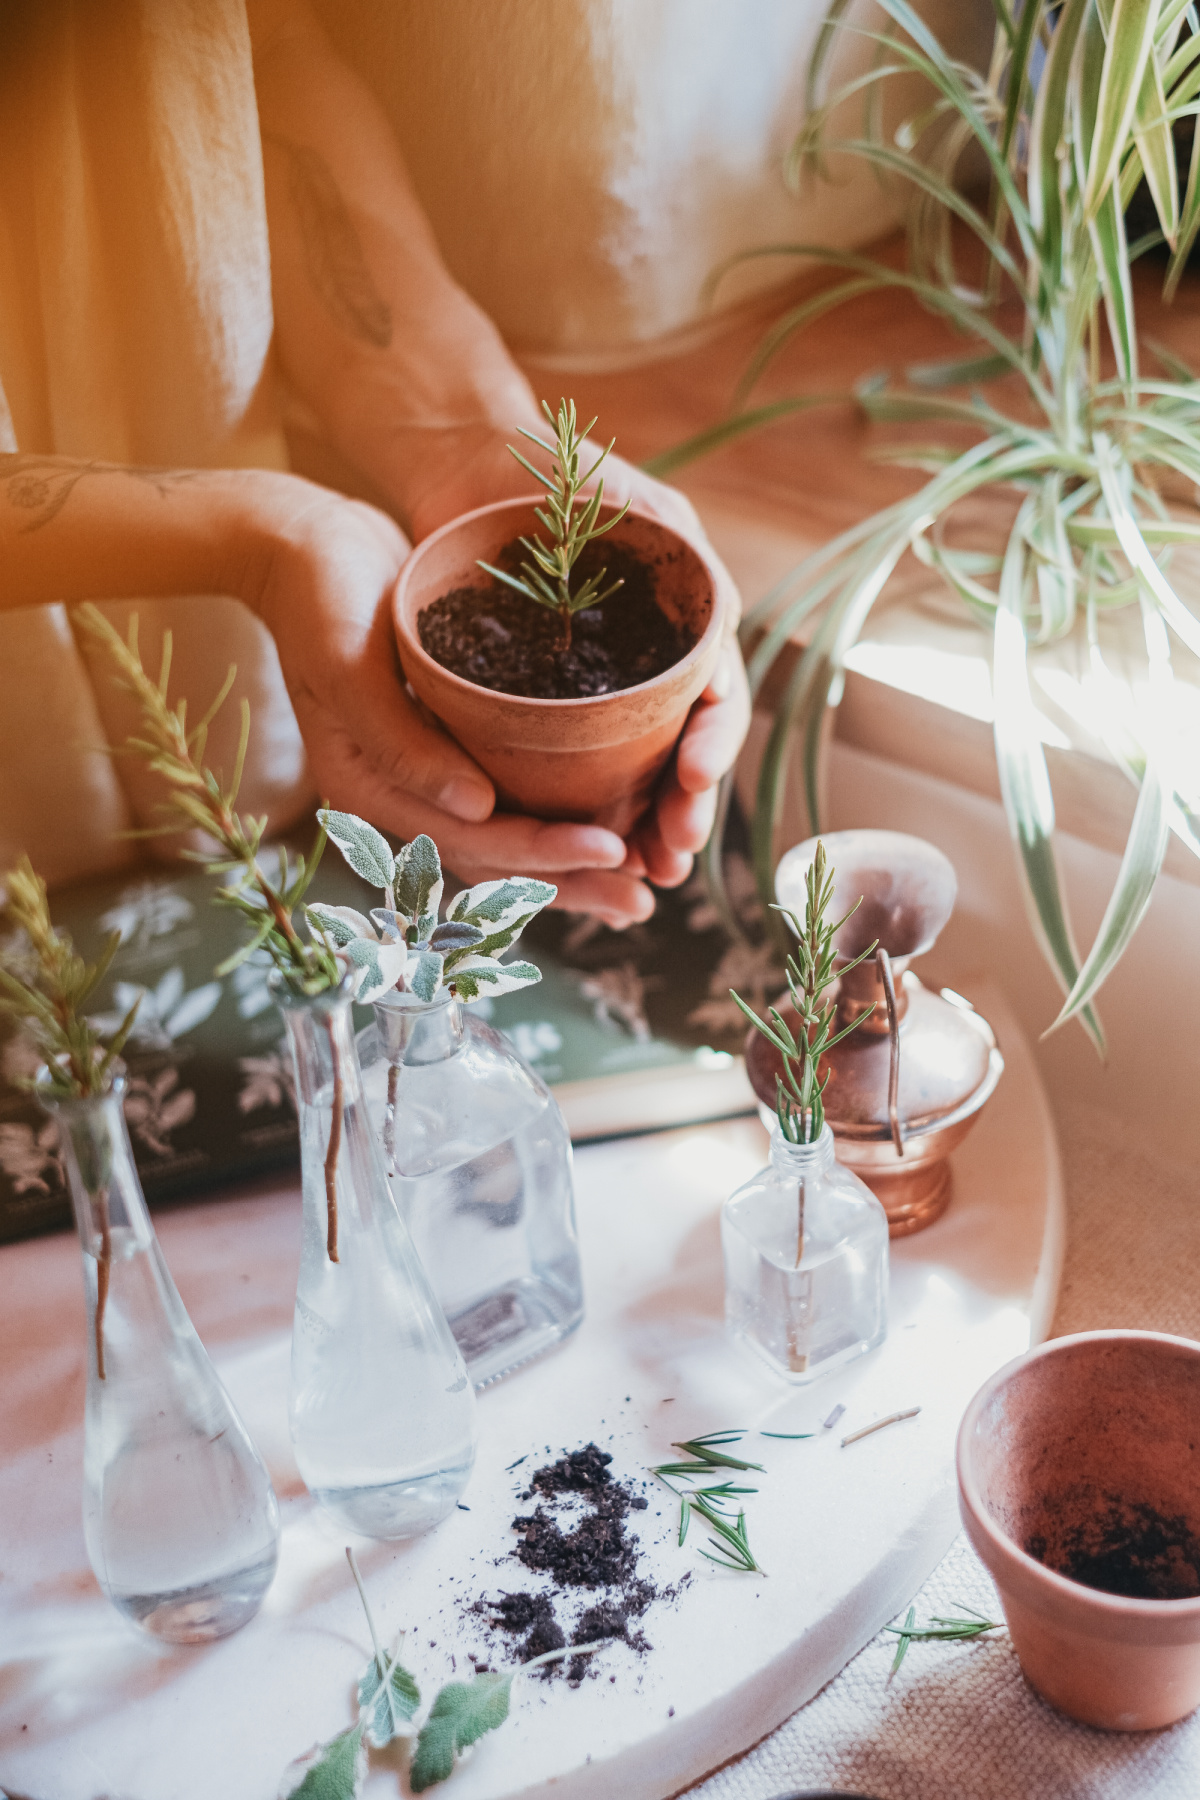
propagate herbs in pot and glass vases

In Closing,

Propagating your established herbs from cuttings is an easy and accessible way of (quite literally!) multiplying your herb garden throughout the seasons. It is also a delightful way to deepen the bonds you have with your plants by observing the rooting process and being supportive along the way.
How to Propagate Herbs From Cuttings | Herbal Academy | There are ways to multiply herbs using your already-established plants. Here’s how to propagate herbs using plant stems.

REFERENCES

McVicar, J. (2002). New Book of Herbs. Dorling Kindersley.

Titchmarsh, A. (1981). Gardening Techniques (3rd ed). Mitchell Beazley Publishers.