
How To Make No Drawer Nightstands
The other day I found myself searching for home inspiration. Where better to look than Pinterest? (find us on Pinterest here) I needed a serious update for my bedroom and living room, and all in the same department… side tables.
I found the perfect, simple and contemporary look I desired; a piece from Crate & Barrel. However, I didn’t particularly want to dish out $200+ for each end table, especially when I needed two sets. So I decided to roll up my sleeves and create my very own no drawer nightstands. I intend to alter the plans and do a similar design for my living room down the road.

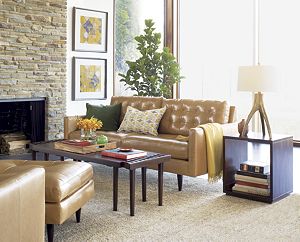
Images from Crate & Barrel
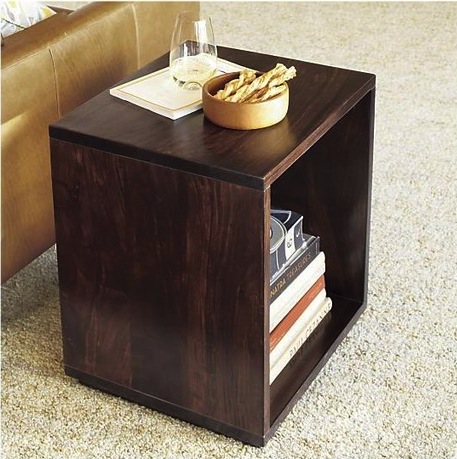
I love the look of this design. It is so simple, and a unique way to feature books, magazines and other accent pieces. I edited the size to fit my bedroom space. I also changed the foot design by bringing the bottom shelf up an inch. If you want the design above, all you need to do is create a square box and then add feet separately.
The materials for two 23” tall, 15” wide, 12” deep nightstands:
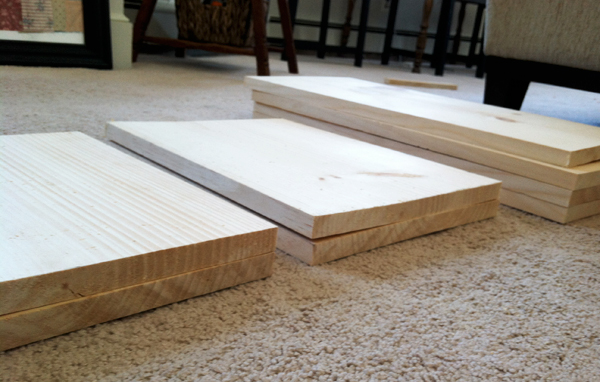
- 13’ 1×12 board. I chose Pine in 1x12x6 and 1x12x8 and had Home Depot cut both in half to fit in the car. Note that HD’s cuts are approximate so never depend on them for a precise cut.
- Screws. My choice was Trim Head Screws Size 8 x 1 1/2”. Approximately 12 needed per table.
- Wood glue.
- Sandpaper (use 150 grit or finer).
- Stain. I always buy Minwax, and for this project I used Ebony.
- Polyurethane. Minwax in Clear Satin.
- Stainable wood putty.
- Steel Wool.
- Foam brush.
- Rags for staining and clean up.
You will also need a saw and drill. A sander makes for easier and quicker sanding, but it can be done by hand.
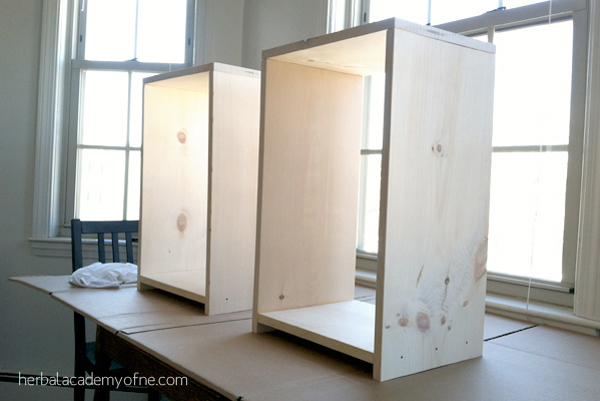
Cut your boards to size. You need two 13.5” for the bottom shelves, two 15” for the top shelves, and four 23” for the sides.
At this point I recommend deciding which boards you like for the outsides and tops. Keep tabs on them.
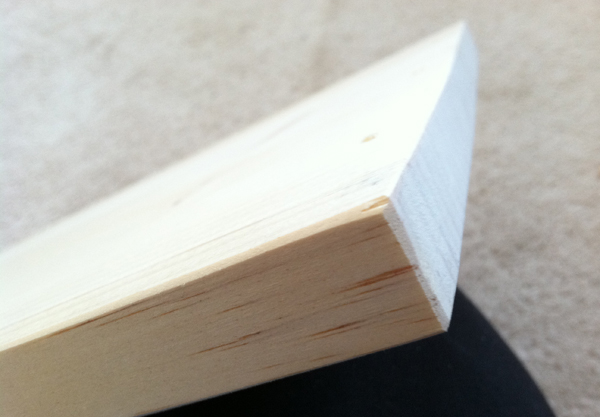
The lumber purchased is already good for staining, but go over the rough spots with sandpaper anyway. Also hit your edges with sandpaper.
Predrill holes. The drill bit to use is 1/8”. There will be three screws per side. The top has six holes, measured 3/8″ from the outer edge. Each of the outer sides will have three predrilled holes to connect with the bottom shelf. Measure these 1 3/8” from the bottom. Your bottom shelf will be one inch from the ground; mark a line on the inside of the outer boards so you can easily line up for drilling.
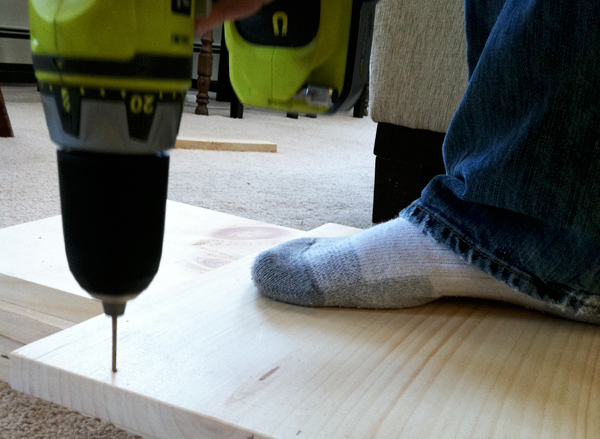
Now it is time to drill! It is easiest if you have a helper hold the boards in place for this step. Strip a thin line of wood glue on one of your boards and place your pieces together. Drill the outer holes of the three first and then your middle one. Your screws will sink maybe 1/8” into the wood and that is perfect! These will be filled with putty. Attach all your pieces so your nightstands look like the picture below. Be sure to wipe off any visible wood glue with a damp towel as you drill.
Tip: Less glue is more and do your best job removing excess glue. Any glue on the surface of your table will not stain well.
Fill drill holes with wood putty and let dry.
Sand down the wood putty so it is a smooth surface. Look for other areas that need sanding like sharp edges. Sand those to a smooth edge.
Wipe your entire surface with a damp towel.
Finally it is time to stain! I always love this part in a project. It only took one coat because the wood soaked up the stain very well. Do as many coats to get the color you wish, but make sure to wait for the stain to dry in between layers. Read the stain instructions.
Seal the nightstands with polyurethane. I prefer using a wide foam brush for application. Be sure to check for any drips and bubbles. Smooth those out immediately! Then let the layer dry.
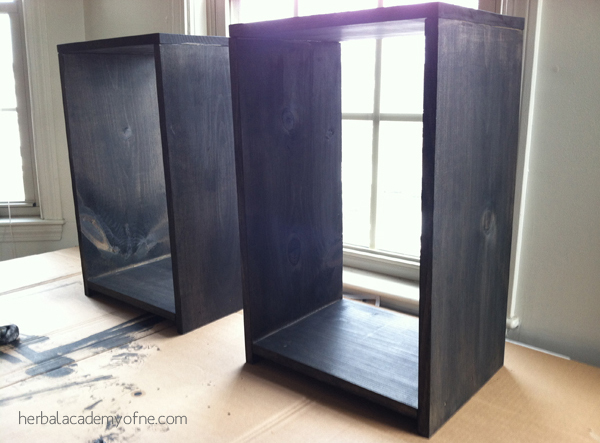
Steel wool the surface and wipe off with a damp towel to remove any dust. Then apply another coat of poly. I ended up applying three coats, but two may work.
Let dry. You are all done!

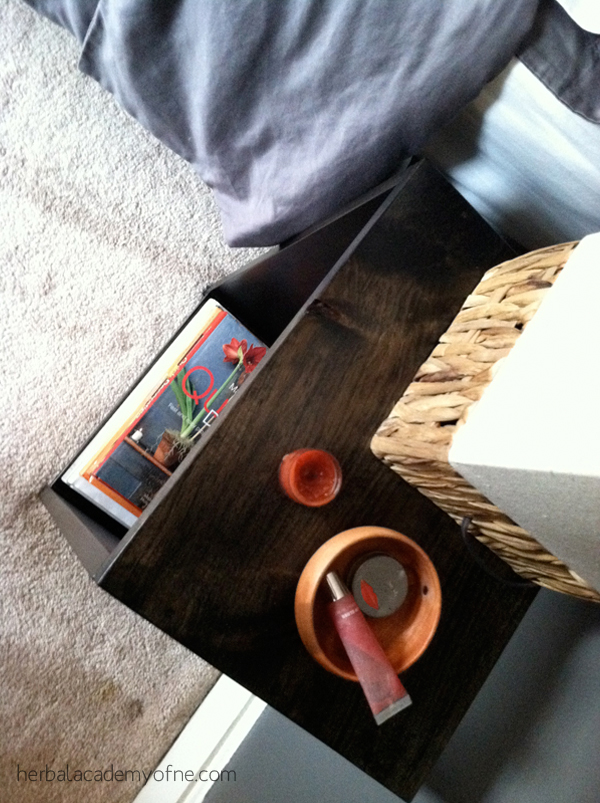
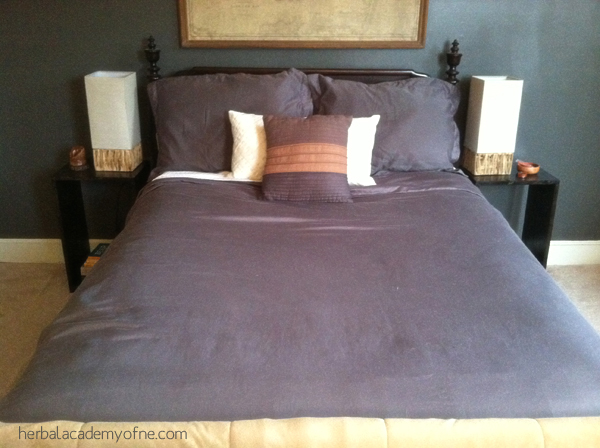
What do you think? In the end I had most of the materials around the house so all I had to buy was the lumber and screws. My two nightstands came out to be under $20 a piece, a much better deal than C&B’s No Drawer Nightsands at $200 each. I love them!
About Post Author