How to Make an Herb and Flower Drying Screen
Growing your own medicinal, culinary, or otherwise useful herbs and flowers is a rewarding experience. The act of planting the seeds, nurturing and watering them as they grow, then harvesting the fruits of your labor for your natural health medicine cabinet is so fulfilling. It’s nice to know that you have all of the great benefits of herbs right at your fingertips for when you may need them. It is also sometimes necessary to wildcraft your herbs, which can be an extremely gratifying endeavor. Finding, identifying and collecting wild herbs and flowers can easily turn into a day of fun for me.
Once you have those fresh herbs, whether homegrown or wildcrafted, it is usually necessary to dry them in some way or another to preserve them for use throughout the year. Many herbal recipes call for dried herbs, and while it is possible to buy almost any dried herb you would possibly need these days, growing, foraging, and drying them yourself is a great path towards self sufficiency. Hanging them upside down in bundles works well for long stemmed herbs and flowers, such as lavender, but a lot of times you will have smaller flowers or leaves that benefit from a drying screen. My crafty husband Joel saw that need and went to work on making an herb drying screen with such a simple design that almost anyone could do it with just a few common tools.
Making Your Herb & Flower Drying Screen
The first thing that you will need to determine is how large you want the drying screen to be. We made ours almost 2ft square (22 inches to be exact), which is a nice and manageable size without being too small. You can definitely make yours bigger or smaller depending on your needs. The nice thing is, if you make more than one, they are stackable which is great for saving space.
Materials
Here are the materials and tools you will need to make one almost 2ft (22 inches) square herbal drying screen:
- 1 8ft long 2×2 board
- 1 8ft long furring strip
- Screening, either a scrap piece that is big enough, or a roll
- 8 1 ½” long screws
- 4 small 90 degree metal brackets with screws
- 20 finishing nails
- Tape measure
- 45 degree angle measure (speed square)
- Power saw of some sort (we used a cordless circular saw)
- Power drill of some sort (we used a cordless drill)
- Staple gun and staples
- Hammer
Assembling your Drying Screen
Use your speed square to mark a 45 degree angle at the the end of your board. Cut the end piece of your board off on that line using your saw. Then measure 22 inches on the long side, mark a second 45 degree angle, and use your saw again to cut your first piece.
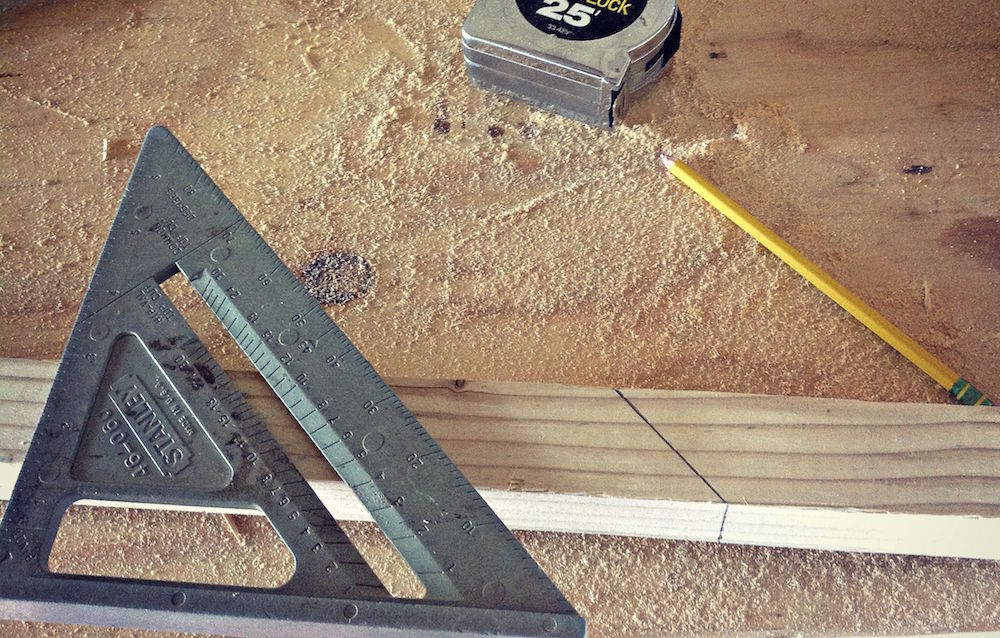
Continue in the same fashion until you have four equal sized pieces, 22 inches on the long side, 19 inches on the short side.
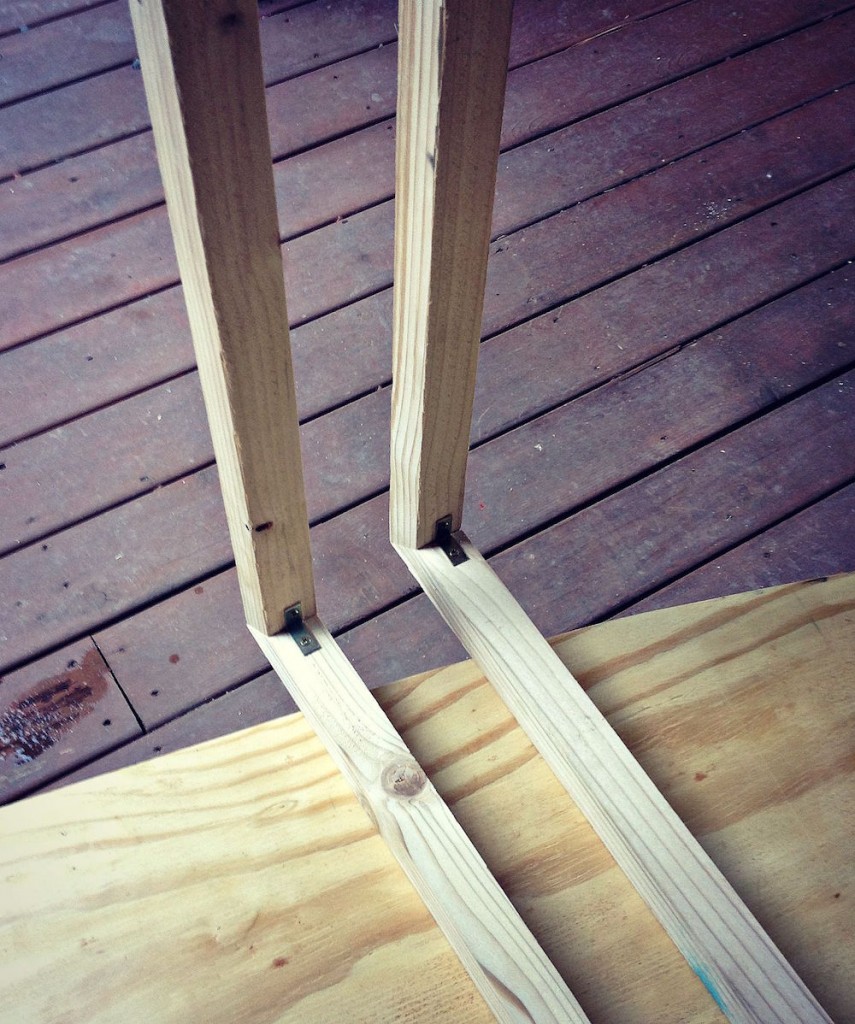
Then take two board pieces and screw them together in an “L” shape using 2 screws, one on each side. Fasten a small bracket on the inside corner to help hold it together. Then do the same with the other two pieces.
Put the two together to make a square and fasten those corners with screws and brackets as well.
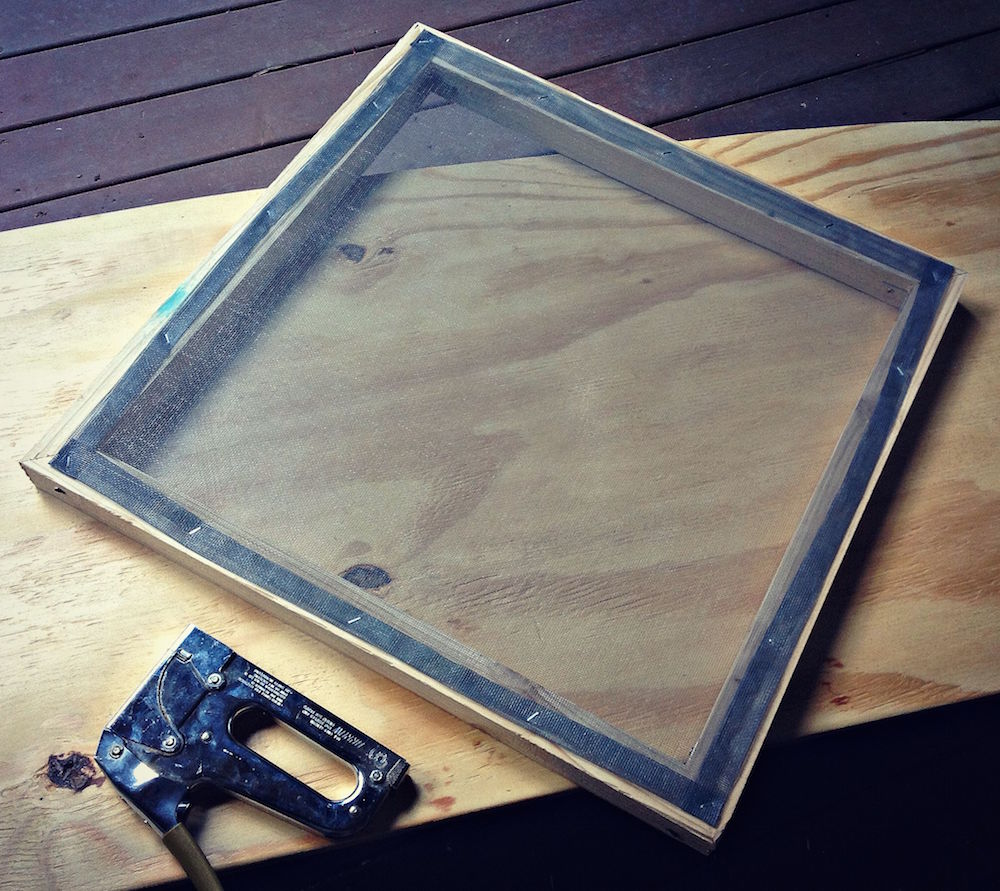
Lay your screen out on top of the frame, and cut it to fit, leaving about an inch of excess screen on each side.
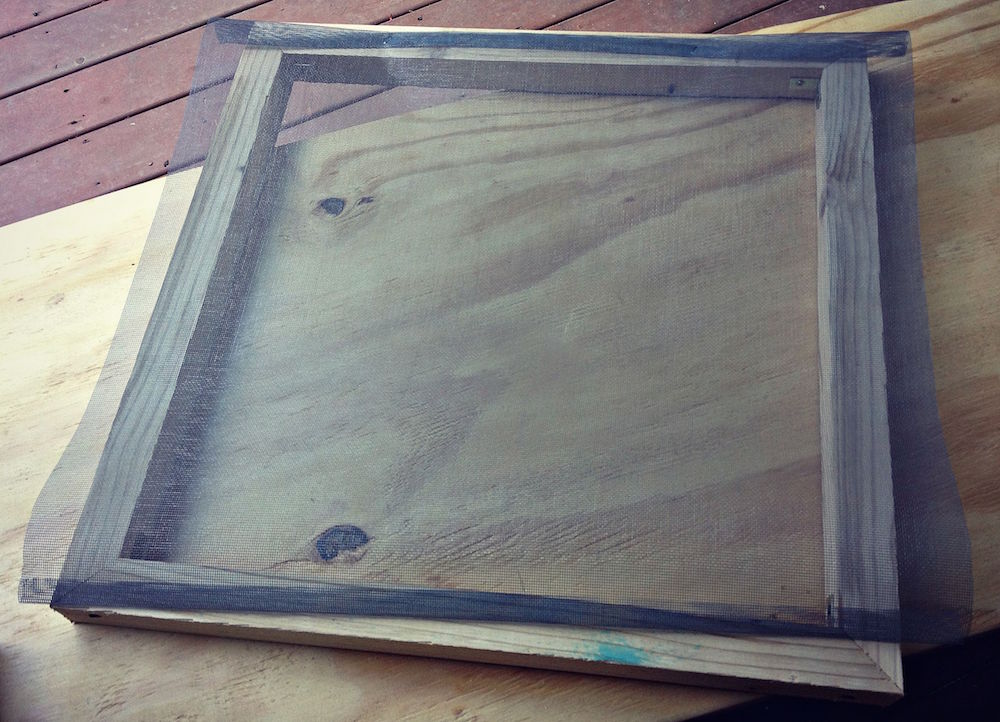
Fold the edges of the screen under once or twice, then staple gun it to the frame, making sure to keep it fairly tight.
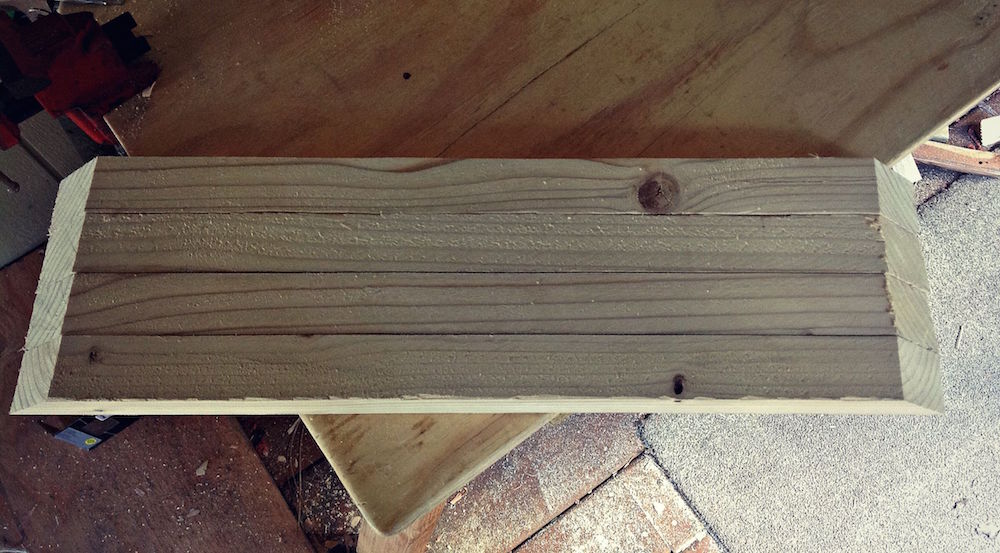
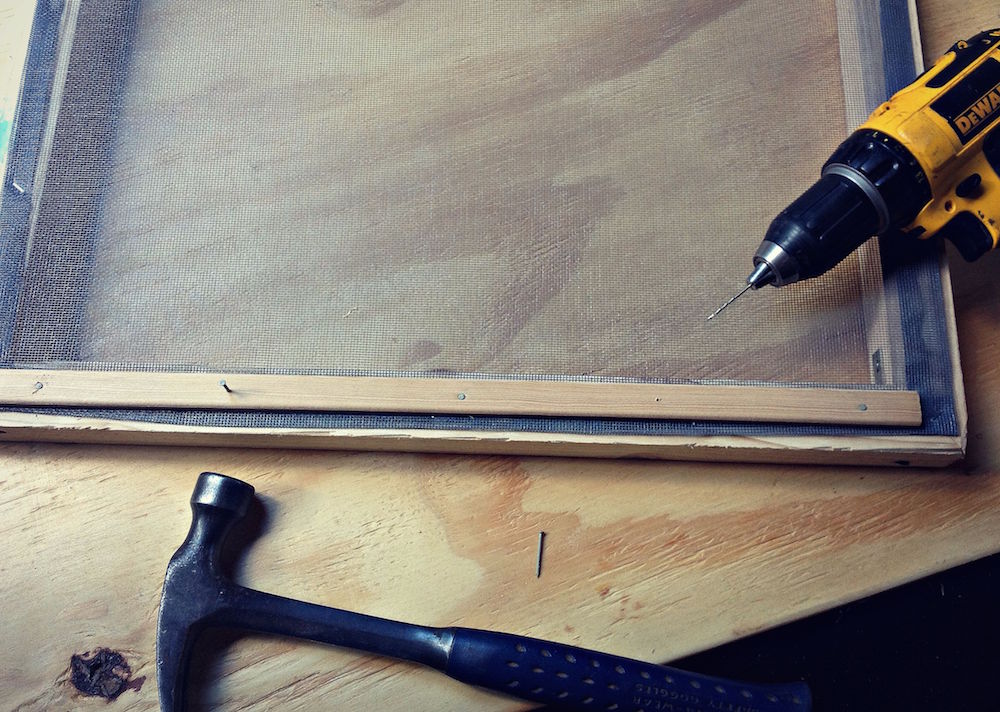
Cut the furring strip into four pieces and nail them to the frame on top of the screen.
Using your Herb Drying Screen
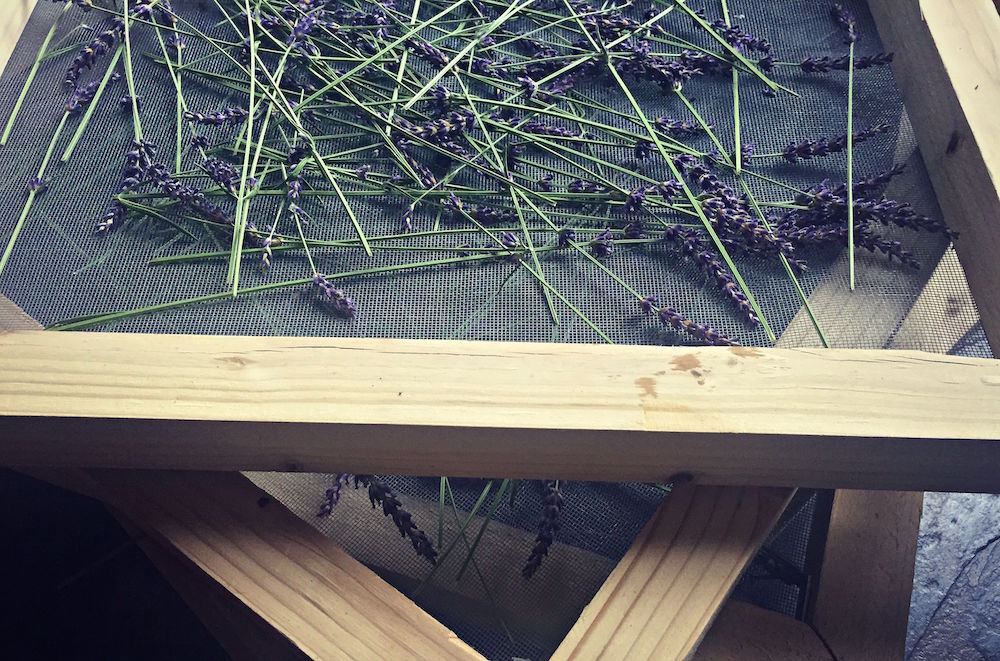
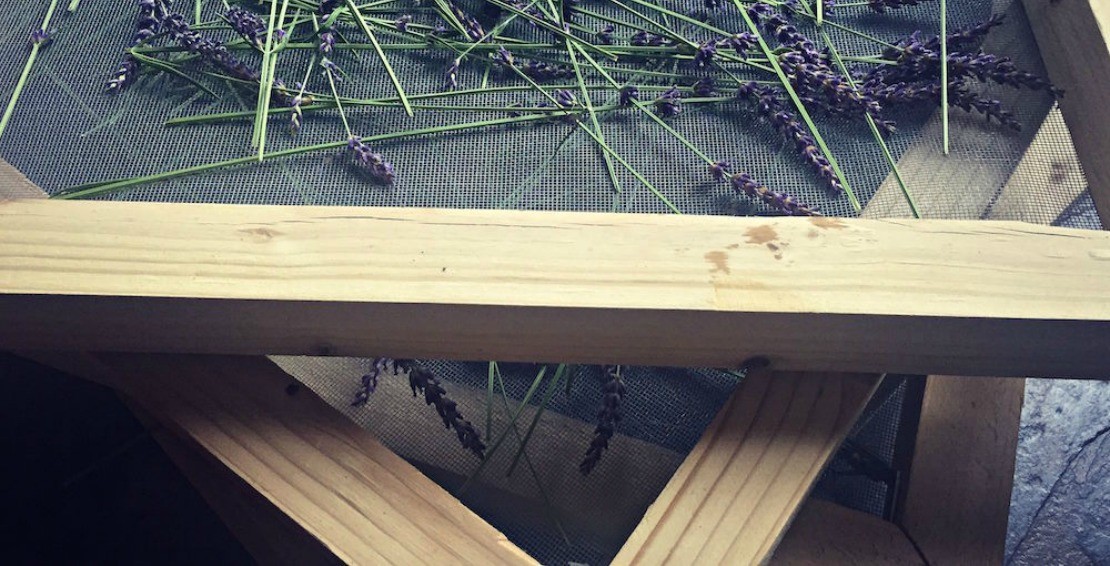
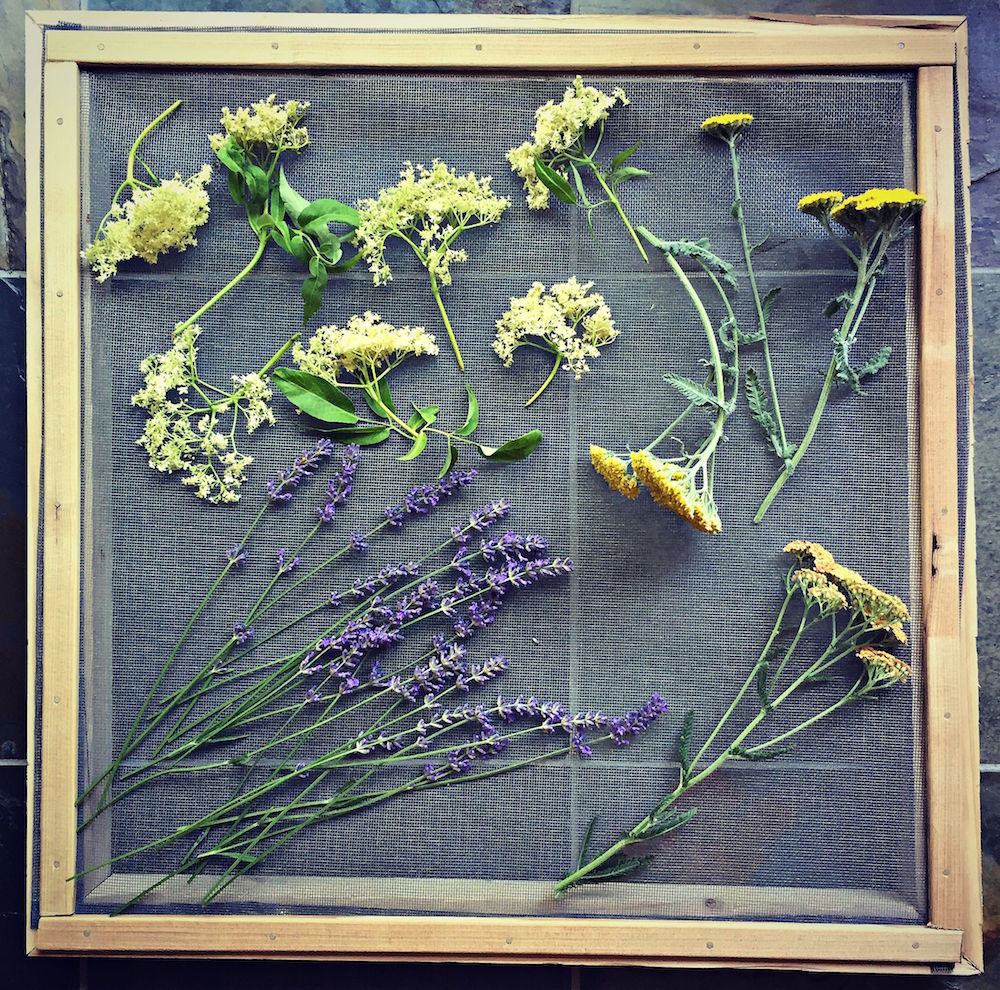
And now you have an herb drying screen! It really is quite simple to make. Featured here on this rack are elderflower, yarrow, lavender.
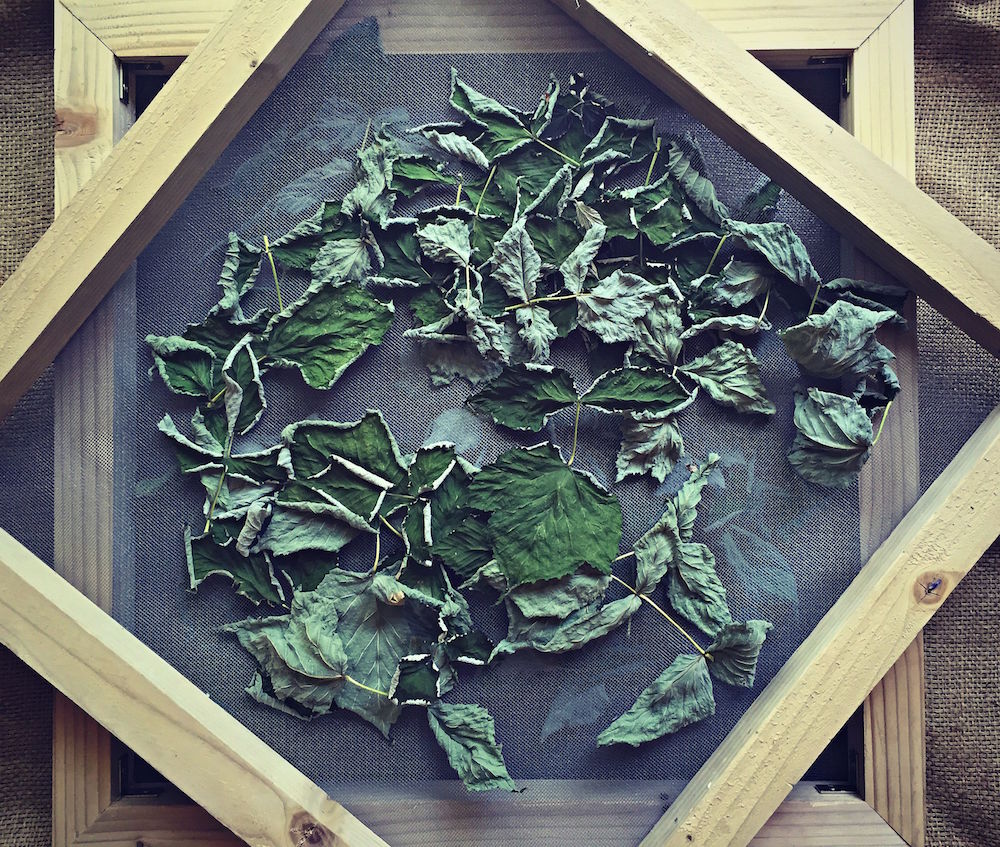
Like I mentioned before, the screens are stackable so you can dry a large amount of herbs at once. We often have four screens full of herbs stacked together! While these screens can be used for any type of herbs or flowers, I find them especially useful for leaves, such as these raspberry leaves.
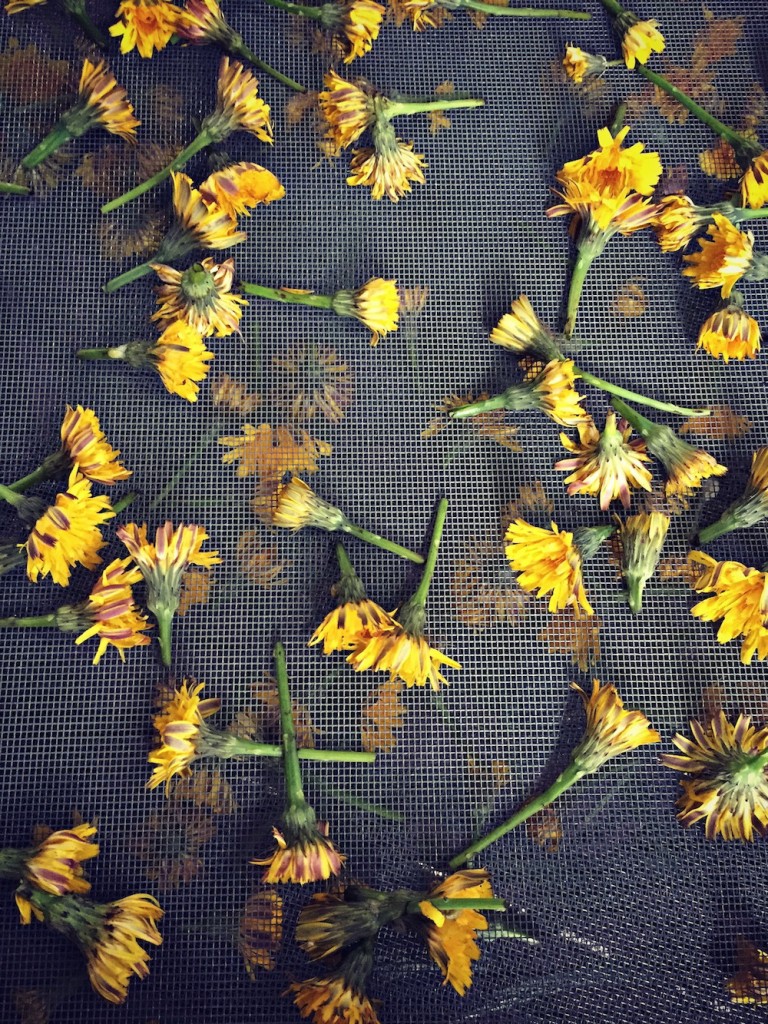
And also for small flowers without really long stems, like dandelions.
We originally only made one of these drying screens, but because they are so easy to put together we decided to make more when the bounty of summer brought us loads of wonderful herbs. We combine using the screens with hanging and, in a pinch, using the dehydrator for our herb drying needs. It’s a fun project and a good one for beginning builders and children (minus using the saw, of course). Plus it’s a great way to get more homegrown and wild foraged herbs into your household. Can’t beat that!
This post was written by Colleen Codekas who runs the blog Grow Forage Cook Ferment, a website that teaches about all types of homesteading endeavors, particularly related to food, herbalism, permaculture, health and survival. She loves growing and foraging for herbs and other plants, making herbal salves, cooking food from scratch and making mead (honey wine). She is currently taking the Introductory Herbal Course and is absolutely loving it! Photographs provided by and copyright Colleen Codekas.