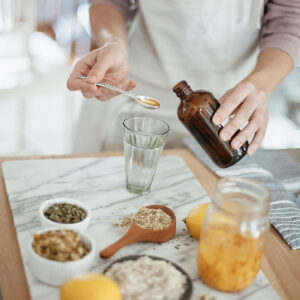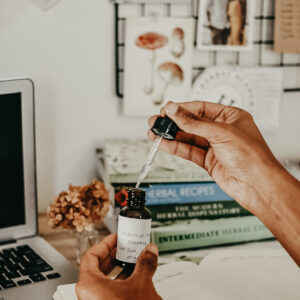
Introduction To Herbs For Kids: A Kid’s Herbal Pharmacy
An Overview of Simple Herbal Preparations
Using our gentle herbal friends is simply a lovely part of life. Herbs can be used to keep you healthy and make you strong. They can also be used to help you feel better when you are sick. Creating herbal remedies is a way to show gratitude for the herbs and the Earth from which the plants grew. Once you get to know the herbs and how to use them, you will find that it is easy to make your own simple remedies.
We are going to talk about how to make four types of herbal preparations. You will also learn ways to use each preparation safely and effectively. When making your herbal pharmacy, it is important to engage your parent’s help and guidance. Try making some of these preparations together!
So far on our adventure, we have added a lot of information to your herbal tool kit. We have talked about what an herb is and some of the things you can do with herbs. We have even learned some botany which has given us a scientific view into the world of plants. Now it is time to learn about herbal preparations! Are you ready?
Do you want to read more about herbs and all the fun we are having with our Introduction To Herbs For Kids series? Click HERE and visit this exciting series to learn right along with us!
Special Herbal Terms
When learning about herbs you will encounter many interesting and sometimes strange words.
Here is a little key to help you understand some of the words in this article.
- Culinary Herb: An herb that is commonly used in cooking to add flavor to food.
- Herbal Pharmacy: Helpful remedies made from herbs.
- Infuse: Soaking a material like herbs in a liquid such as water or oil to pull out flavors and healing substances from the material into the liquid.
- Infusion: An herbal preparation that is like a strong tea.
- Plant Constituents: Parts of plants that can be helpful such as vitamins, minerals, and volatile oils.
- Remedy: Something that helps to heal and soothe.
- Steep: To soak.
- Volatile Oils: Oils that evaporate quickly into the air.
Rules Of The Game
Brewing up herbal remedies is a lot of fun! To keep it fun and safe there are some rules we need to follow.
1. Keep It Safe & Create Your Herbal Pharmacy With Your Parent’s Help
These preparations are meant to be made and used with your parent’s help and guidance. So before you get brewing in the kitchen, get your mom or dad to help you!
As we talked about in Meet My Friend Herb, Part 1, not all plants are safe so it is important to have the supervision and guidance of a responsible adult when using plants. The same rule applies when making preparations from plants. Always be sure that you know what plant you are using to make your concoctions and that it is a safe plant for you to use. Some of these methods require the use of the stove to boil water. Please make sure you have adult’s help for this or, if you are older, permission from an adult to use the stove.
2. Create A Pharmacy Notebook
This is a place for you to write about your creations. What did you make? How did you make it? When you tried it, what did you notice? These observations made with your own senses are so very valuable! When you write down what you did during your creative process and you come up with something great, your notes will help you recreate it! All you need is a notebook just for your herbal pharmacy notes, even a simple spiral notebook will work just fine. You may want to decorate it with drawings, photos, or stickers to make it extra special.
3. Label Everything
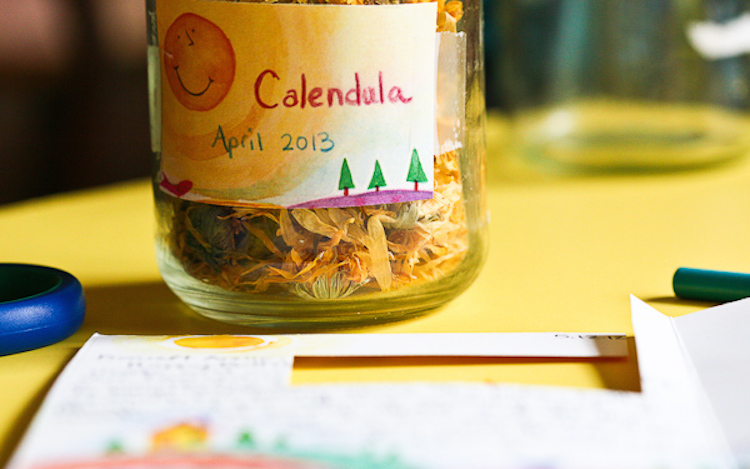
If you are making something that takes a while to brew or will be kept for a while after it is made, you need to label it! Believe it or not, if you don’t label something, you may go back to it after a few weeks and not know what it is anymore. Be sure to include the date you made your creation on the label. A good label includes: which herbs you used, the parts used, the other ingredients you used (like honey or oil), and the date! For example: Rose Petal Honey, 3/6/15.
You can make your own labels (like these ones) or parents can print labels from Unit One in the Online Introductory Herbal Course!
Make An Infusion
Have you ever enjoyed a warm cup of tea at the end of a long day and felt your body relax while your worries slipped away? Well, infusions are a lot like tea yet they are stronger because the herbs are left to steep for a longer period of time in the water.
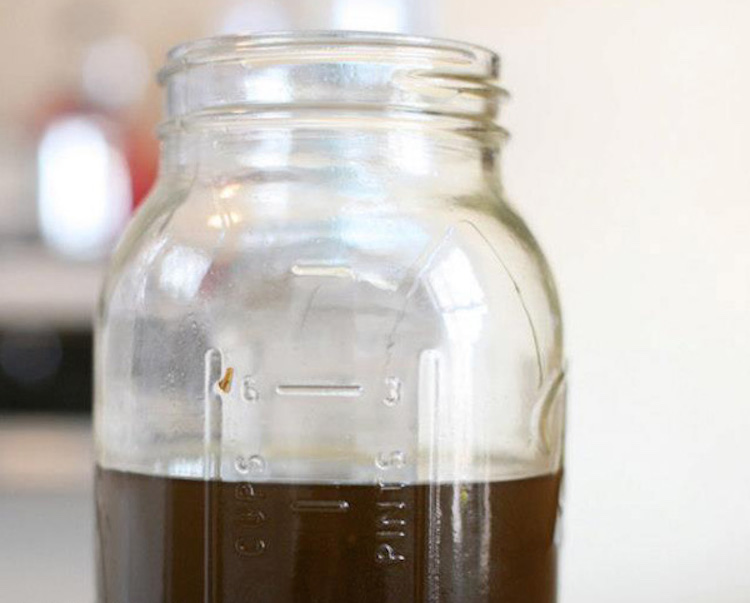
The process of infusing plants for a long time helps to pull many helpful substances out of the plants and into the water. These parts would otherwise stay in the plant material and not become part of the preparation. Substances such as vitamins, minerals, and other helpful plant constituents make their way into the water and into your cup!
When you make an infusion out of a strong smelling plant such as peppermint or chamomile, you release the volatile oils from the plant into the infusion. Volatile oils are what makes the plant smell so good and volatile oils have healing properties such as helping to fight off illness or helping the body relax. Plus the lovely scent is so wonderful that it is healing too!
How To Make An Herbal Infusion For Kids
You can make infusions with either hot or cold water. Some herbal substances are released better with cold water and some in hot. Pick an herb and try making it as a hot infusion, then try it as a cold infusion. What, if any, differences do you notice? Write down your observations in your pharmacy notebook.
Materials:
- 2 to 4 tablespoons of herbal material
- 1 quart of water, hot or cold
- container with a tight fitting lid, such as a canning jar (make sure it is heat-proof if you are using hot water)
- fine mesh strainer
- cheesecloth or muslin bag for cold water infusions
For Hot Water Infusions:
Boil water (make sure you have adult help when using the stove and handling hot water) and add 1 quart of boiled water to 2 to 4 tablespoons of herbs in your heatproof jar. Carefully put the lid on top to capture all the lovely volatile oils inside your infusion! Let the herbs steep for 30 to 60 minutes and then strain. You can add the leftover herbs to your compost. Sip and enjoy! Store leftover infusion in the fridge for up to 2 days. If it starts to look or smell funny then it is time to give your infusion to the garden and make a fresh batch.
For Cold Water Infusions:
Use one cup of cold water for every tablespoon of herb. Moisten the herb slightly and then wrap in cheesecloth or a muslin bag. Hang the bag inside the container and cover with water. Wait at least 4 hours before removing the bag. Gently squeeze the bag to release all the liquid.
Sun & Moon
Want to capture the magic of the sun and the moon in your infusion? While your infusion is brewing, simply set it in the sun or in the light of the moon. The sun is known to be hot and energetic while the moon is more cooling and calm. How do you think this will affect your infusion? Write about it in your notebook!
Friendly Herbs For Children’s Infusions
| Herb Common Name | Latin Name | Part Used | How Does It Taste? | How It Helps As An Infusion |
| Lemon Balm | Melissa officinalis | leaves | delicious happy lemon flavor | Lemon balm helps you relax when you are restless and can’t get comfortable. It is wonderful for helping during illness. |
| Spearmint&Peppermint | Mentha spicata & Mentha piperita | leaves | minty, refreshing & cooling peppermint is stronger flavored than spearmint | Mints are wonderful for crampy tummies that are full of gas. They gently help you digest your food. Also great for colds and flus. |
| Elderberry | Sambucus nigra | berry | yummy berry | Elderberry makes a deep purple infusion that is great for preventing and healing from the flu. |
| Rose | Rosa species | petals & hips | petals ~ like a lovely flower hips ~ tart |
Lovely rose petals are wonderful for healing a sad heart and for lung infections. The tart hips are full of immunity-boosting vitamin C. |
| Chamomile* | Matricaria recutita | flowers | apple-like flavor | Chamomile is wonderful for when you feel nervous and your tummy hurts or you can’t sleep. |
| Lycium Berry | Lycium chinense | berries | sweet berry | Tasty little lycium berries nourish the immune system, eyes, and blood. |
| Nettle | Urtica dioica | leaves | rich green flavor | Nettle is so full of good-for-you vitamins and minerals that it helps your whole body be healthier and stronger! |
| Oatstraw | Avena sativa | stalk & leaves | mild & smooth | Oatstraw comforts the nervous system and can help ease stress. |
| Hibiscus | Hibiscus sabdariffa | flowers | tart & refreshing | Hibiscus has cool-looking flowers that make a delicious, pretty, red infusion which is high in vitamin C — helpful for colds and flus! |
| Violet | Viola odorata | leaves | green & slippery | Violet helps to ease a scratchy, dry throat, soothes away headaches that feel hot, and is very high in vitamins! |
| Calendula | Calendula officinalis | flowers | kind of bland | Calendula makes an easy drinking infusion that is very helpful for healing during colds and flus |
* Special Chamomile Note For Infusions: Beloved by children far and wide, chamomile is indeed an absolutely wonderful herb for kids. Chamomile is so friendly that it only takes up to 5 minutes to brew a cup of chamomile infusion. Any longer and chamomile will give too much of itself to the water and your brew will become bitter!
What To Do With Your Infusion
You can of course drink your infusion, and there are other fun things you can do with it, too!
- Drink it and make it tasty! Add things like honey, milk, lemon, and even a bit of juice to make your infusion tasty. Parents please see the note in the parent section about dosage for kids.
- Freeze it! You can freeze your tasty infusion in popsicle molds or even in an ice cube tray for an extra special treat.
- Bathe in it! Add your infusion to your bathtub or put it in a small pot for a lovely footbath. Our skin absorbs many things and herbal infusions can nourish your body simply by soaking in them.
Make A Compress
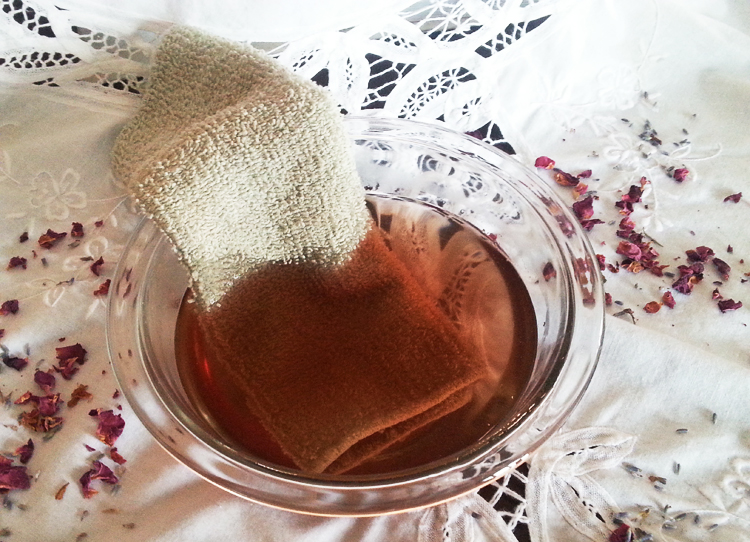
Herbal compresses are made by soaking a cloth in a strong infusion and then laying the cloth onto the body. Compresses are wonderful for helping ease a headache, cooling a feverish forehead, relaxing tight muscles, soothing tired eyes, or even for helping to heal scrapes. Using compresses can also be very relaxing after a long day!
How To Make An Herbal Compress
Making a compress is pretty much the same as making an infusion. Because this is an external (outside the body) herbal remedy, I like to make it a bit stronger than the infusion by using more dried herb and steeping it for longer. However, you don’t have to make it any stronger than an infusion. You could make a nice batch of infusion with the instructions above, drink some of it, and use the rest of it for a nice compress!
Materials:
- 4 to 6 tablespoons of dried herb
- 1 quart of water, hot or cold
- container with a tight fitting lid, such as a canning jar (make sure it is heat-proof if you are using hot water)
- fine mesh strainer
- cloths for applying the compress (a washcloth works well)
Instructions:
Follow the instructions for making infusions above but consider infusing the herbs for longer, up to 4 hours for hot infusions, if you have the time. Strain the liquid into a bowl. Place your cloth into the bowl and soak the material until it is wet. Squeeze out the extra liquid and apply to your body. Lay back and relax while the herbs do their work! Take note, how does the compress feel? Is it helping you? Write down your experience in your herbal pharmacy notebook. You may want to try warming up your compress before applying it to your body. You can do this by gently warming the liquid on the stove (with adult help) to a comfortably warm temperature. Warm compresses are especially nice for easing sore muscles and promoting a feeling of relaxation.
Lovely Herbs For Children’s Compresses
| Herb Common Name | Latin Name | How It Can Help As A Compress |
| Lavender Blossom | Lavandula spp. | Lay a lavender compress over the forehead and eyes to help someone relax and fall asleep. Lavender can also help people when they are sad or stressed. Makes a pretty purple colored brew. |
| Chamomile Blossom* | Matricaria recutita | Chamomile will help with injuries to the skin. A nice compress also helps ease sore muscles and stress. |
| Peppermint Leaf | Mentha piperita | Peppermint is cooling and invigorating which makes it perfect for hot, tired feet or head. |
| Rose Petal | Rosa spp. | Roses are cooling and soothing to the skin and will help ease hot, red inflammation. They also help comfort the heart when people are sad. |
| Calendula Flower | Calendula officinalis | A calendula compress is wonderful for helping the skin to happily heal from rashes, wounds, burns and bug bites. |
| Violet | Viola odorata | Violet leaf made into a compress is cooling, soothing and helps wounds to heal. |
| Catnip Leaf | Nepeta cataria | Catnip on the forehead or neck may help to relieve a headache. Use a nice compress to help with injuries and also to relax away stress. |
* Special Chamomile Note For Compresses: Let friendly chamomile steep for a long time when you are making a compress. You will be putting the infused liquid on the outside of your body and you won’t be tasting the bitterness of the herb. So let the chamomile steep all of it’s love into the liquid!
Make A Poultice
Herbal poultices are another way to use herbs on the outside of the body. They can be very simple or more of a messy, interesting and fun project. The simplest herbal poultice which is very popular with children is a plantain poultice made from a fresh plantain leaf. Supposed you are out and about playing when you or a friend falls down, getting a scraped knee. If you can find a nice clean piece of plantain growing nearby, you can make a fairy bandage (or poultice) with that plantain by mashing it up and putting it right on the scrape. The easiest way to mash it up? In this case, you could chew it up a bit before putting on the wound. This is called a “spit poultice” and is great for healing when you are out and about in the world. Here is another way to make a poultice.
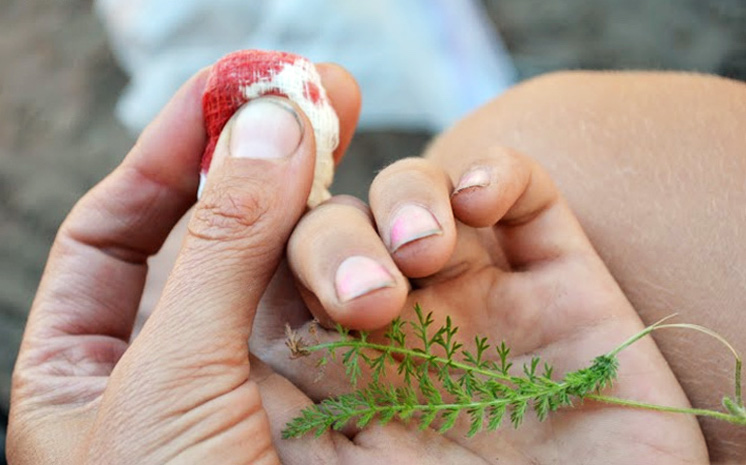
Materials:
- herb of your choice
- bowl and spoon
- warm water or infusion of your choice
- soft washcloths or cheesecloth
Instructions:
Wet the herb with either infusion or warm water until moist and thick. Spread the herb on a soft washcloth or cheesecloth and wrap it up to keep the herb contained. Place this on the affected part of the body and leave it there for 20 minutes. After that, you can change it out for a fresh poultice if you would like.
Healing Herbs For Children’s Poultices
Many herbs can be used to create a soothing and healing poultice. Any of the herbs in the compress section are wonderful choices. You can also try making a classic and helpful plantain poultice! Another favorite poultice is a clay poultice. We make clay poultices at our house to help gently draw splinters out.
Make An Infused Oil
Infused oils are another herbal preparation that herbalists love! There are a few different ways to make an infused oil. Here is a simple and easy way to make your own infused oils.
Materials:
- dried herb of your choice
- olive oil
- clean, sterile and dry jar with a tight fitting lid
- paper bag, optional
- cheesecloth
Instructions:
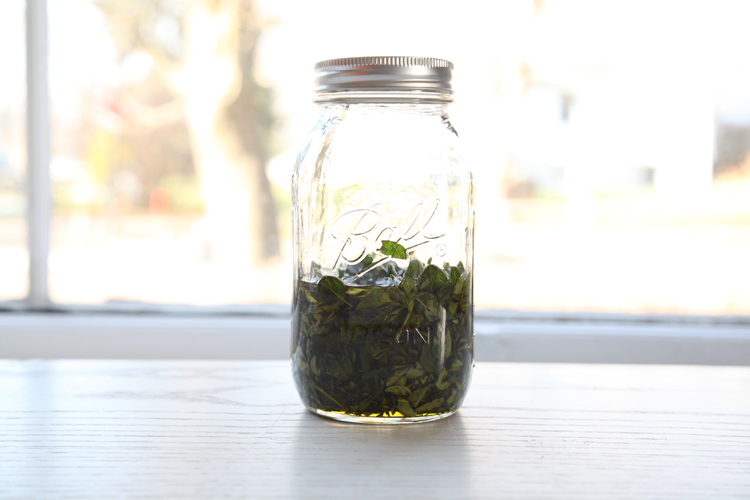
First, make sure your jar is sterile by either placing it in hot, boiled water or sanitizing it in the dishwasher. Be sure to let it dry all the way before making your infused oil because water can cause your oil to spoil! Next, loosely fill your jar with your chosen herb. Then slowly pour olive oil over the herbs until they are completely covered with oil. Place your lid on top. After a few hours check back on your oil. The herbs may have absorbed some of the oil. If that happens add more oil until the herbs are covered again.
It is up to you!
You can set your jar in a cool, dark place or in a warm, sunny window to infuse. Some herbalists feel like it is important to keep their infusing oils cool, while others like to use heat to assist the oil in getting all of the goodies out of the herbs. If you chose to place your infusing oil in a warm, sunny window, you can place it in a paper bag for extra protection if you wish. My favorite? I like to infuse my oils right in the sun!
Be sure to label your oil! Include the plant you used, the part of the plant, and the date. Shake the oil each day for 7 to 10 days if you are using the sun or for at least 2 weeks if you are keeping your oil cool. Then strain the herbs out of the oil by pouring it through cheesecloth into a bowl or jar. Place your herbal oil in a clean, dry jar and cap tightly. To keep it fresh, store your oil in a cool, dark place or in the fridge.
Herbs For Making Kid-Friendly Infused Oils
You can use a wide variety of herbs to make herbal oils. What herbs you use depends on what you want to do with your oil. Do you want to make something tasty to add to your food? Or do you want to make oil for helping your skin be healthy and strong? Here are a few ideas for both kinds of oils.
|
Culinary Herbs for Infused Oils |
||
|
Rosemary Leaf |
Basil Leaf |
Thyme Leaf |
|
Spicy Peppers |
Garlic |
Mint Leaf |
|
Vanilla Bean |
Cinnamon |
Cardamon |
Skin Herbs For Infused Oils:
You can use any of the herbs in the compress section for making wonderful skin oils. Some favorites beloved by herbalists include calendula, violet, and lavender.

What To Do With Your Infused Oil
Did you make your infused oil with tasty culinary herbs? Then you can use your infused oil in cooking. I love to put herbal infused oil on popcorn or use it to make a tasty salad dressing. Yum!
Or, did you make a lovely oil for your skin? You can use this kind of oil for massaging into your skin after bathing. Herbal oils will help soothe dry skin and can also help sore muscles. You can also use these oils to make things like salve, lotion, lotion bars, and more!
Activities For Kids Of All Ages!
Now that you know how to make four different herbal preparations, it is time to get brewing! Be sure you play by the rules of the game listed above and have fun!
Playing With Infusions
- Make an infusion. Try it and write about it in your Pharmacy Notebook. How does it taste? Did you add anything to your infusion to make it taste special? What color is it? Did you notice anything else?
- Next, use some of that same infusion (or brew a different one) to make a compress. Use it and write or talk about how it feels on your skin.
- Finally, if you feel so inclined, take a bath in your infusion!
What else? Did you try out any of the other preparations we talked about?
Tells us about your experience in the comments below!
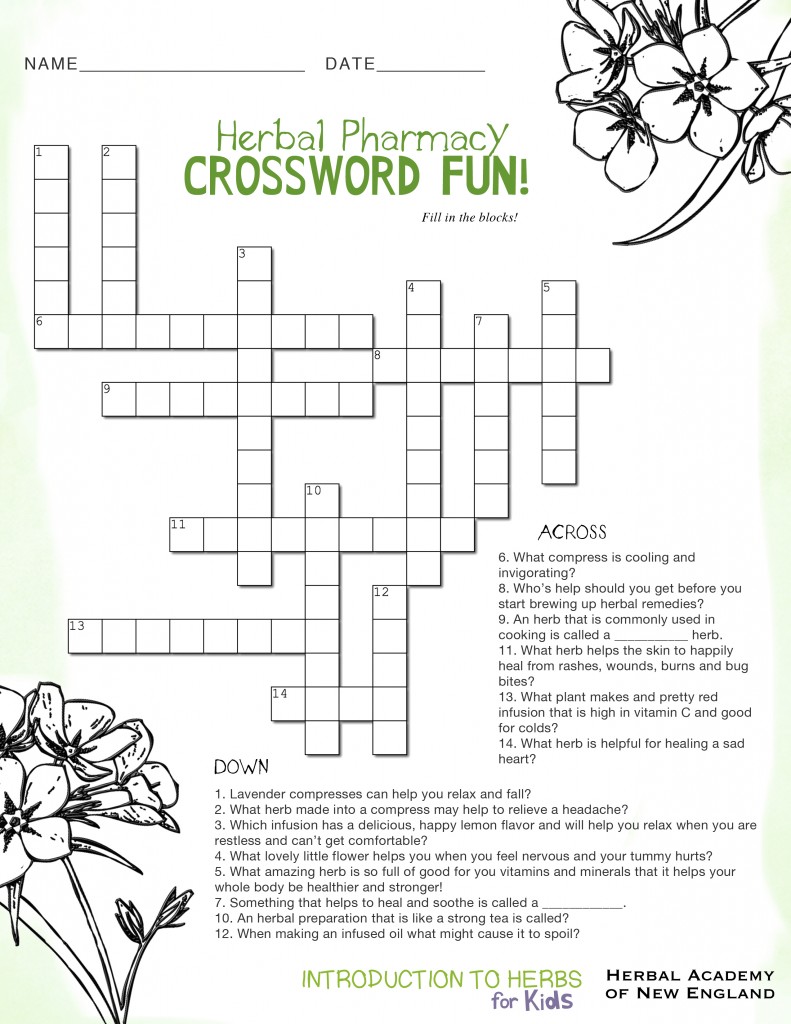
Herbal Pharmacy Crossword Fun!
Practice your learning by answering the questions to complete this herbie crossword puzzle! Download and print the Herbal Pharmacy Crossword Fun.
Note To Parents
Hi Parents! This herbal pharmacy lesson is all about helping kids get hands-on experience with herbs. It is that experience that teaches us the most about plants. Smelling them, touching them and tasting them feeds the senses at a deep level. Please do these activities with your child. Kids need to know that adult supervision for making herbal preparations and especially for consuming them is necessary. Guide them in safe use!
The plants discussed here are generally considered to be safe and beneficial for children. However, just like the healthy strawberry that causes allergic reactions for some folks, not every plant is safe for every person. Please use your discretion. If you are unsure about a plant, your child is a sensitive soul, or has allergies, you should consider doing a “scratch test” with them when introducing each new herb. To do a scratch test, take a small amount of the herb and rub it on your child’s inner arm. Wait 24 hours to see if there is any reaction before using the herb with your child.
When using herbs with children, it is always important to keep in mind that little bodies respond quickly to herbs. They don’t need and indeed often cannot tolerate as much of an herbal preparation as an older (and physically bigger) child or adult. For younger kids, brew up the infusion with less herbs or your can dilute the infusion with juice or water. As a general guideline for younger kids, age 3 to 6, brew infusions with less herb and start with drinking up to 1/2 cup of infusion once per day. Older kids, age 7 to 11, can drink up to 1 cup. If your child responds well, you can let them enjoy another dose of infusion.
Another way to consider dosages of herbal medicines for children is to follow Clark’s Rule. Clark’s Rule is a method for figuring out dosage amounts for children based on the assumption that most given herbal doses are for a 150 pound adult. Clark’s Rule tells us to divide the weight of the child by 150. For example, for a child that weighs 50 pounds: 50/150 = 1/3, meaning that the child would take one-third of the adult dosage. Therefore, if the adult dosage were 1 cup of infusion, a 50 pound child would take 1/3 cup.
Encourage your child to use plants that call to them. Get in the kitchen and play with them. Try out some of these preparations yourself. What a great excuse for some self-care! Lead by example while enjoying a lovely cup of infusion and a warm footbath! You deserve it and your kids will learn about taking care of their own bodies by watching you lovingly care for yourself.
Mom and Dad, do you want to play, too?
Herbalism is a vast subject that brings such joy to life when put into action! The Herbal Academy of New England offers simply wonderful online learning courses, both Introductory and Intermediate, for adults who want to learn about herbalism. Membership to the extensive Herbarium offers even more educational resources for herbalist and student alike! Learn all about The Herbarium here.


