How To Grow Pea Shoots Indoors: Fresh Greens Year-Round
With the garden tucked in for the winter and the farmer’s markets closing up shop until spring, we’re back to listless strolls through the produce aisles of the local grocery store, seeing the stacks of vegetables but just not feeling them. They are beautiful, yes, and abundant — we are grateful for that. Some of them are even organic — but they lack that je ne sais quoi of the vegetables we grew accustomed to throughout summer’s proliferation and autumn’s bounty. THOSE vegetables, the ones piled high on tables at the farmer’s market or nurtured lovingly in our gardens, bursting with nutrients, minerals, flavonoids (blue and red), carotenoids (yellow and orange), and chlorophyll (green). If you’ve planned well and labored diligently, you preserved vegetables and fruits throughout the season and have a root cellar, freezer, or pantry packed with these beautiful jewels for nourishment whilst winter takes its hold. These are the days we crave the foods that store well, the squashes and pumpkins, root vegetables and apples, and the warming meals we make from them. We are happy to settle in with these nourishing flavors.
And yet…amidst the soothing soups and comforting breads, we may find ourselves longing for a bit of freshness, a bit of crunch, and a bit of green. Remember those monster salads we ate all summer? We don’t crave light, cooling meals like that this time of year, but would like just a little bit of green on the side of our seasonally appropriate meal. Something to remind our taste buds of the alchemy of sun and water and soil. And wouldn’t it be nice to grow that something ourselves?
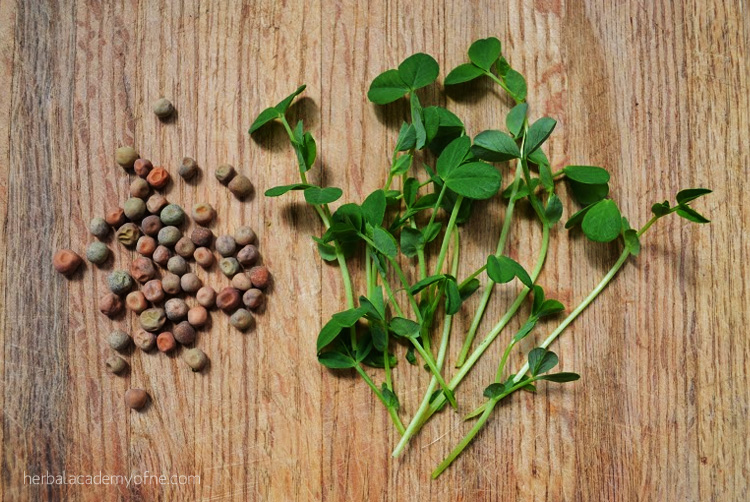
Pea Shoots
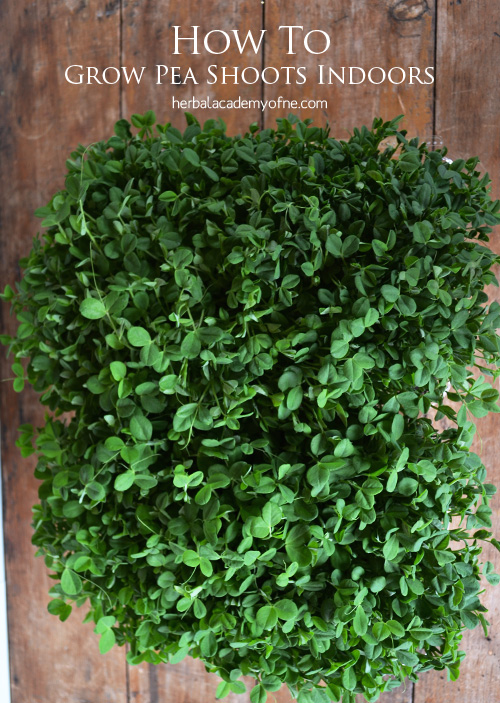
Enter pea shoots, the tender seedlings of new pea plants. Yes! The curling, twining, leafy tops of the same pea vines that produce snap peas and snow peas. You may have encountered pea shoots in little clamshell packages in the grocery store, but I find that homegrown pea shoots are much more tender. They have more leaves, the stalk is much less fibrous, and they taste more— well, green. Rich in vitamins A, C, E, K, and protein, they are delightful unto themselves as a delicate pea shoot salad, add a shot of chlorophyll when thrown into smoothies, and bring color and texture to salads and stir fries. All this, and they are so easy to grow! Within 10-12 days of planting, you’ll be harvesting them for dinner.
Growing Pea Shoots Indoors
Here’s what you need to grow pea shoots indoors:
- Pea seeds: I use Dwarf Grey Sugar Pea seeds from Johnny’s Selected Seeds, which are sold by the pound. This variety was recommended to me by a friend and I’ve had excellent results. A few other options include several other varieties at Johnny’s and High Mowing Seeds, which you can also find on Amazon.
- Soil: A high quality, organic, potting soil or soil-less potting mix. Something like one of these should work.
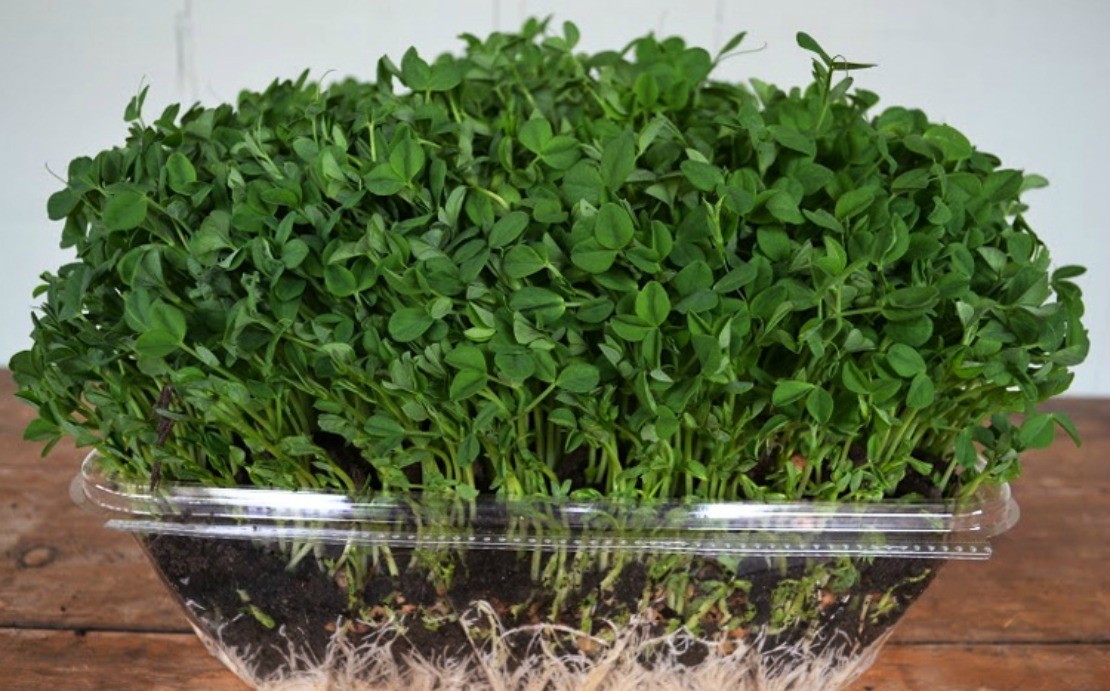
- Growing Container: The Cadillac version is a seed tray, leak-proof tray, and clear acrylic cover. You can also find great options for seed trays here. However, I have used a variety of tray-shaped containers, including plastic mesclun lettuce containers and clementine boxes, as long as they are at least 3 inches deep. Ideally, you need a tray that drains, a tray to catch the drainage, and a cover (which can be as simple as plastic wrap).
- Water
- A sunny windowsill or grow light: As long as you have a windowsill with plenty of light, you don’t need a grow light.
That’s it! It’s low-tech, doesn’t take up much space, and yields great results.
The Steps:
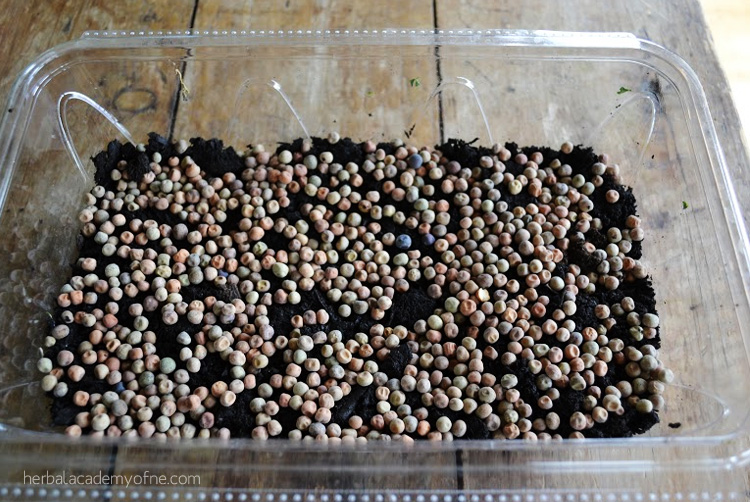
- Soak 2 cups of pea seeds per tray* for 8-12 hours in cool water (while this speeds up germination, it’s another step I usually skip with no problems). * (This is for a 10 inch by 20 inch garden tray — adjust amount accordingly based on the size of your tray)
- Drain seeds.
- Fill tray with 2 inches of moistened potting mix.
- Cover with a thick layer of pea seeds spaced closely together.
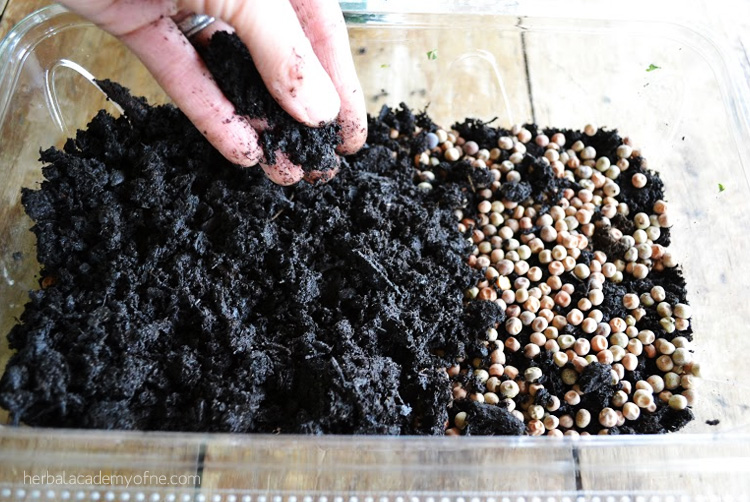
- Cover seeds with 1/2 inch of moistened potting mix.
- Mist and cover tray.
- Let peas germinate, misting as necessary. Leave cover on until peas are about 2 inches tall.
- Remove cover and move tray to a sunny or bright windowsill. Water as needed to keep moist. Don’t overwater, as this may cause mold or fungal problems.
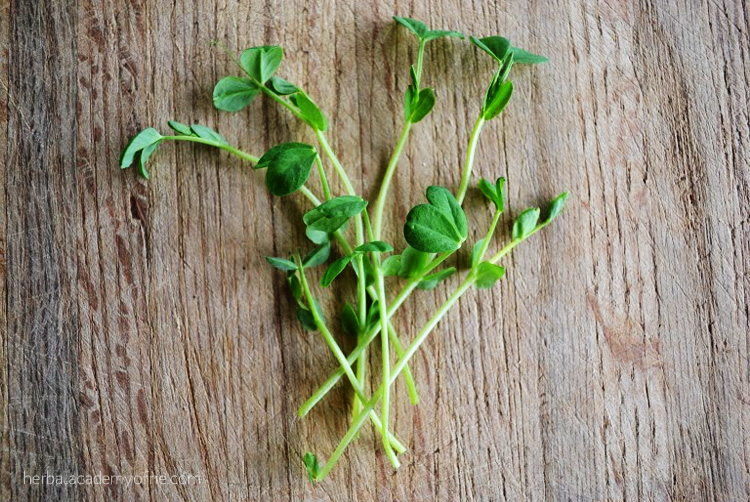
- Let grow until 4-5 inches tall, which will take 10-12 days.
- Harvest with scissors by cutting pea shoots about 1 inch above the soil surface. I often get a second flush of growth, albeit less thick, and can harvest another round of pea shoots. Keep the soil moist and wait for a second harvest, after which you can compost the soil and roots.
- Store harvested pea shoots in a plastic bag in the refrigerator.
It’s easy, it’s fast, it’s fun, and it’s exactly the bit of green our palates crave in the midst of winter. With a little planning, you can grow two trays of pea shoots on a staggered schedule so there are always fresh shoots to harvest.
Now get growin’!
