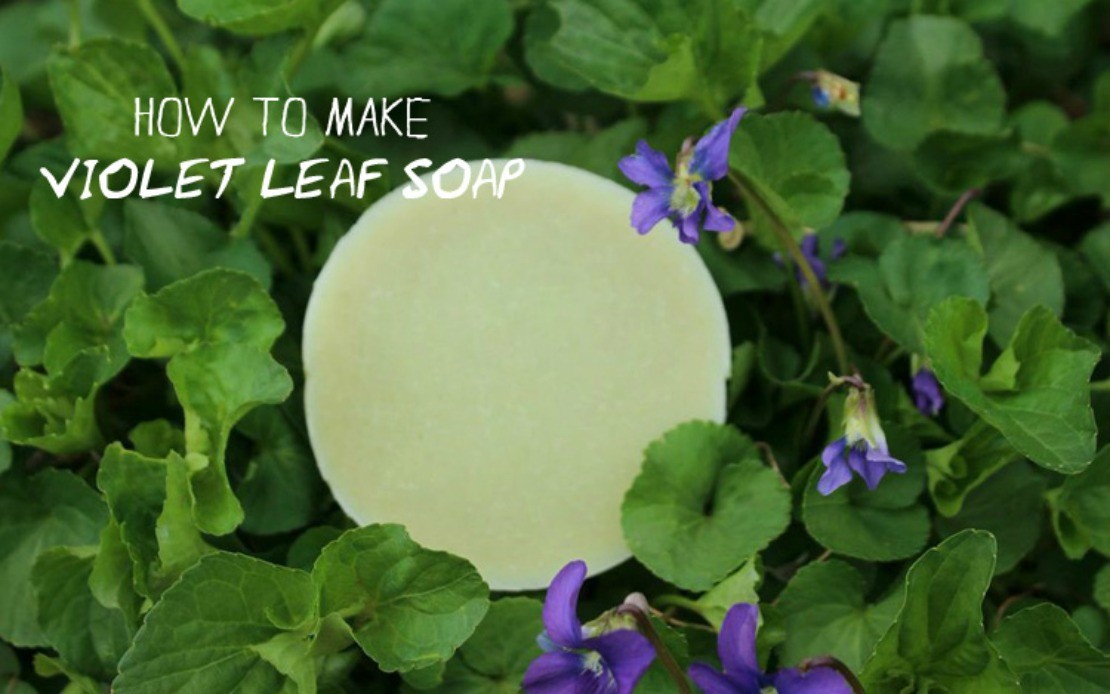
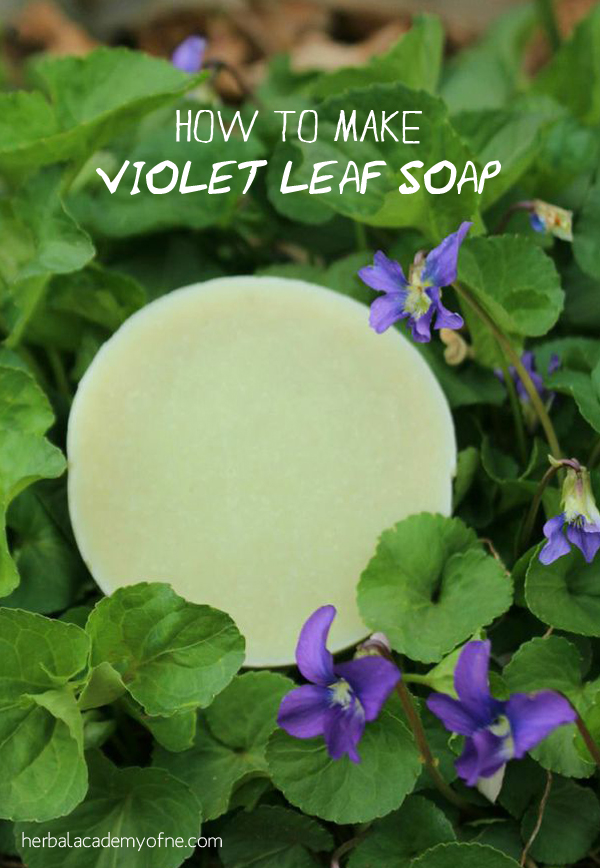
Violet Leaf Soap Recipe
While violet flowers are only around for a short time in the spring, the leaves often persist well into autumn, depending on where you live. Oil infusions of these leaves are wonderful for toning and moisturizing the skin (Cech, 2000) and can be incorporated into a gentle, soothing soap, perfect for those with sensitive skin.
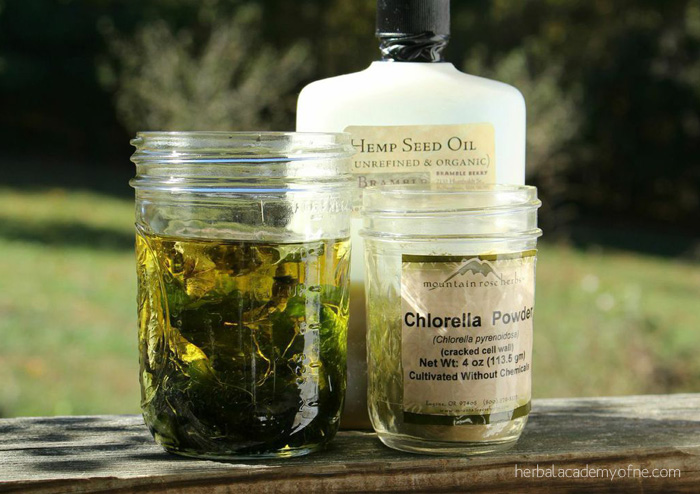
Two key ingredients needed for this soap recipe are violet leaf infused oil and violet leaf tea.
Violet Leaf Oil Infusion
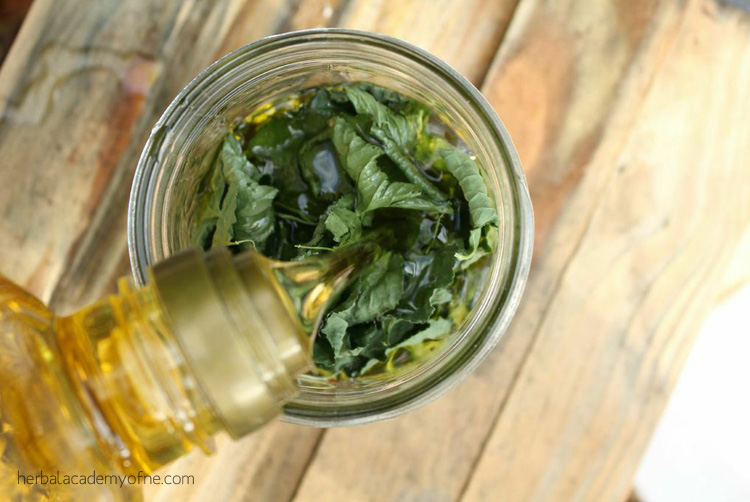
To make an oil infusion, you’ll need a handful or two of violet leaves (get them here) and a bottle of olive oil. If your leaves are fresh, they should be dried first, in order to avoid potential mold and bacterial growth.
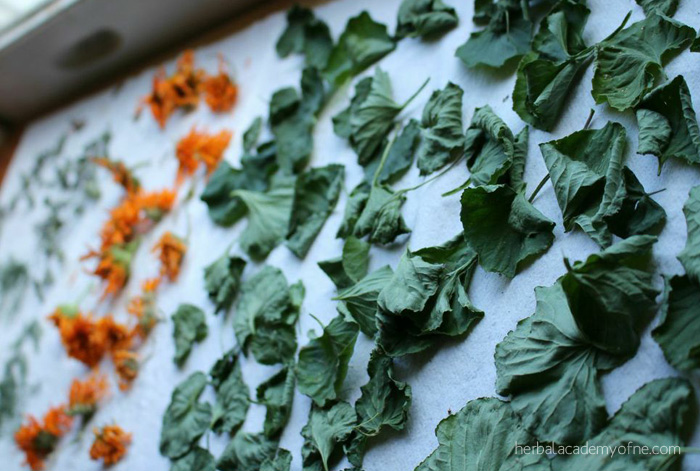
Drying fresh violet leaves can be as simple as spreading them out in a single layer on a clean dishtowel. Allow the leaves to sit undisturbed for a few days, turning over once or twice. Once the leaves are completely dry, they can be stored in a Mason jar in a cabinet or pantry, out of direct sunlight.
Fill a pint (16 ounce) Mason jar about one-half of the way with dry leaves. Next, pour olive oil over them, until it’s just an inch away from the top of the jar.
Depending on how quickly you’d like your oil to be ready, you can infuse it the slow way or fast way.
Slow method: Cap and set the jar aside for four to six weeks, shaking occasionally. After this time has passed, strain the oil from the spent herbs and rebottle it in a clean, sterile jar.
Faster method: Don’t cover the jar. Instead, set it down into a saucepan containing several inches of water, forming a make-shift double boiler. Set the pan over a low burner for at least an hour, or up to four hours, keeping a close eye so that the water doesn’t evaporate out. Keep the heat low and gentle so that you don’t fry your herb. Strain as per the slow method above.
The shelf life for violet leaf infused oil is around one year. Besides soap, this oil makes a lovely addition to lip balms and salves.
Violet Leaf Tea
While you can use distilled water to make soap, I like to use herbal teas instead. To make a basic tea for soap making, fill a pint jar about half way with fresh violet leaves (or one-fourth for dried) and cover with simmering hot water. Allow to steep until room temperature, strain, and then store in the refrigerator for up to two days. You can also freeze the tea, for around six to nine months.
Violet Leaf Soap
Ingredients
14 ounces violet leaf infused oil (50%)
7 ounces coconut oil (25%)
2 ounces castor oil (7%)
2 ounces hemp oil (7%)
3 ounces sunflower oil (11%)
3.88 ounces of lye (We recommend Food Grade Sodium Hydroxide Lye)
8.5 ounces cooled violet leaf tea or distilled water
1 teaspoon chlorella powder, for natural green color (buy it here)
Note: All units of measurement are by weight. An accurate digital scale is a must when making soap.
Before you begin, ensure that everything you need is assembled and laid out in an orderly fashion. If you’re new to the hobby, thoroughly research the process before proceeding further. You can find further, more detailed information in the ebook: Natural Soap Making: Cold Process Basics & Recipes (discount for HANE readers below!).
It’s helpful to jot down an outline or checklist of all of the steps you’ll need to take. You can also print this page off and check off each section as you complete it.
Step 1:
While wearing proper safety gear (gloves, goggles & long sleeves), weigh out 8.5 ounces of cool violet leaf tea or distilled water into a heat proof plastic or stainless steel container.
Step 2:
Weigh out 3.88 ounces of sodium hydroxide (lye) into a small container and carefully pour into the cool tea or water. Stir with a heavy duty rubber or silicone spatula until dissolved. Always pour lye into liquid, and not the other way around.
It’s a good idea to do this step in your kitchen sink, to contain any spills, and with an open window providing fresh air and ventilation. Allow the lye solution to cool to around 90 to 110 degrees Fahrenheit.
Step 3:
While the lye cools, measure out the oils, by weight, and place them in a stainless steel or enamel lined pot. (Never use aluminum, since it reacts badly with lye.) Remove a tablespoon or two from the combined oils, place into a small bowl, and stir 1 teaspoon chlorella powder into this portion. Set the colored oil aside for later.
Step 4:
Gently heat the pan of oils over a low burner until they’re around 90 to 110 degrees.
Step 5:
While the oil heats and the lye cools, prepare your mold. This recipe was designed to fit a silicone column mold (like this one or this one). It will also almost fill a 3 pound soap mold or, in a pinch, a glass bread loaf pan, lined with parchment or freezer paper.
Step 6:
When the lye solution and oils are roughly in the same temperature range, you’re ready to combine them together. You don’t have to be overly precise with temperature, a difference of ten to twenty degrees is fine.
Step 7:
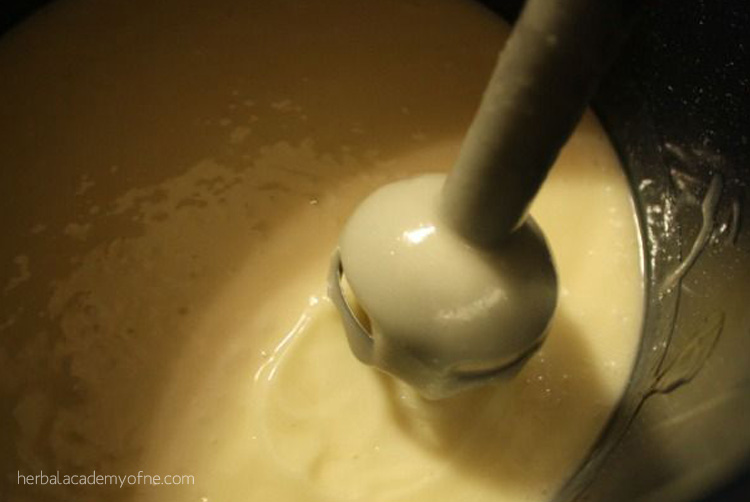
Pour the lye solution into the oil. Using a stick blender (immersion blender), start combining the two mixtures. Don’t run the stick blender continually; instead, work in short bursts of 20 to 30 seconds blending with the motor on then 20 to 30 seconds of stirring with the motor off. This step will take approximately three to five minutes to complete.
Step 8:
When your soap thickens, or reaches trace, stir in the small amount of reserved chlorella colored oil until thoroughly mixed. This will give your soap a soft green tint. (“Trace” means that the soap batter is thick enough so that when it’s drizzled over itself, it leaves a faint line or tracing on the surface, before sinking back into the batter.)
Pour the raw soap into the prepared mold. It’s okay to scrape the pot to get out as much of the batter as you can. This will also make for easier cleanup later.
Step 9:
Lightly cover your mold with its top or a sheet of cardboard, then a light blanket or towel for insulation. Keep the mold in a location where it won’t be disturbed and allow it to sit for 24 to 48 hours before unmolding.
Feel free to peek at your soap every so often. As it goes through gel phase, it will heat up and change color and appearance a few times. It may darken or look gel-like in some places. That’s all perfectly normal. If you see a crack forming along the top though, that means the soap is getting too hot and should be uncovered.
Step 10:
After unmolding, slice the soap loaf into bars and allow them to cure on a sheet of wax or parchment paper in the open air for four to six weeks before using. This cure time allows the bar to become harder and longer lasting.
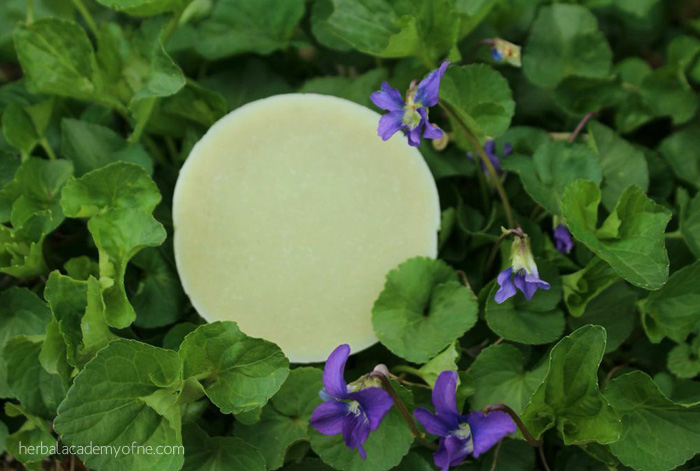
Depending on the mold used and how you cut them, this recipe should yield around 7 or 8 bars of soap.
Get the Soap Making Book!
Want to learn more about soap making? Jan’s book, Natural Soap Making: Cold Process Soap Basics & Recipes, is a wonderful guide for beginners and experts alike. With 25 soap recipes to kickstart your hobby, we think $9.99 is well worth the investment! Natural Soap Making will teach you how to:
- make your first batch of soap
- incorporate flowers and herbs in your creations
- create a rainbow of colors, using only natural ingredients
- understand lye calculators
- and more!
Plus, for the month of November, HANE readers can enjoy 15% off using the coupon code HANE15 at checkout! Click here to learn more and get your copy.
Jan Berry is a goat chasing, soap making, homeschooling farm wife who loves turning weeds into beautiful things. She writes a monthly column for HobbyFarms.com and is a regular contributor to Natural Herbal Living Magazine. To see more of Jan’s projects and ebooks, you can visit her site at www.TheNerdyFarmWife.com.
REFERENCES
Cech, Richo, (2000). Making Plant Medicine. William, OR: Horizon Herbs