How To Make Framed Botanicals to Decorate Your Home
Framed botanicals in your home can conjure up memories of summer’s floral bounty, even in the depths of winter. Try framing a collection of wellness supporting herbs to serve as a decorative herbarium or frame culinary herbs to hang in the kitchen or give as a gift to a food-loving friend.
Framed botanicals can also serve as heartfelt mementos. For example, to celebrate my niece Poppy’s birth, I picked a dozen beautiful flowers – including poppies – that were in bloom the day she was born. I framed them, and they’re now hanging on the wall of her nursery. I also recently picked and pressed a dozen wildflowers during a family vacation to the mountains. Those flowers are now a part of our framed botanical collection, and when I pass the dainty little bluebells, I’m reminded of our joyous time in the Rocky Mountain wilderness.
From May through September I pick, press, and frame dozens of alluring plants to decorate my home and to give as gifts. With just a few materials and some simple instructions, you too can display everything from lush fern leaves to delicate baby’s breath to cheerful poppy flowers. Keep reading to find out how!
Best Plants for Drying

The first step in making your own framed botanicals is to press and dry your selected plants. Some plants will press better than others, so experiment with the flora in your vicinity to find your favorites.
I’ve found that umbel-shaped flowers, such as Queen Anne’s lace and yarrow, press particularly well. Poppies retain their color splendidly, and naturally flat flowers, like violets and daisies, offer a timeless beauty. You can also experiment with pressing individual leaves; fern leaves look particularly exotic when framed, and I’ve been eyeing the oversized staghorn sumac leaves growing near my home. Avoid pressing flowers with multiple layers of petals and lots of moisture, like zinnias and large dahlias, because they often get moldy in the press.
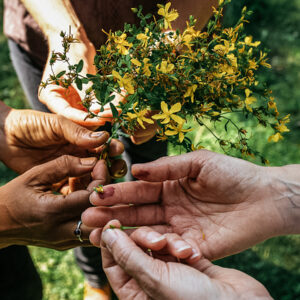
When making botanical art, you’ll only want to harvest and press the most beautiful, blemish-free specimens. Try to find the most eye-catching flower or two on a plant. Don’t forget to offer thanks for such a beautiful gift! If harvesting plants from the wild, take care to only pick plants that are growing in abundance and are not endangered and leave any flowers for which you only see a sparse bloom here and there. It’s also a good idea to ask permission to harvest plants from private property.
Harvest your plant material in the morning or evening when the plants are vital and healthy after the dew has already evaporated. Part of the pressing process involves removing moisture, so you don’t want to harvest after a rain or in the very early morning when dew is most plentiful. I typically harvest the flowerhead along with about 7 to 8 inches of stem and foliage, if possible. It’s fun to display the leaves along with the flowers, and this also helps with future identification. If you want to create a framed herbarium, then consider harvesting the same plant during various life stages so that you can include the seeds and possibly the fruit, too. It is also possible to frame a clean sliver of the plant’s root.
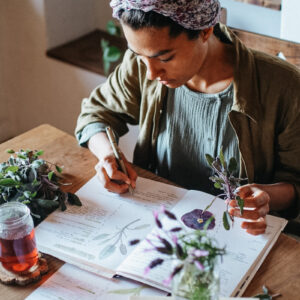
How to Press Botanicals
After you’ve harvested the plants of your choice, you’ll need to press them to remove moisture and retain the plant’s color and shape. You can use a dedicated plant press (find step-by-step instructions for making your own plant press here) or you can put the plant material inside a phone book, dictionary, or other large book. If you want to protect the pages of the book from becoming stained, then sandwich your plant specimens between two pieces of blotting paper, newspaper, or even plain-old computer paper. I use brown butcher paper and have been happy with the results.
Don’t overlap your plant specimens within the press or book, which can make them dry in odd shapes. If using a press, then after it’s loaded you will want to tighten the straps or bolts and set the press aside for 3 to 4 weeks during which the plants can dry without interruption. If using a book, then close the book and weigh it down with a brick or other heavy weight. Let it sit for 3 to 4 weeks for the plants to dry thoroughly.
How to Frame Pressed Botanicals

After 3 to 4 weeks have passed, it’s time to unveil your pressed plants! It’s always exciting to see which plants pressed well (and which didn’t). You’ll often be surprised that a simple little “weed” looks splendid, whereas a fancy cultivar may have lost its color and turned brown. Every unveiling is a learning opportunity and a chance to spark your creative fire.
To begin framing, you’ll need the following materials:
- 1 pair of rubber kitchen gloves
- Glass cleaner and paper towels (for cleaning the frame’s glass)
- 1 frame (I prefer using floating glass frames, but you can also experiment with mounting the pressed flowers to white paper or linen to mount inside a traditional frame with matting.)
- Tweezers
- Mod Podge craft glue
- 1 small paintbrush (or 5 cotton swabs or toothpicks)
Directions:
- Put your rubber kitchen gloves on to avoid getting fingerprints on the inside of the glass, which is difficult to clean after the frame is reassembled.
- Take both pieces of glass out of the frame and clean them thoroughly. Set aside.
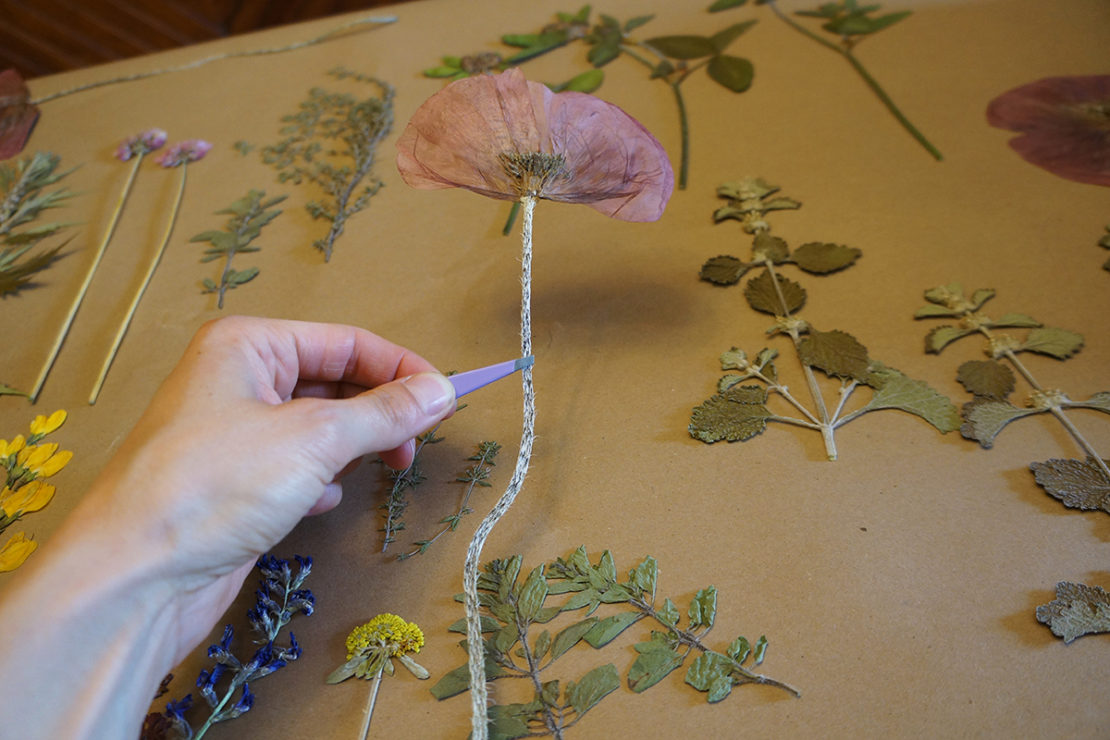
- Arrange your pressed botanicals on one piece of glass, trimming pieces to fit if necessary. Use tweezers to help pick up and arrange the delicate plants without ripping the petals or smudging the glass with your fingers.
- When you’re happy with your arrangement, use a small paintbrush to dab little dots of Mod Podge glue on the back of each flower, stem, and leaf to adhere it to the glass. Mod Podge dries clear, but you’ll still want to avoid having too much excess glue shine through the flower petals and foliage. With practice, you’ll find a balance between enough glue to hold the plants in place and using so much that it looks messy. Be careful not to smear glue on the inside of the frame.
- Let the glue dry for 20 to 30 minutes before laying the second piece of glass over the first and sliding both pieces into the frame.
- Secure the glass in place, and then hang your framed botanicals in a spot that will bring you joy.

Depending on your style, you can either frame a combination of flowers in a joyous collage or you can frame one beautiful specimen for a minimalist, modern feel. Try arranging multiple framed botanicals in one space for a prominent gallery wall or hang framed botanicals over a window so the sun’s rays can shine through the plants’ foliage. The design options are virtually endless, so let loose and have fun preserving summer’s floral beauty with this simple and inexpensive botanical craft project.