7 Essential Tools For Botany (And A Few More For Good Measure!)
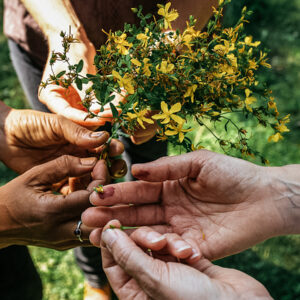
Whether you are setting out to become a professional botanist or are just interested in getting to know your local plants a little better, you’ve got to have the right tools on hand to get started. Once you start using different tools and simple botanical equipment to identify and observe plants, a whole new world of understanding can blossom. There truly is a microcosm to discover within each flower, leaf, branch, bark, and twig.
Read on to discover some of the essential tools for botany.
7 Essential Tools for Botany
 | Herbal Academy | Interested in studying plants and foraging? Here are some essential tools for botany to help you get started.")
1. Hand Lens
Getting a good hand lens, also known as a “loupe,” is one of the primary essential tools for botany. In order to fully and properly identify plants, we often need to utilize a “third eye” to get a closer look at the reproductive parts of the plant. Hand lenses generally range from 3X to 20X magnification, with 10X being the standard for most botanical uses (Hall & Byrd, 2012).
Although this magnification is not detailed enough to see microscopic structures, you will still be able to observe and identify many minute details and all of the botanical structures necessary to identify the plant. Hand lenses are generally inexpensive, small, and lightweight, making them an easy tool to pack along for any type of botany trip.
Beyond the essential and practical reasons to use a hand lens for botany, using a lens is a perfect way to visually explore and get to know all of the intricate and beautiful details of a plant. For instance: observing the subtle color gradient changes on a petal or the ornate vein pattern on a leaf. Using an essential tool like the hand lens can help immerse you deeper into the creative details of the botanical world.
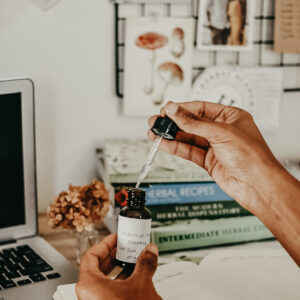
2. Plant Key or Guidebook
Whether you are just beginning or already have lots of experience in the field of botany, a foundational plant guidebook with a dichotomous key is a must. You can opt for a book with just a local dichotomous key and no frills, or you can pick one up with beautiful and detailed photos of each plant. Photos can be helpful, especially when you are starting out, to help differentiate between two very similar looking plants.
What kind of guidebook should you get? This depends on the region and environment you are in! Many guidebooks and plant identification keys are specialized to particular regions around the world. This makes perfect sense given that the variety of plants growing in an area changes drastically depending on location. Buy, rent, or borrow a guidebook specific to the area you will be botanizing in.
Look for a book which includes a glossary of botanical terms in the back which can be especially useful when keying plants. Since botanical terminology is vast and intricate, even seasoned botanists will need to reference glossaries on occasion.
Here is a list of some of our favorite foraging books for you to check out.
3. Dissecting Kit
When you are ready to explore beyond the scope of what a hand lens can offer you, it’s time to pull out your dissecting kit. Dissecting kits are an essential tool for botany so that you can delicately examine all of the small inner details of a plant. As beautiful as it is to simply observe flowers in their whole form, it can be necessary to cut into the ovaries and the reproductive parts inside in order to fully understand and identify the plant.
Dissecting kits can be simple or complex depending on the nature of your botanical work. For beginners, you can start with a pair of clamping tweezers or forceps. This simple tool will help with the dissecting of plants by grabbing and holding small parts in place while observing them with your hand lens.
If you choose forceps, be sure to get a pair of “watchmakers” or fine-point forceps since these are more indicated for the delicate work of botany. Acquiring both curved and straight-tipped pairs of forceps can also be helpful to have in your kit depending on what you are trying to grab.
Other essential tools in a dissecting kit include different types of scissors, single-edged razor blades (or a scalpel), a seeker (for probing into plants), steel mounting (for mounting your specimens), and cutting needles (for making precise incisions). You can either make your own dissecting kit or buy one that is premade. Since all of the tools inside a dissecting kit are small and lightweight, it is easy and convenient to pack the entire kit in your bag.
 | Herbal Academy | Interested in studying plants and foraging? Here are some essential tools for botany to help you get started.")
 | Herbal Academy | Interested in studying plants and foraging? Here are some essential tools for botany to help you get started.")
4. Plant Press
Another essential tool for a botanist is a plant press. Although this might sound intricate and expensive for newbies, you can actually purchase a mini plant press that is easy to carry, convenient to use, and inexpensive. You can even make your own.
Why use a plant press? Plant presses help you collect plant specimens so that you can continue your botanical research and examinations once you are back home. Collecting a small portion of the plant you have taken the time to identify and examine in the field can be particularly handy for reference down the road, say when you collect another plant specimen that carries very similar attributes or are studying the applications and uses of that plant in more detail.
When you are ready to invest in a larger, more formal plant press, be sure to use one with ventilators. Ventilators are typically pieces of double-faced corrugated cardboard that promote rapid drying of plants (Ben Meadows, n.d.). Depending on your climate and the nature of the plant matter you are pressing, ventilators are key to allow for proper airflow around the specimen. This means the plant will dry correctly without mold, decay, or other issues occurring.
You will need to check your pressings every couple days and replace the damp papers with dry ones if need be. Constructing or buying a mini plant press to bring out into the field, then transferring your specimens to a larger plant press at home, in your camp, or lab space, is a great way to get the best of both worlds.
5. Botanical Mounting Cards + Covers
Botanical mounting cards are an essential tool for botany after your specimen is fully pressed and dried and you wish to display or preserve it. Professional mounting papers tend to be sturdy and hard but not too thick and bulky.
There are several different ways to mount your specimen using different adhesives including glue, adhesive linen, or liquid paste. You can also use a separate sheet of plastic or glass (measuring 35 cm x 40 cm) to help mount the specimen on your mounting card using forceps. After pressing the plastic or glass sheet down firmly and using a blotting paper to remove excess glue, remove the sheet and use again to mount other specimens on additional mounting cards. This method tends to be the fastest and most efficient, but not always the most economical (Bhattacharyya, 2005).
Once your plant specimen is mounted, organize it by Genus/species for storage. Typically, all of the mounting cards of one species are placed in species covers (or folders) of the same color. Then all of the species of one genus are placed within another genus cover of a different color. Using these covers are essential for protecting your specimens and keeping them organized so that you can find and reference them easily (Bhattacharyya, 2005). Genus and species covers are typically made with a specific pH level and buffered with calcium carbonate so that your mounted plant collection is properly preserved. These covers look similar to manila folders with a banded outside color.
Be sure to label your specimen once the mounting process is complete (Bhattacharyya, 2005). Some details you might want to include on your labels are:
- Collection number
- Date of collection
- Plant’s genus and species
- Plant’s botanical family
- Area of collection
- Collector’s name
- Other important notes
6. Macro + Micronutrient Plant Tissue Test Kit
For the experienced or especially curious botanist, macro and micronutrient plant tissue test kits are also essential tools for botany. The test strips in each kit allow you to test for macro or micronutrient levels within the plants you are examining.
Although this might sound like an extraneous step for some, these nutrient levels in plants reflect the levels in the environment around them and other ecological disturbances which could be making an impact. Testing and recording these levels between different plants and plant stands can also be helpful in observing how varying nutrient levels affect the growth and appearance of the plant specimen at hand.
 | Herbal Academy | Interested in studying plants and foraging? Here are some essential tools for botany to help you get started.")
7. Journal + Writing Tool
A journal and writing utensil are both essential tools for botany that allow you to record notes and observations as you go. These tools can add a lot of value to your practice if you review and compare your notes over time.
Some observations to take note of include environmental changes in a specific area, general habitat, weather patterns the day of observation, time of day, changes or observations of a specific plant stand, botanical questions to research when you get home, and other important observations about a plant (Hall & Byrd, 2012).
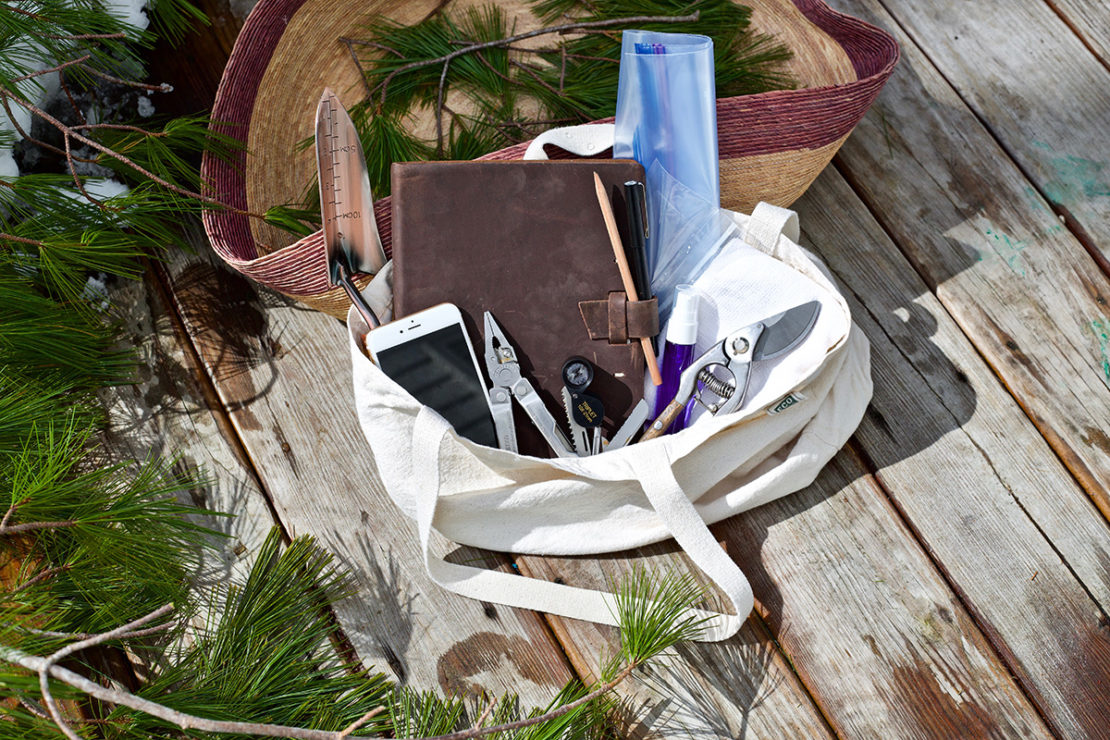
A Few Personal Supplies For Good Measure
Depending on where and how far you plan on trekking out, it is equally essential to make sure you have all of your personal supplies with you too. If you are just planning on going out into your backyard to explore one plant, this section might not apply to you! However, if you are going on a longer venture away from home, prepare for whatever elements could occur.
Oftentimes, especially when we are first getting started with botanical fieldwork, we become so enamored with the plant at hand, we forget to consider the wild tendencies that can happen in nature around us. Better to be prepared for the adventure than to trudge home soaking wet, bitten, and sunburned!
Here is a basic list of some of the essential personal supplies to consider taking on botany trips:
- Bug and tick spray
- Food and water
- First aid kit
- Toilet paper, trowel, and trash bag
- Rain poncho or light jacket
- Sunscreen, hat, or other sun protection
- Comfortable and practical clothing and shoes
- Lightweight bag
- Small flashlight or headlamp
- Compass or other navigation tools
- Cell phone and/or radio
Field Time!
After learning a bit more about some of the essential tools for botany we hope that you feel inspired and well-prepared to start botanizing out in the field! If you’re ready to take your botany practice to the next level, learn more and sign up for our online botany course here.
REFERENCES
Bhattacharyya, B. (2005). Systematic botany. Harrow, UK: Alpha Science International Ltd.
Ben Meadows. (n.d.). Botany equipment. [Website]. Retrieved from https://www.benmeadows.com/horticulture-supplies-and-equipment/botany-equipment-36811920/
Hall, D.W. & Byrd, J. (2012). Forensic botany: A practical guide. Oxford, UK: John Wiley & Sons.