Creating Your Organized Apothecary
Building a home apothecary is an exciting part of learning herbalism. There is a sense of satisfaction that comes from having everything on hand and ready so that you can mix up the perfect herbal tea blend or formula at a moment’s notice. But as your home apothecary grows from a few herbs to a few dozen or more, staying organized can be a challenge! A few simple steps to designate a space, choose the right containers, get organized, and keep track of what you have on hand will go a long way to keep things running smoothly in your home apothecary, and make sure you can always find what you want when you need it… in your very own organized apothecary!
The Art of The Organized Apothecary
Designating a Space
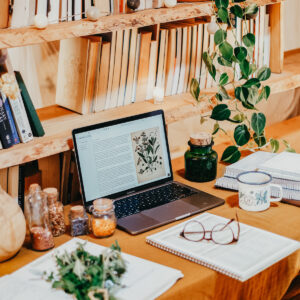
The first step is giving your herbs a space of their own. Having a central hub to go to when you are looking for an ingredient or your tools will save you time and frustration. It’s important to make sure the area your herbs will be located is out of direct sunlight, in a dry environment (a humid cabinet in the bathroom or a damp basement are not ideal locations, for example), and preferably temperature controlled – unfinished attics or uninsulated bonus rooms above a garage are probably best avoided. Extremes of temperature, excessive moisture, and direct sunlight can make dry herbs go stale and musty very quickly, and can make extracts go bad or cause problems with the glass bottles.
A bookshelf with curtains to keep out the light, a dedicated cabinet in the kitchen, or free-standing storage like a steamer trunk, plastic tub with a lid, or a stand-alone cupboard or pie safe make great herbal storage solutions, and working creatively with what you have available already will help you tailor an organized apothecary that fits your personal needs perfectly.
Choosing the Right Containers
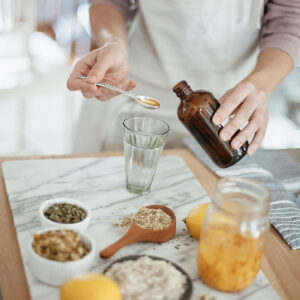
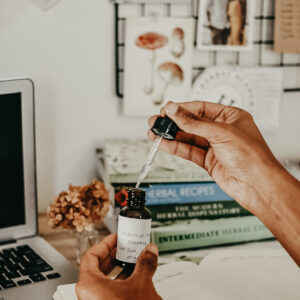
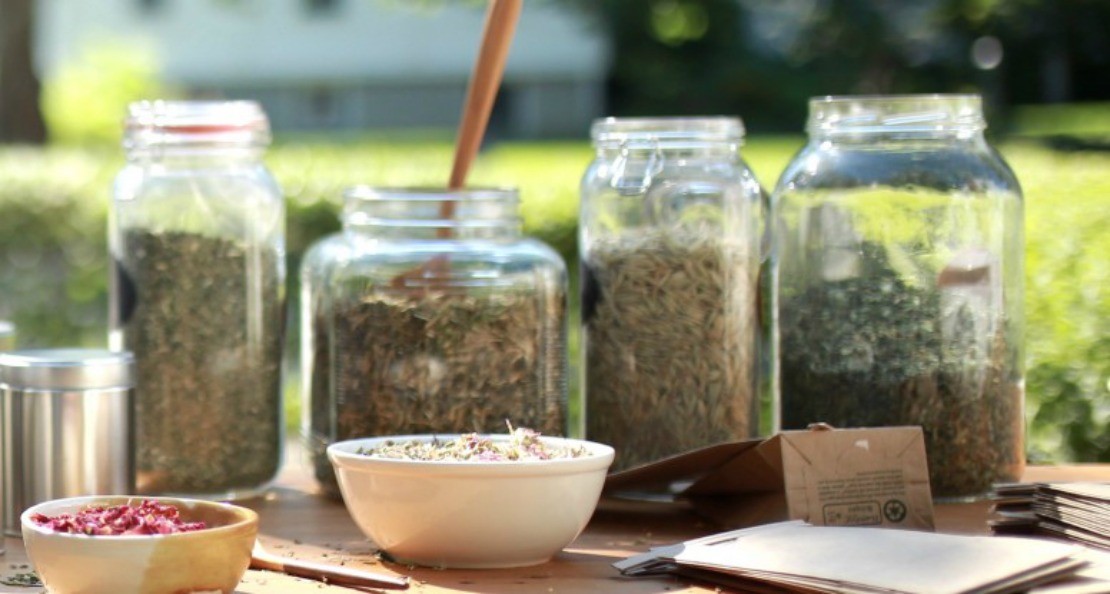
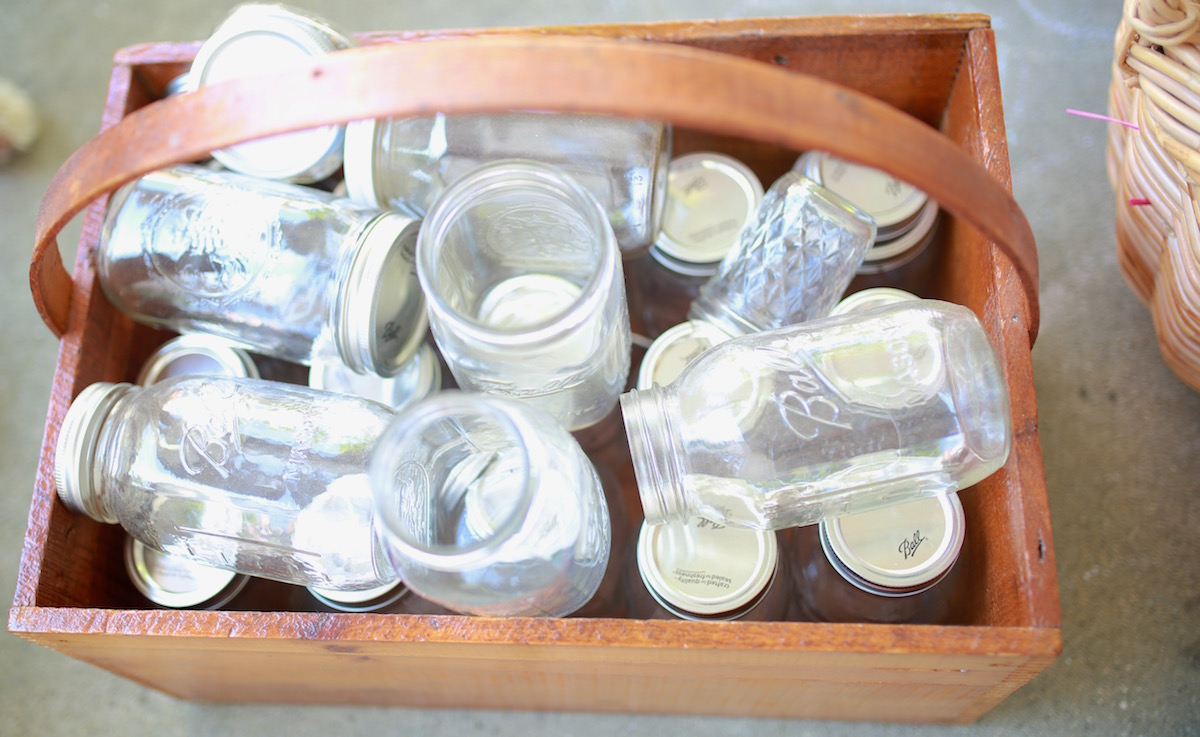
Containers for dry herbs can pose another dilemma. You can keep herbs in the pouches or packaging from the original source if you have ordered them online, but at some point you will probably want to store material you have grown and harvested yourself. Glass canning jars (like these) can be a good solution, or shatter-proof plastic jars or canisters can be purchased ahead of time and a few extra empties made available at all times. Extra amber glass bottles with screw tops, extra dropper tops, and salve jars or other containers that you like to use regularly are also a great investment. Keeping them in your herbal supply area also helps you see what you have and what you need more of at a glance.
Organizing the Shelves
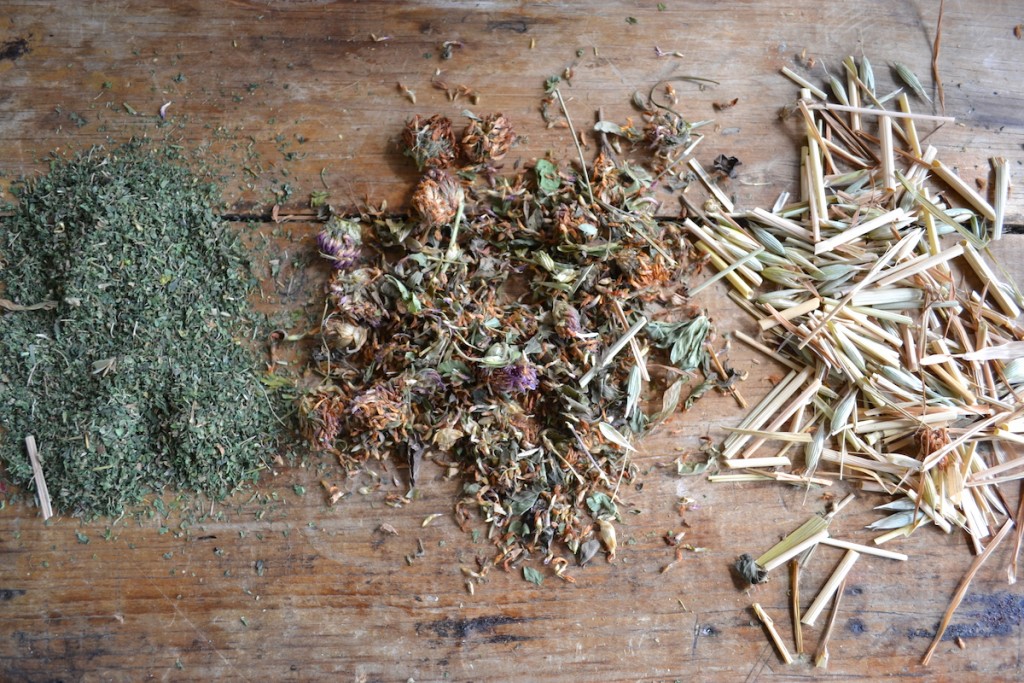
As long as you can find things without frustration and you are happy with your set-up, it doesn’t really matter how you organize your supplies. Focus on finding what works for you. Keeping tools like measuring spoons and strainers on one shelf and empty glass bottles and jars on another, or using separate boxes for tools vs containers can be a useful trick. Using baskets for herbs if they are in baggies or pouches, or transferring herbs into individual jars or containers with lids are easy ways to keep them organized – but be sure to label if you transfer herbs to new containers! Herbs can be further organized alphabetically or even just by type – with roots, leaves, flowers, berries, and barks each having their own little area.
Keeping Track of Your Herbs
It can be easy to lose track of what you have on hand after your collection of herbs expands past a certain size, so setting up a simple inventory system of some kind is very important. We talk more about this in our programs! You might want to tuck invoices from your orders into a folder – especially helpful if you order online – so you can keep track of how often you need to order certain herbs or when you last ordered.
But your herbal inventory should also include an alphabetical list of what you have on hand to make checking for an ingredient a snap. An index card file box, a sheet of paper in a notebook, or a computer spreadsheet work great for this. The key is to make sure it can be easily amended when you run out of an herb or add a new one. Keeping separate lists for dried herbs and extracts can add another layer of organization, especially if you like to keep many single-herb extracts available to mix up custom formulas.
Tips and Tricks
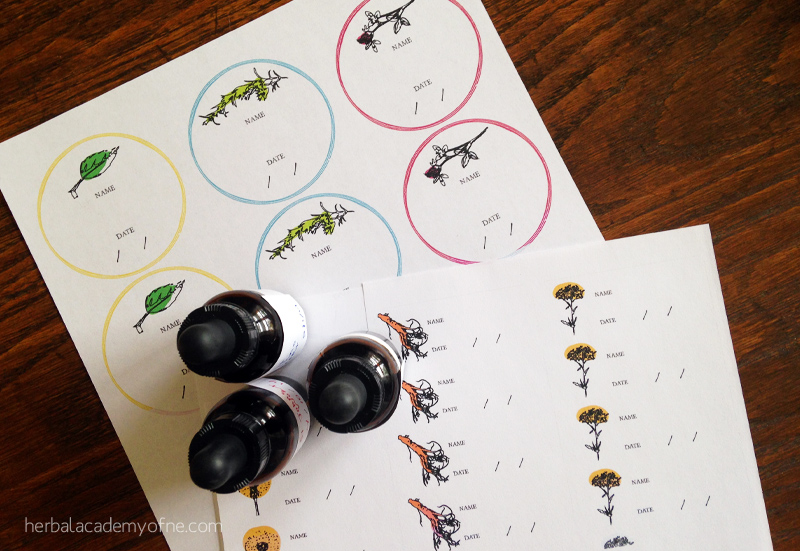
There are also several little things you can do once you’ve chosen a place to keep your herbs and settled on all of the big details. One of the best of these little tips is to keep a cup full of pens and markers handy in your herbal supplies along with a pack of blank printer labels from the office supply store so that you can date and label everything on the spot (the labels above are from our online herbal courses). Even experienced herbalists can tell embarrassing stories about how they started an extract and didn’t label it. . . and later couldn’t remember what it was or when, exactly, they started it!
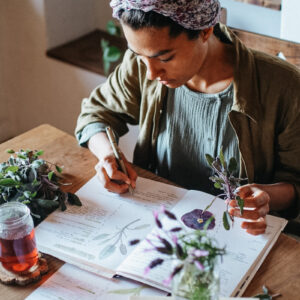
A small day planner to record when new extracts were started, or when harvests or wild crafting excursions happened can be a useful investment, too. Not only can it help you remember important details, it’s also fun to look back and see a record of your learning experiences and activities later on.
Periodically (once every six months or so) check through your supplies and weed out old items – look at the color of dried herbs and give them a sniff – anything that is excessively faded, has lost most of its smell, or smells distinctively musty or off can be sent to the compost pile or used to mulch the garden. Check the seals on your bottle tops to make sure things aren’t slowly evaporating away, and especially check dropper tops if you use them. The seals can stick to the bottle rims or the rubber bulbs can start to crack when they get old. You might want to trade out dropper tops for screw caps on extracts you plan to store long term – just keep a cup or box handy for storing clean droppers separately so they are ready when you need them.
Just a few simple steps and a little time to set things up will go a long way toward creating an organized home apothecary and making your herbal studies all the more enjoyable. So jump right in, see what works for you, and experiment until you find your perfect home apothecary arrangement.
#myherbalstudies
Here at the Academy, we’ve started a new way to share all of the wonderful activities and beautiful moments we encounter as herbalists – the #myherbalstudies tag on Instagram, Twitter, Pinterest, and Facebook! Tag your photos and follow #myherbalstudies to share in the international herb love! We’d love it if you chose to come study with us in one of our online herbal learning courses, but the #myherbalstudies tag is for everyone who considers themselves a student of herbalism – not just Academy students. We know there’s an amazing, vibrant community of people out there who loves herbs as much as we do, and we hope we can all connect and share the beauty of herbalism.
Take a look at what people have been sharing recently: #myherbalstudies.