How to Make Oak Gall and Coreopsis Botanical Paint with Rebecca Desnos
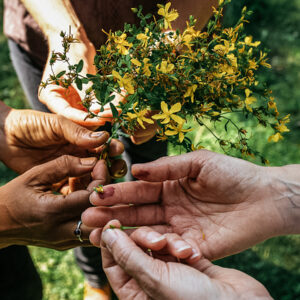
With the launch of our new Botanical Drawing for Herbalists Course, we’ve been extra inspired by projects that involve making ink and dyes from plants. For this project, we teamed up with plant dyer and author Rebecca Desnos to learn how to make botanical paint from oak galls and coreopsis flowers. You can start your illustration with a pencil or pen, and then finish it with this rich, plant-based paint.
This article has been adapted from the original piece, which first appeared in Plant Dye Zine, published by Rebecca Desnos (2020), and is available to order in print and digital via www.RebeccaDesnos.com. Get a copy of Plant Dye Zine and learn how to make ink from botanicals, hammer flowers and leaves to make patterns on fabric, bundle dye, eco print, start a dye garden & lots more.
___________________________________________________________________
Did you know that you can make black dye from oak (Quercus spp.) galls and iron? Just a small handful of oak galls contains enough tannins to make a jar of botanical paint. I’ll show you how to thicken dye into the consistency of paint, which is perfect for printing or painting. The black tone is incredibly colorfast and the creative possibilities are endless!
You can actually use this method with any dye plant, and I’ll show you how to adapt the recipe very slightly to make paint from coreopsis (Coreopsis spp.) flowers, as well. Then you will be able to make paint from any dye plant that you have at your fingertips!

What Are Oak Galls?
Oak galls, also known as gall nuts or oak apples, are small swellings found on oak trees and are particularly useful for natural dyeing as they are exceptionally high in tannins. Gall wasps lay eggs on branches and leaves, and the tree reacts to the invasion by growing new plant material around the larvae. A hard round ball is produced – the oak gall – which becomes the larvae’s home. When we collect oak galls, little holes can be clearly seen, which shows us that the wasp has emerged.
The tannins in oak galls can be easily extracted in water and the high tannin content reacts with iron in a spectacular way to produce a black dye. There is a long history of oak galls being used to make writing ink.

Tip for collecting oak galls
Wasps lay eggs on new branches, so look out for young oak trees that have low branches. This is where I’ve had the most success finding them. If you haven’t had luck spotting any, you can buy “gallnut extract” from natural dye supply websites.
Alternative plant materials
If you can’t find any oak galls, black paint can also be made from walnut husks. Alternatively, make a paler grey dye from other natural sources of tannin, such as acorns, oak leaves and bark. Oaks leaves contain lower levels of tannins than oak galls, so you will need larger quantities of plant matter for a dark shade. If you don’t have oak (or walnut) trees near you, try other sources of tannin, such as black tea and pomegranate skins.


How to Make Oak Gall Botanical Paint
Approx. 10g oak galls (or a small handful of what you can find) Tools
Old pillowcase and hammer Safety
At this point you can do several things with your dye:
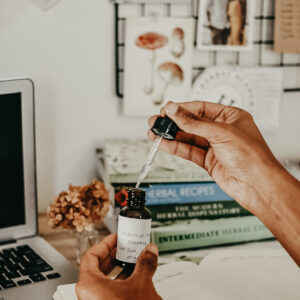
Add gum arabic and use it as a writing or painting ink
Oak Gall Paint
Oak galls, also known as gall nuts or oak apples, are small swellings found on oak trees and are particularly useful for natural dyeing as they are exceptionally high in tannins.
2 cups of water
½ teaspoon ferrous sulfate crystals
¾ teaspoon gum tragacanth, which can be bought from cake decorating or herbal shops. Alternatively, use gum arabic powder.
Stainless steel pot (don’t use aluminum as you will be adding iron into the pot and it will react with the aluminum and potentially contaminate all future dyes)
Wooden stirring spoon
Sieve & muslin cloth for straining
A bowl for straining into
½ cup and ¼ tsp measures
Thick paper such as cartridge or watercolor paper
Paintbrush
Jar to use as a paint pot
Gloves to protect your skin

Further Experiments
- Other gums to try include guar gum and acacia gum (gum arabic). These will require different quantities to thicken to the desired texture.
- You can use this simple method with any kind of plant that is rich in tannins. The principle is very simple: simmer the plant matter in water, strain, then add ferrous sulfate to darken.
- Every plant will produce slightly different shades when it interacts with iron. Experiment with different plants and see! To get you started, I’ll show you how to make coreopsis paint next.

How to Make Coreopsis Botanical Paint
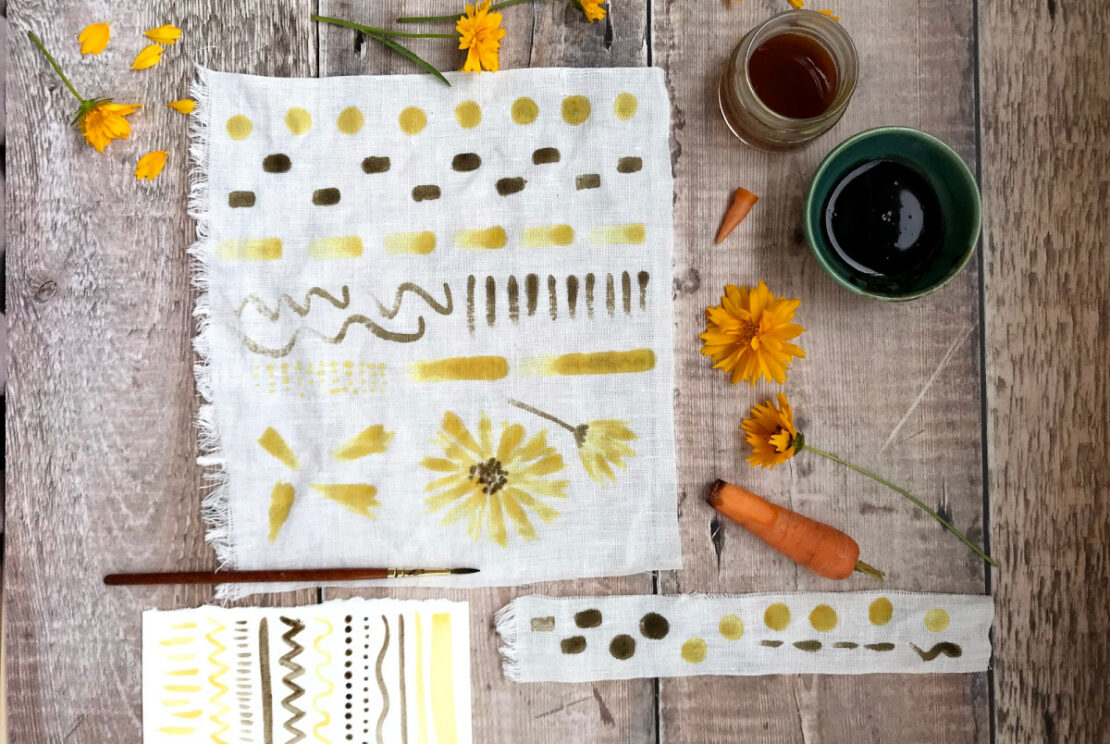
To make this botanical paint, I used the same method as for the oak gall (above), but I heated the coreopsis flowers more gently to keep their vibrant shade. If we boil flowers, it can turn the dye brown. I used a smaller dye pot this time, as I used less water. The aim is to end up with a highly concentrated dye.

Coreopsis Flower Paint
A handful of coreopsis (Coreopsis spp.) petals (dried or fresh)
½ cup water
Gum tragacanth
Ferrous sulfate crystals
- Simmer the petals in half a cup of water for a couple of minutes and stir regularly.
- Remove pot from heat and leave the petals to sit in the dye pot for a while longer (a minimum of an hour, but it can be as long as you like). Stir regularly to encourage the dye to extract into the water.
- When you are happy with the color of your dye, strain the petals through a sieve lined with a piece of muslin (or other fine fabric).
- Wipe the pot clean, then pour half of the remaining dye into a bowl and set aside. We will darken half of it with ferrous sulfate and leave the other half yellow.
- Let’s thicken the yellow dye first. Using your measuring cup, check the amount of dye you have. Per 1/3 cup of dye, start with approx. 1/8 tsp gum tragacanth. Pour the dye into your pot and reheat. Then sprinkle in the gum and stir to dissolve and watch the dye thicken.
- Test the consistency of your paint by painting a test line on paper. If you like, you can add a little more gum to thicken further.
- Pour the paint into a clean glass jar and label clearly. It can be stored in the fridge, but likely won’t last as long as the paint that contains ferrous sulfate.
- Wash out your pot again, then pour in the remaining dye. Add a tiny sprinkle of ferrous sulfate to darken the dye. Watch as it changes color, and add more if necessary.
- Now thicken with gum tragacanth, following steps 5 – 8 again. Pour the paint into a jar and label. Enjoy using your two different shades of coreopsis flower paint!
Tips
After dyeing fabric, if you ever have a pot of dye that you’ve finished with but can’t bring yourself to pour away, try simmering (or even boiling) the dye to leave a concentrated ink. This may brown the color somewhat, but it’s a way of making use of every last drop of precious color! Thicken the concentrated dye to make botanical paint, or keep it as ink.