Best Herbal Oils for Homemade Soaps
In my five years of professional soapmaking, I’ve discovered herbal oils are a true luxury that adds vitality to homemade soap. Our skin is alive, but lifeless chemicals cannot give back life to the skin. To be “alive,” beauty products and topical formulas should be made purely of plant-based and natural ingredients (Raichur,1997).
As the events of 2020 have surely emphasized, hand washing is essential; however, the constant cycle of sanitizer and soap can be quite drying to the skin. To make matters worse, commercial soaps often contain synthetic ingredients like dyes, preservatives, and artificial fragrances that can irritate the skin even more.
On the other hand, herbs have anti-inflammatory, antibacterial, and moisturizing qualities that are beneficial to all skin types. If you want to take advantage of herbs by incorporating them into your homemade soaps, it’s best to do so with an herb-infused oil that you can substitute for regular oil in your soap recipe.

Types of Soapmaking
You can make homemade soap using one of the three following methods: melt-and-pour, cold process, or hot process. The hot and cold techniques are more advanced because the bars are made completely from scratch using a blend of heat, plant butters, oils, and sodium hydroxide that saponify and harden into soap. This can take from 2 to 4 hours. (Learn more about cold-process soapmaking in the blog post, A DIY Floral Delight Soap Recipe, or by enrolling in the Botanical Skin Care Course.)
Melt-and-pour soapmaking is a great starting place for beginners. It’s how I first became acquainted with the practice of making soaps for my skin’s specific needs, prior to launching my herbal soap business, Taila.Made. With this process, you will heat a premade soap base in the microwave or double boiler. Then, after the base has liquefied, you can add in extra herbs and oils before allowing the mixture to cool and harden into a bar.

The melt-and-pour base is a mixture of carrier oils, like olive or coconut, combined with sodium hydroxide, an emulsifier (like Sorbitol), and other skin-conditioning agents. There are a handful of melt-and-pour soap base varieties, such as olive oil, hemp, and aloe. Based on your personal needs, you can mix and match bases for a unique formula. For example, if you have sensitive skin, then try a base mixture that includes oatmeal, goats’ milk, or honey.
Learn more about the melt-and-pour soapmaking method in Beginner’s Guide to Melt & Pour: What it is and How it Works by the Handcrafted Soap & Cosmetic Guide or in How to Make Melt and Pour Soap – Easy Soapmaking via the blog, Practical Self-Reliance.
Herbal Oils to Infuse
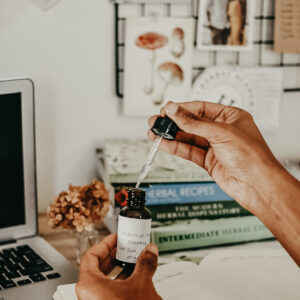
Herbal oils can be absorbed through the skin when applied topically. First, research all herbs of interest for their properties and actions (and make sure the beneficial properties you seek are present in oil-soluble constituents), then select your carrier oil. Both selections are important, and all of the ingredients listed below offer nourishing qualities that can be enhanced when combined.
You may decide to use multiple herbs in your infusion; I suggest starting with one or two at first so you can take note of how your skin reacts to each one on its own. Make a list of herbal properties that are important to your skin’s needs—this could include moisture, antioxidants, or wound healing. Over time you will begin to have a sense of which mixtures work well with your skin type. Personally, I’m drawn to herbs that offer skin hydration and anti-inflammatory benefits because of my eczema.

Chamomile (Matricaria chamomilla): When infused in oil, chamomile imparts a soothing, anti-inflammatory effect on the skin that also stimulates tissue repair. The herb also has antiseptic properties that aid in wound mending (Raichur,1997).
Calendula (Calendula officinalis): Calendula flowers have antiseptic and astringent properties provided by the volatile oils, tannins, and a gummy yellow resin called calendulin. When infused in oil and applied to the skin, calendula promotes tissue repair, minimizes scar formation, and reduces inflammation (McIntyre,1996).
Chickweed (Stellaria media): The aerial parts of chickweed can be infused in oil and used as an external application to cool hot, inflammatory skin conditions like sunburn, heat rash, boils, and eczema (McIntyre,1996).
Red clover (Trifolium pratense): Rich in minerals, this wildflower has anti-inflammatory, antiseptic, and astringent properties that benefit all skin types but work especially well for eczema, psoriasis, and other sensitive skin conditions.

Carrier Oils
You can use plant-based oils to extract the properties of the above herbs. Choose oils that are labeled “organic,” “pure-cold pressed”, or “pure expeller-pressed” that eliminates exposure to toxic fertilizers used in processed oils, such as that may seep into your skin and bloodstream (Raichur,1997). You can find these natural oils in your local health food store either in the cooking oil aisle or the natural beauty section.
These are a few of my favorite oils to work with for soapmaking. All three work well when used alone or mixed together. My favorite blend for extremely dry skin is two parts olive oil and one part jojoba oil.
Olive Oil – This pale greenish, antioxidant-rich oil nourishes the skin. A favorite for kids and adults alike, this time-tested oil keeps the skin smooth and free from irritation. It’s able to soothe inflamed areas and make the skin more supple (Raichur,1997).
Sweet Almond Oil – Lightweight and easily absorbed into the skin, this oil is widely used in skincare formulations and home DIY skincare products. The oil is a powerhouse, featuring vitamins A and E, zinc, and omega-3 fatty acids, which work together to soothe wounds, slow signs of aging, and support natural resilience to sun damage (Ferreira, 2016).
Jojoba Oil – A derivative of the jojoba plant (Simmondsia chinensis), this oil (actually a wax!), which begins as a nut, is ideal for all skin types as it contains similar characteristics to the skin’s natural oil—sebum. As a humectant, the oil seals moisture into the skin and keeps it hydrated while the vitamin E serves up a healthy dose of antioxidants (Watson, 2019).

Crafting Your Herbal Oils
Herbs can benefit the skin through their moisturizing and anti-inflammatory properties, and other gentle influences. You can add finely-ground herbs into the soap mixture when it’s still in liquid form. Or, you can infuse your herbs in an oil base, and then add that oil to your liquified melt-and-pour base before it hardens. It can also be fun to decorate your soaps by sprinkling your favorite herbs on the top before it dries.
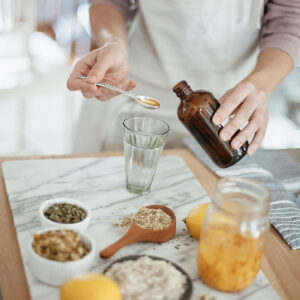
If you choose to use herb-infused oils, then first decide if you will use the solar or stove-top method of infusion. For the solar method, fill a glass jar 1/3 of the way with the dried herb of your choice, and then fill the jar with a carrier oil. Cap the jar and then set it on a window sill for about 4-6 weeks wrapped in a paper bag or other material to keep it out of direct light. Shake the jar every few days to make sure the plant material stays fully submerged under the oil.
For the stove-top method, follow the instructions above, but place the herb and oil-filled jar in a double-boiler over medium heat to infuse for a few hours. You can also use a crockpot as your double boiler, setting a heat-safe canning jar containing your herbs and oil into a water bath warmed by the crockpot. The combination of heat and time releases the herbs’ beneficial properties into the oil. You’ll want to keep the temperature below 140 degrees so as not to “cook” the herbs.
When either method is complete, strain the herbs from the oil with a cheesecloth-lined strainer and transfer the finished oil to a clean, dry glass jar. Now your herbal oil is ready to be added to your homemade soap base!
(See How to Make Herb-Infused Oils for more info and step-by-step instructions!)

In Closing,
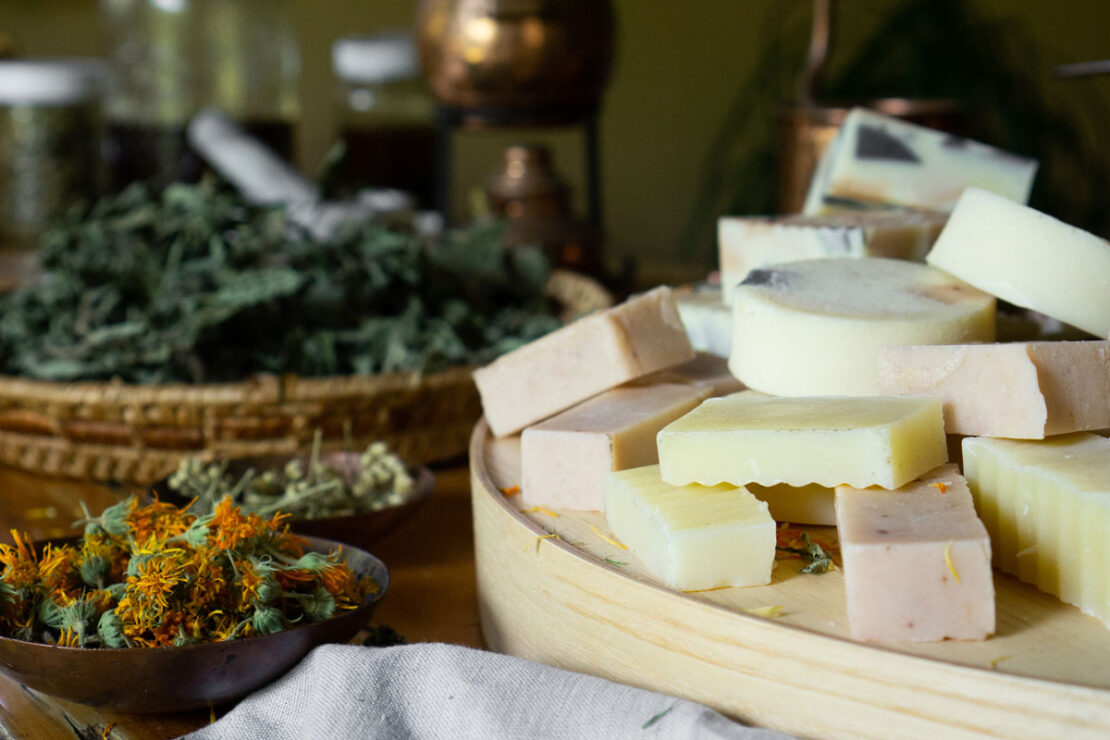
Herbal oils will add indulgence to your homemade soap that is sure to leave your skin smiling. Enjoy diving deeper into the world of herbs through bath and body care experiments such as this one.
Homemade soaps also make for phenomenal holiday gifts; bars and body oil anyone? Check out this homemade massage oil recipe for ideas on how to use leftover herbal oils, or Herbal Academy’s newest course on natural perfumery to help you handcraft the perfect custom-scented gift set for the ones you love.
For more herbal soap recipes, see:
A DIY Floral Delight Soap Recipe You’ll Love
How to Make Your Own Soap + Herbal Recipes
How to Make Violet Leaf Soap

REFERENCES
Cech, R. (2016). Making plant medicine. Williams, OR: Herbal Reads.
McIntyre, A. (1996). Flower power. New York, NY: Henry Holt and Company, Inc.
Raichur, P.(1997). Absolute beauty. New York, NY: HarperCollins Publishers.
Ferreira, M. (2016). The benefits of almond oil for skin, hair, and cooking [Online Article]. Retrieved from https://www.healthline.com/health/food-nutrition/almond-oil
Watson, K. (2019). 13 Reasons to Add Jojoba Oil to Your Skin Care Routine [Online Article]. Retrieved from https://www.healthline.com/health/beauty-skin-care/jojoba-oil-for-face